Blog

Dot Day Rainbow Display
Looking for the perfect collaborative art project for Dot Day? Celebrate creativity, courage, and school-wide connection with this Rainbow Dot Day Display inspired by The Dot by Peter H. Reynolds. Ideal for elementary art teachers, this vibrant monochromatic display uses simple materials like oil pastels, watercolor, and tempera to help students explore color theory and radial design. It's one of my most recreated Dot Day art lessons—sure to wow your school community and get everyone talking!
Learn more
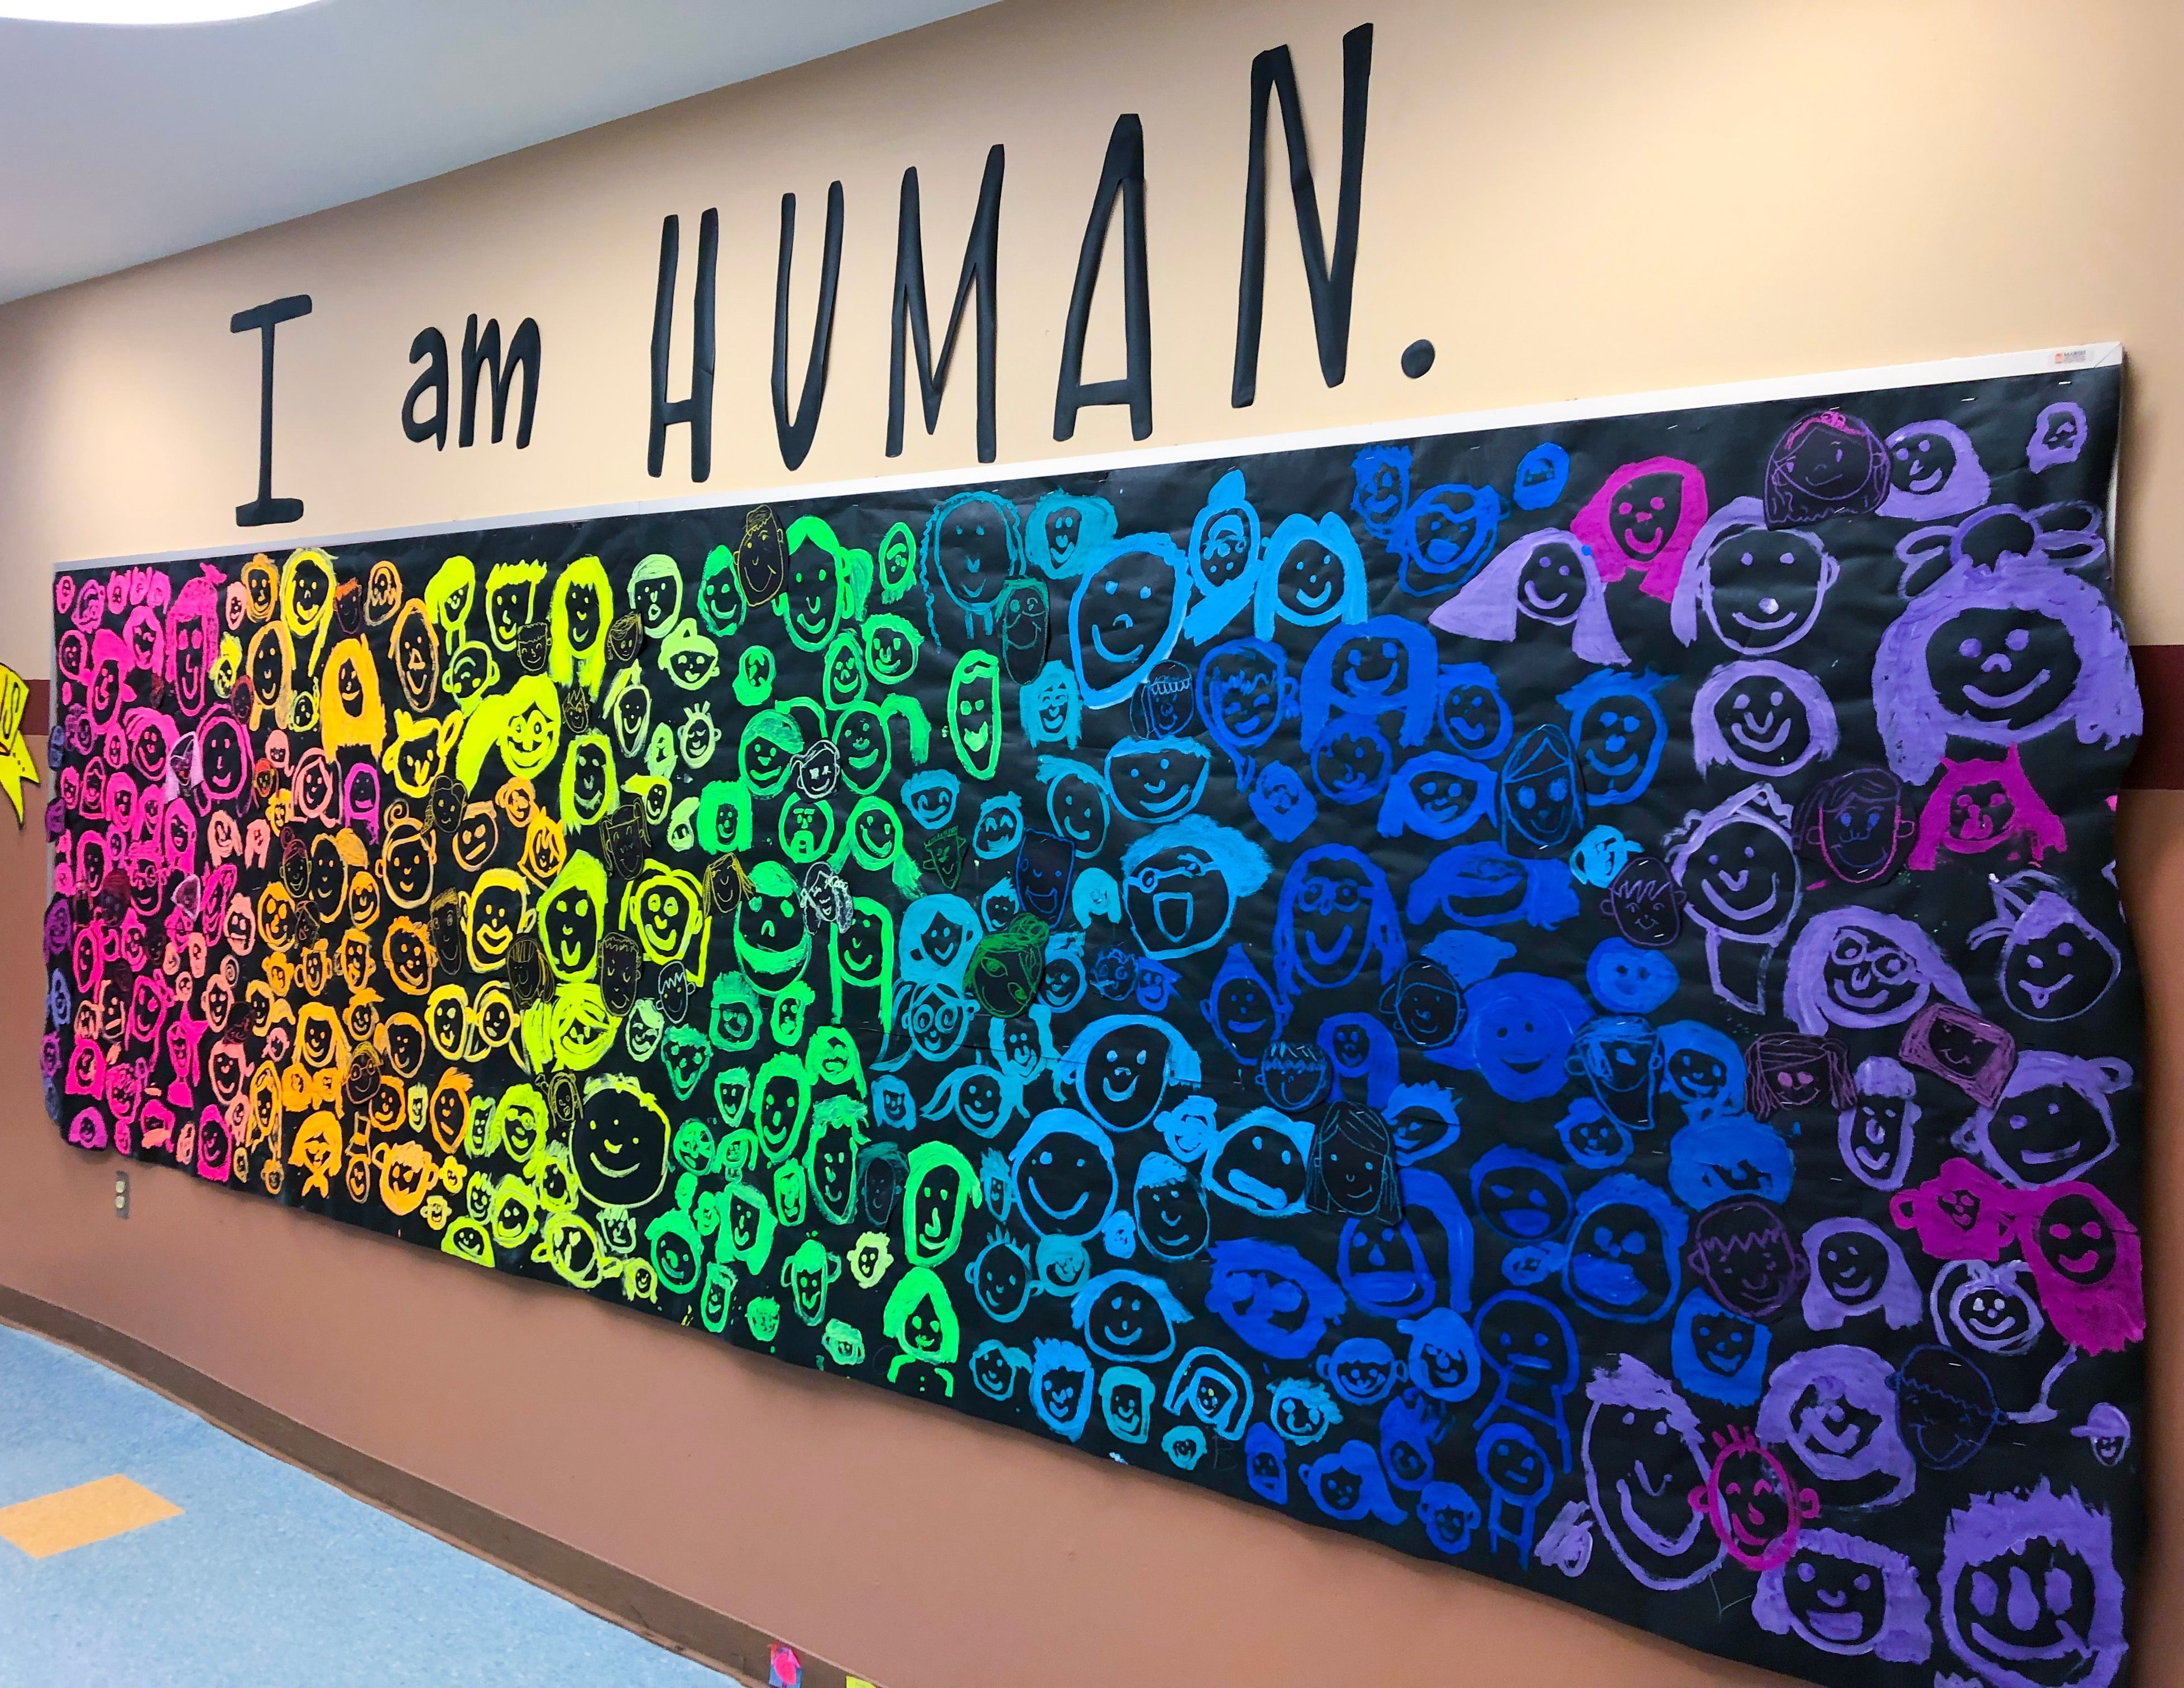
Simple Portrait Back-to-School Bulletin Board
Need an Easy Back-to-School Bulletin Board Idea?Looking for a fun and meaningful way to fill your empty bulletin boards at the start of the school year? This creative self-portrait display was inspired by my own students—and made using my Simple Self-Portrait Drawing Guide! With just bulletin board paper, India ink, and a little imagination, I created life-sized illustrations to frame student artwork and build community right from day one. This project is low-prep, high-impact, and guaranteed to spark smiles!
Learn more
8 Amazing Adapted Art Lessons
Scribble monsters are a favorite in my adapted art class! If you follow me on Instagram you probably know that I am absolutely head over heels in love with teaching adapted art! I love teaching and creating lessons that meet the individual needs of my students in order to provide them with their own authentic, enriching, and engaging artistic experiences. I am so excited to share some of my favorite art projects for adapted art class at the elementary level. Muffin Tin Prints Before I go any further with this post you must stop right now and purchase the book Art Workshop for Children by Bar Rucci. Bar has been one of the most influential art educators in my life regarding planning my adapted art lessons. In her book, you will find SO many incredible process-based art lessons that can all easily be adapted to students with varying needs. One of my favorite lessons of hers is called Muffin Tin Prints. The concept is pretty easy- paint the back of a muffin tin with whatever colors you like (I usually have an analogous color scheme available for students). Then place a small piece of paper over the top of the paint, creating a monoprint, pull up, and wa-la! You have pulled a gorgeous print from the paint! These are so fun for students and the products are gorgeous when displayed together! For more detailed instructions be sure to grab Bar’s book or head to her blog artbarblog.com. 2. Bubble Wrap Printing Bubble wrap printing is so fun for any student, but my adapted students absolutely love the texture and process of bubble printing. It’s so easy, just use tempera paint to paint on the bumpy side of the bubble wrap, flip it over onto another piece of construction paper and lift to reveal a print! You could also take it a step further and wrap a piece of bubble wrap around a rolling pin so students can roll the texture onto paper. I love to use this printed paper for other projects, like paper weaving (as shown here) and as the texture for this rainbow cloud mobiles. 3. Sensory Bottles For this project, we followed Especially Education’s blog post that you can find here. Plastic bottles were ordered from amazon, and all you need is water, clear glue, and random snazzy goodies! We filled the bottles 3/4 with water and then my students did an amazing job squeezing enough clear glue to the top. I had an assortment of water beads, glitter, sequins, beads etc available for students to pick and choose to add. Even though I bought funnels I found that styrofoam cups were the best way to pour the goodies in! We added a few drops of liquid watercolor (don’t add too much- a little goes a LONG way) and then once they were filled I hot glued the lids on justttt Incase! You can find the steps above. Disclaimer: Please make sure your students’ safety is your #1 priority. Any of my students who crave oral stimulation were not given access to water beads or anything that could potentially go in their mouth, or they were added by an adult in the room. Always always make sure your students are being closely supervised when using art supplies no matter what they are! 4. Scribble Monsters For years I’ve done some version of this “scribble monster”‘ with my adapted art class but recently tied this project to the book The Color Monster. Here’s how you can make your own! 1. Using fluorescent oil pastels students used either warm or cool colors to scribble on a piece of 80lb drawing paper. 2. Using watercolor (or liquid watercolor) students painted over their scribbles. This technique is called “wax-resist”, meaning the water-based paint will not stick to the oil pastels which allows them to shine through the paint brightly. 3. Once the painting is dry, I lightly drew an outline similar to a chubby cat over the paintings in pencil. Then using a small piece of cardboard and black tempera paint, students dipped one of the edges of cardboard into the black paint and “tap tap tapped” along the edge of my pencil lines making the monsters look like they are covered in hair. 4. We glued google eyes on and tapped the black paint and cardboard across for a mouth and then also used it to stamp the monsters’ bushy unibrow 🤣 5. Teeth were cut out of white scrap paper and glued on my students. I encouraged them to add as many teeth as they wanted! 6. Monsters are then cut out, mounted, and matted. Bonus if you want to create a fun textured border with texture rollers! 5. Colorful Cardboard Village Inspired by the gorgeous rainbow murals in the Village of Palmitas in Mexico by the German Crew, my adapted students love always love transforming old cardboard supply boxes into gorgeous colorful houses! To make the colors pop on the cardboard be sure to use higher quality tempera paint and mix it with a little bit of white to make it more opaque. I love to use fluorescent paints because they look so bright on the cardboard. Often times to get the students started I will draw a few doors or windows with a chisel tip sharpie or bingo dauber filled with black India ink (a Cassie Stephens hack you can find here) and I will even cut open a few parts with a Canary cardboard knife (the best tool ever) so they will get even more excited about their house/ building! One of the best parts of making huge cardboard houses is how they all look when you display them together. 6. Nature Mobile The project comes from my friends Bar and Shannon over at The Creativity Project. You can find so many incredible ideas through their blog and website, so be sure to check it out! My adapted art students loved painting the leaves, pine cones, sticks, threading beads, and wrapping pine cones in brightly colored yarn. This beauty was then hung from the ceiling in the students’ classroom. 7. Flower CD Prints I started this project a few years ago and it never ceases to amaze me every time I do it! Shout out to my media specialist for all the old CDs that were no longer used- perfect for printmaking! Starting with a little white for paint mixing (this makes the paint pop on the black paper- but not necessary if you print on white). Crayola premier fluorescent tempera is my paint of choice! Students could either paint some type of radial flower design or they could paint the CD solid and then use a Q-tip to subtract away paint with bumpy or curvy lines- or do both! Once the CD is painted just stamp it on the paper. I also love to have my kids do a ghost print right after to see how it looks! One thing I try to do is have my students use two analogous colors per CD and have multiple colors schemed CDs in rotation. If you mix too many colors on one CD they will definitely get muddy. To finish them up I cut a few leaf shapes out of styrofoam to paint and print as well. You could also add small dots of seeds/ details with Q tips at the end lots of possibilities for exploring! So easy and fun to do! 8. Contact Paper Sun Catchers Using contact paper, small pieces of tissue paper, a smidge of glitter/ sequins and embroidery hoops these beauties are sure to make any space they’re hung in gorgeous!! All you have to do is give students one piece of contact paper with the sticky side up, have students place materials of their choice in the arrangement they would like. Once they are finished, cover with another piece of contact paper, piece sticky side down, sealing the tissue inside. Place contact paper in between two rings of an embroidery hoop, trim the edges, and hang in a window. For more fun, you can hang ribbon or DIY pom-poms from the bottom. If you decide to try any of these projects be sure to tag me on Instagram (@artwithmrs.e) so I can see and share your students work!! Have fun!
Learn more
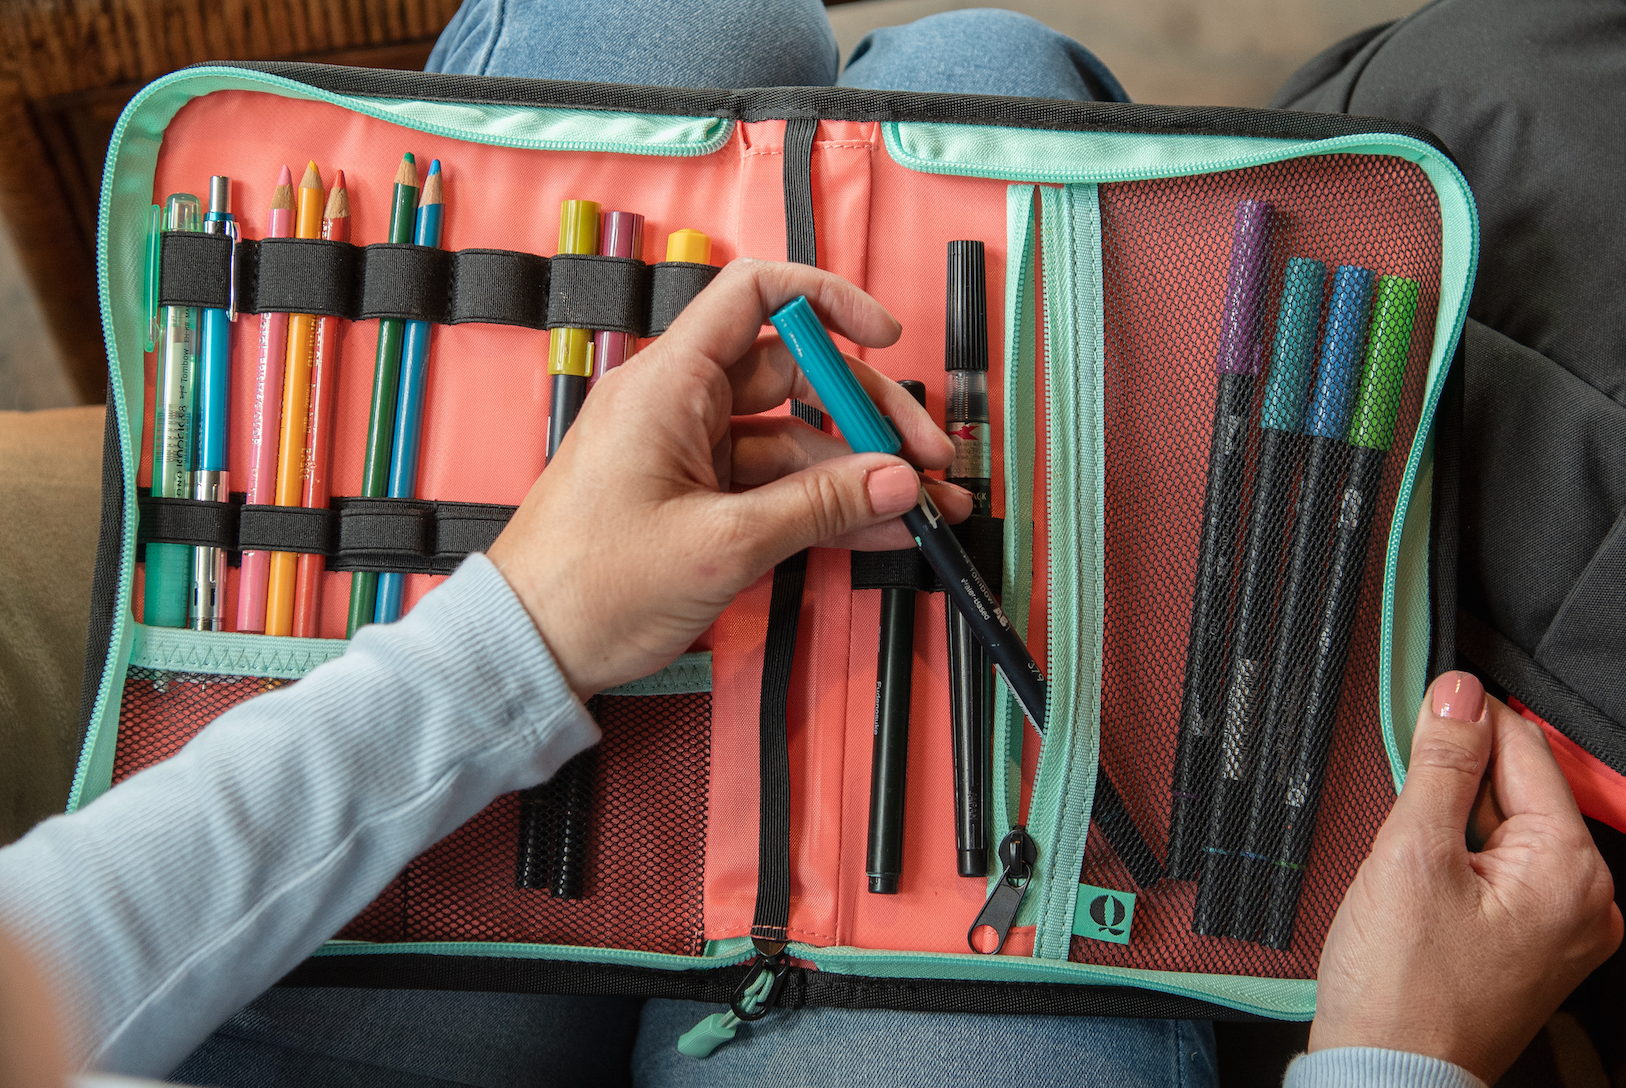
How to Organize Drawing Guides for Students in the Art Room
As an art teacher, I have tons of drawing guides that I have made and acquired over the years. Not only do these step-by-step drawing guides help students during specific projects but they are perfect for my early finishers, students who are trying to catch up after being absent, and a great backup plan for a sub in case of a teacher absence. However, one thing I had often struggled with was how to organize and store these guides for myself and my students. I wanted my students to have easy access to these guides while working in sketchbooks or practicing a new skill but found myself having to take instructional time to dig for them in my lesson folders. Not very efficient. At the start of last year, I briefly taught from an art cart and had purchased this hanging file folder from Target as my plan for storing my students’ art on the go. Thankfully I was able to use my classroom again a few weeks later and found I no longer had a need for this system of transporting student work, so I decided to use it to keep my drawing guides neat and organized! I purchased the fluorescent hanging file folders from Staples and love how bright and fun they are and love that they came with plastic tabs to label them. In each folder, I have about 20-25 copies of each guided drawing subject with a clearly written label on top of each folder. You could, of course, add fancy typed labels or pictures and organize them in ABC order, by subject, you name it. If you find yourself looking for a system for your drawing guides, I hope this helps you out! Cheers! All drawing guides pictured above can be found in my Growing Drawing Guide Bundle on TPT. You can grab them here!
Learn more
10 Must Have Teaching Visuals for the Art Room!
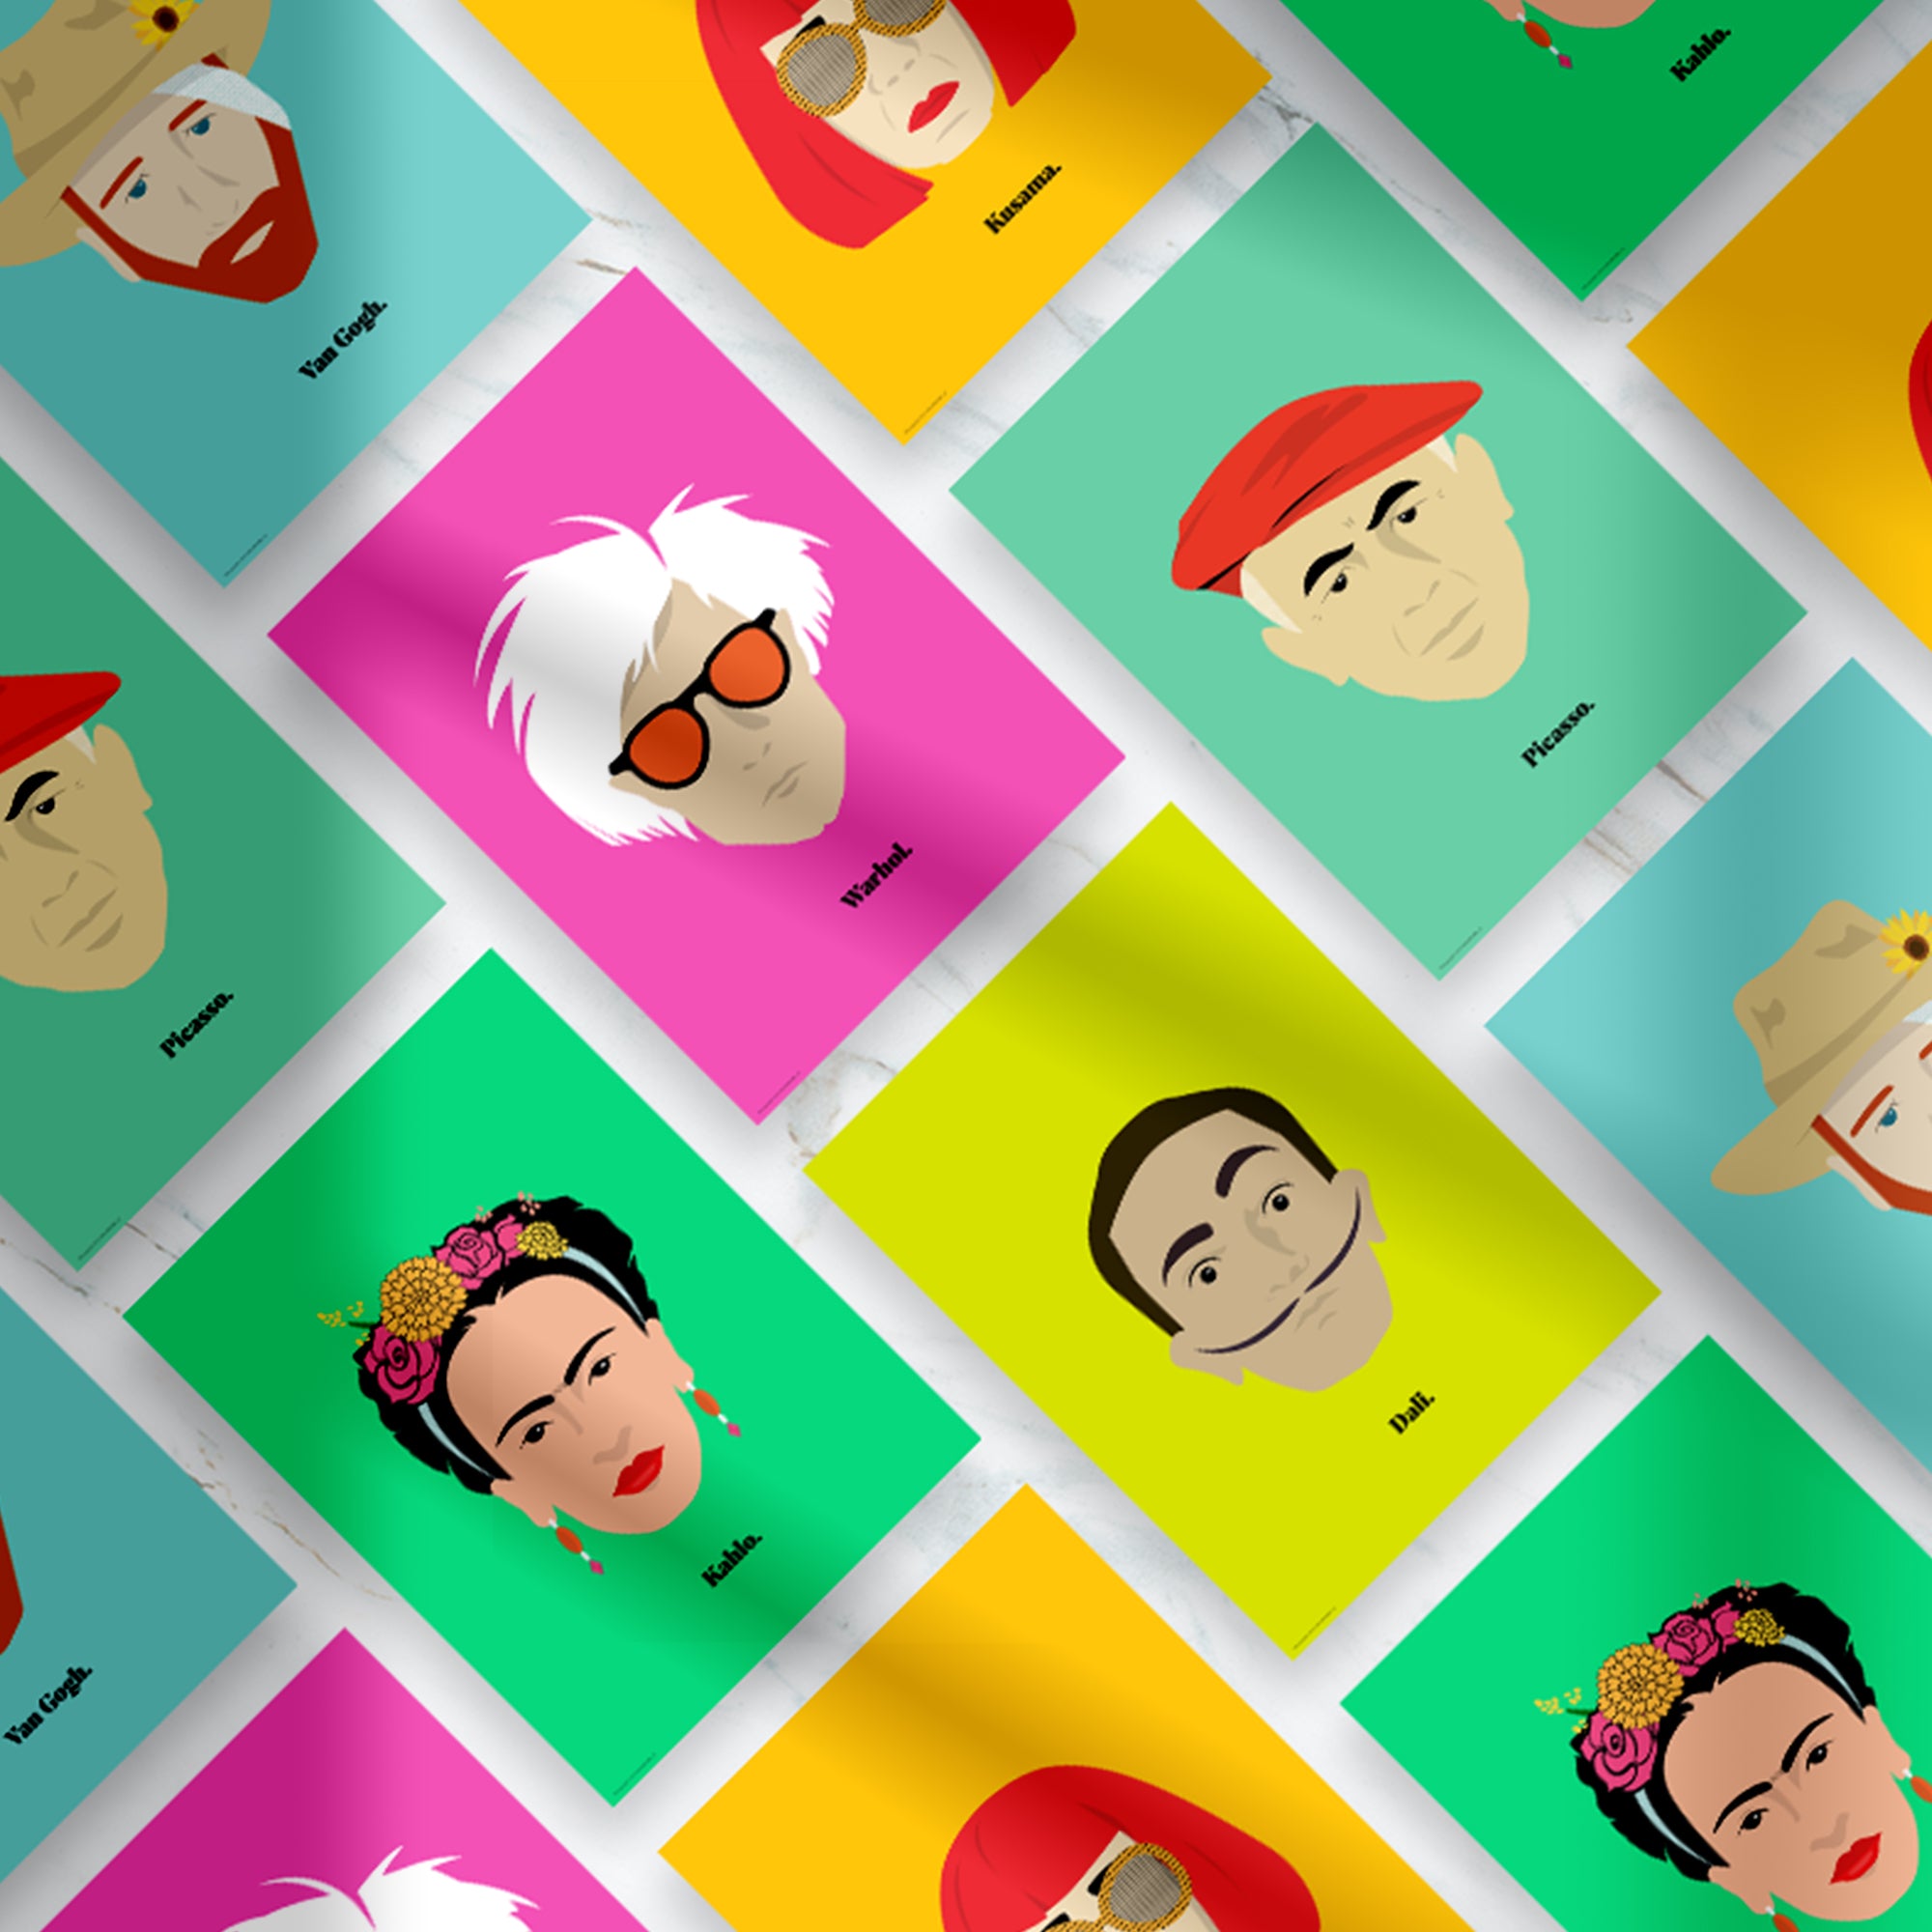
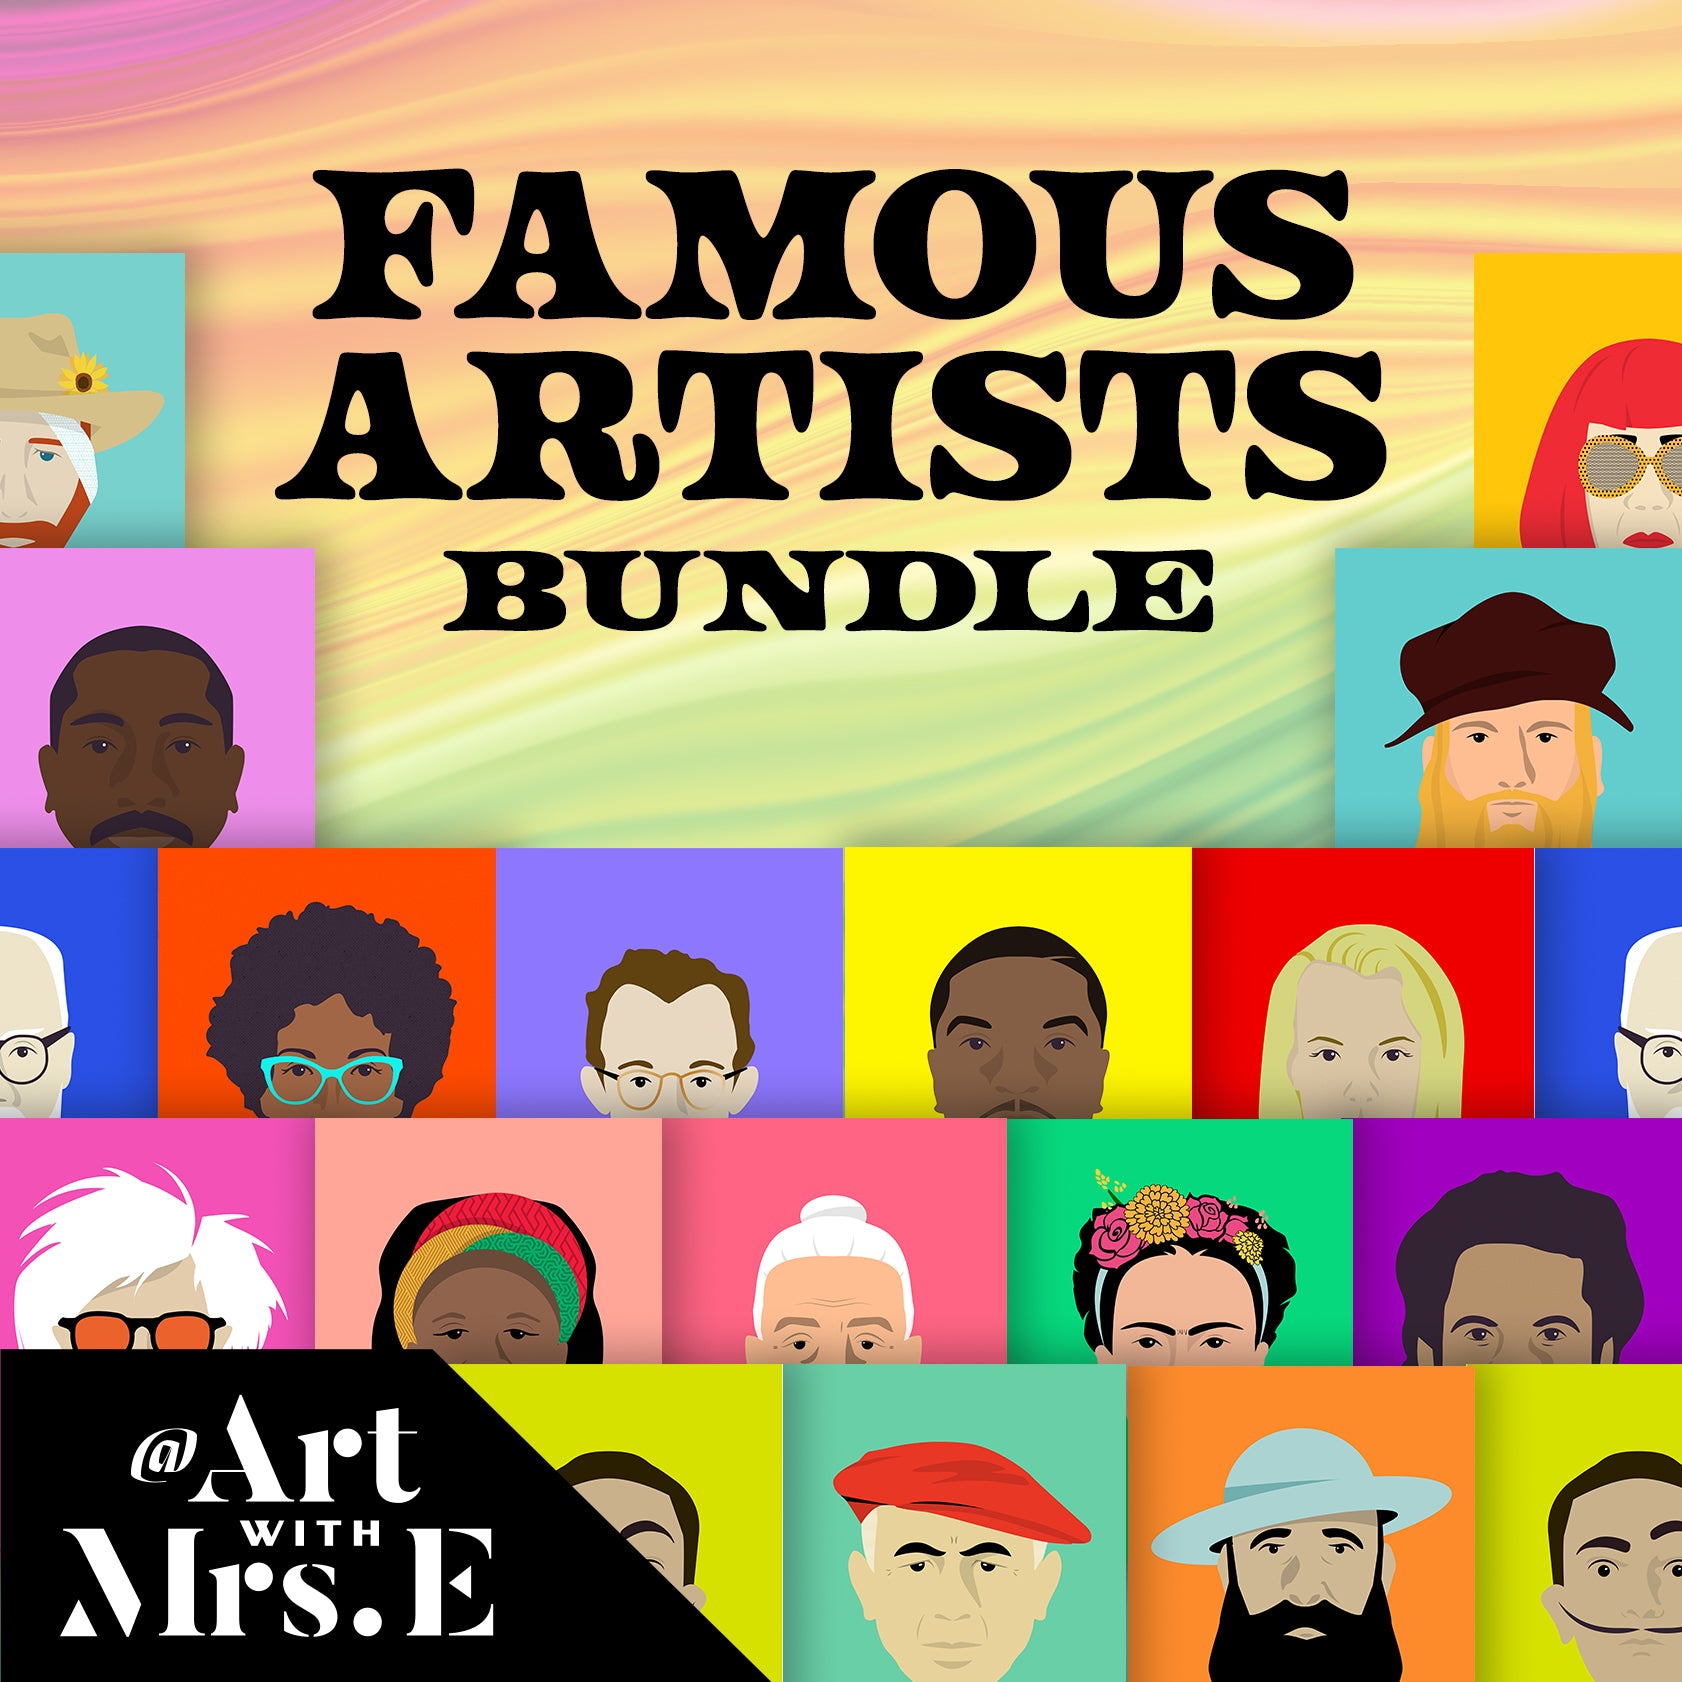
If you’re an elementary art teacher getting ready to set up your classroom, this is your ultimate guide to functional and fun art room visuals! From a modern Color Wheel poster to diverse Famous Artist displays, classroom expectation visuals, and supply labels designed with student needs in mind, these ready-to-use resources will help you transform your art space into a colorful, engaging, and educational environment. Whether you're a new art teacher or a seasoned pro, these art decor ideas will save you time and bring inspiration to your classroom. Explore the full Art Room Decor Bundle in my Teachers Pay Teachers shop!
Learn more
40 Engaging Drawing Prompts for Kids
Stuck on what to draw?Whether you're an art teacher looking to spark creativity in your classroom or a parent trying to inspire your child at home, this list of 40 fun and imaginative drawing prompts is sure to get those creative juices flowing! From “Design your dream treehouse” to “Draw a dinosaur ice cream shop,” these prompts are perfect for early finishers, sketchbook warmups, or brain breaks. Bonus idea: Write them on craft sticks for a fun, randomized drawing challenge!
Learn more
5 Reasons Sketchbooks are Important in the Art Room
Sketchbooks are more than just blank pages—they're a space for students to experiment, reflect, and grow as artists. In this blog, discover five key reasons why sketchbooks are an essential tool in the art room and how they can inspire creativity, build confidence, and support artistic development all year long.
Learn more
8 Tips For Setting Up Your Art Room
Just landed your first art teaching job? Whether you're setting up your first classroom, teaching from a cart, or somewhere in between, this guide is packed with practical tips from a veteran art teacher. From classroom management and organizing student artwork to creating an inspiring space and building relationships, these 8 simple strategies will help you feel confident and ready for back to school!
Learn more