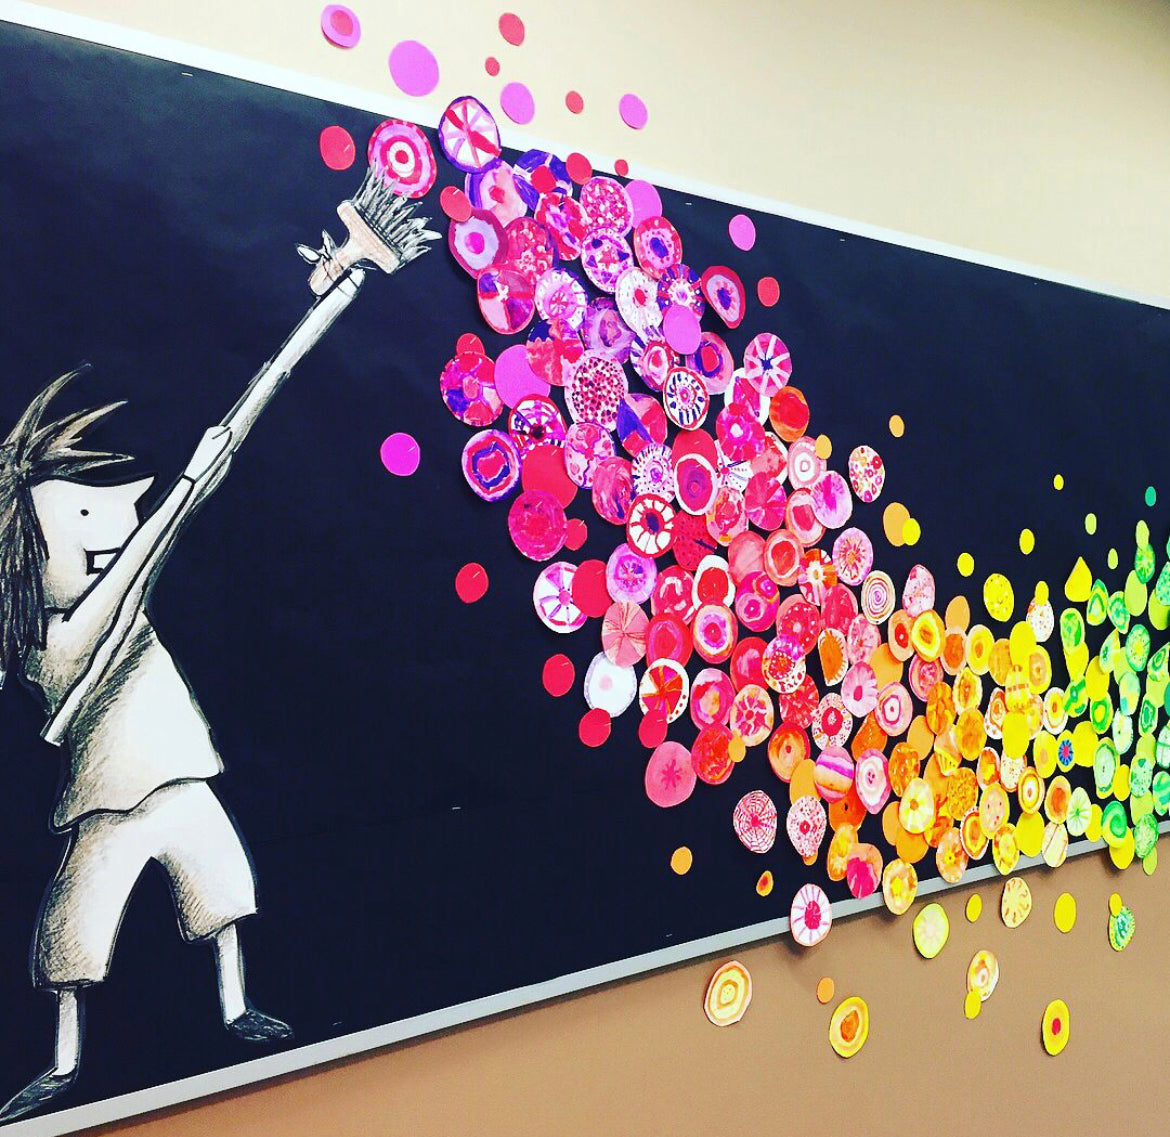

Rainbow Dot Day Display from September 2017
Dot Day is coming! Did you know the beloved children’s book “The Dot” by Peter H. Reynolds has its own day? On September 15th (ish) teachers, children, and creatives all around the world celebrate creativity, courage, and collaboration inspired by The Dot.
I have been celebrating Dot Day for at least 7 years now, but about 4 years ago one of my favorite Dot Day displays took off around the internet! This Rainbow Dot Day display has become one of my most re-created student art displays. I get lots of questions regarding my process of this display so I thought I would break down how I teach this magnificent monochromatic rainbow dot day display that your students, staff and community are sure to love.
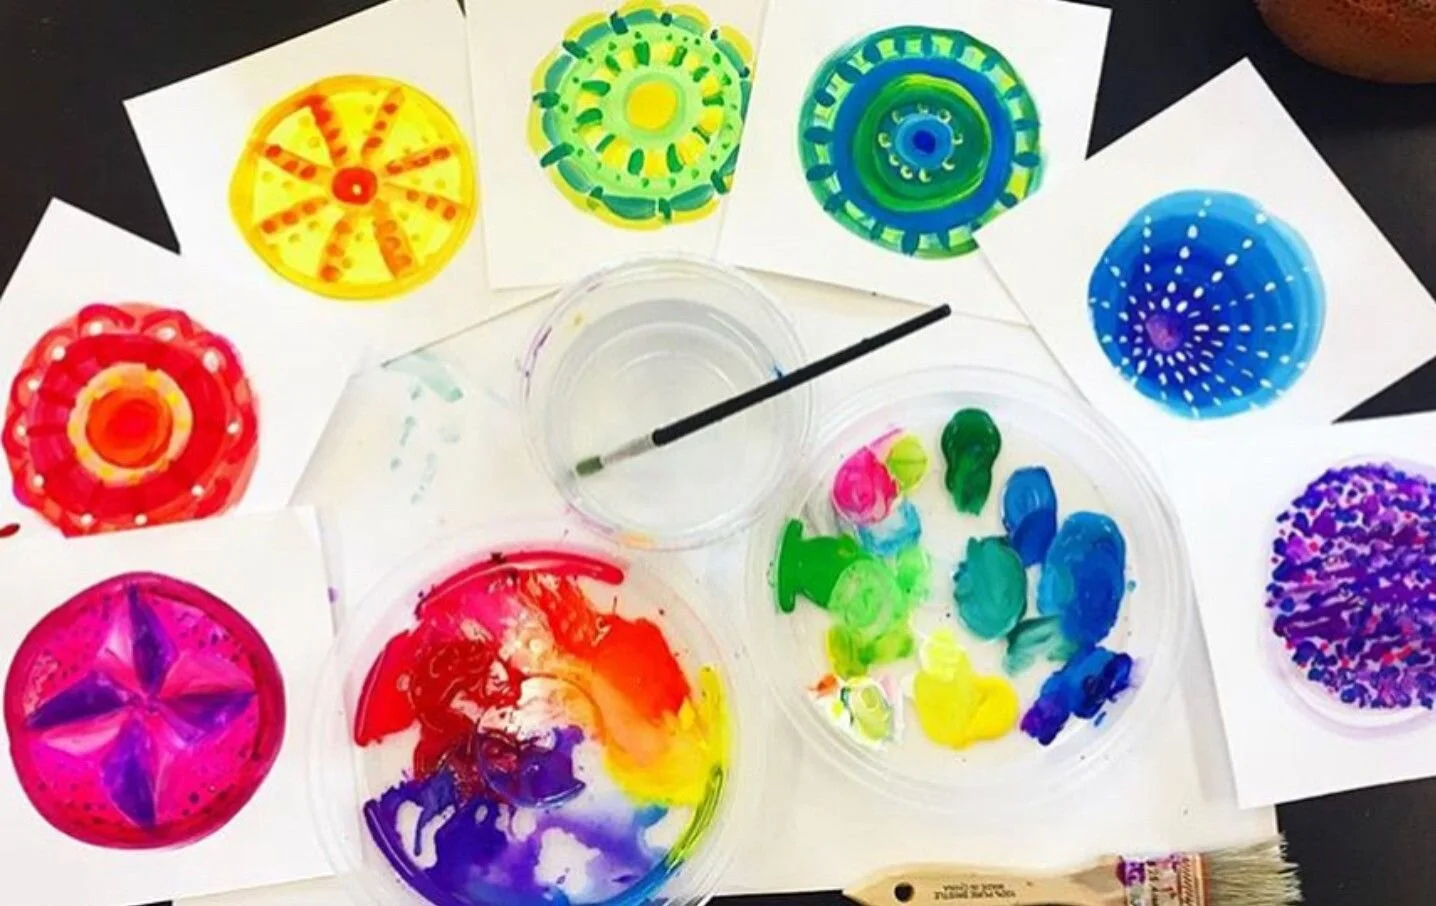
For this lesson, I often change up the materials my students use based on age, prep, or just to have a variety in the look of the dots. In the past I have used any combination of marker, oil pastels, watercolor, tempera cakes, and tempera paint. You can make the choice as to what your students use- don’t let supplies limit you! Use whatever you have available!
To begin the lesson I of course read the book, The Dot, and explain that each table will be assigned a color to paint their dot in. The red table uses only shades of red, the orange table only shared of orange and so forth. This is a great opportunity to review the color wheel and basic color theory!
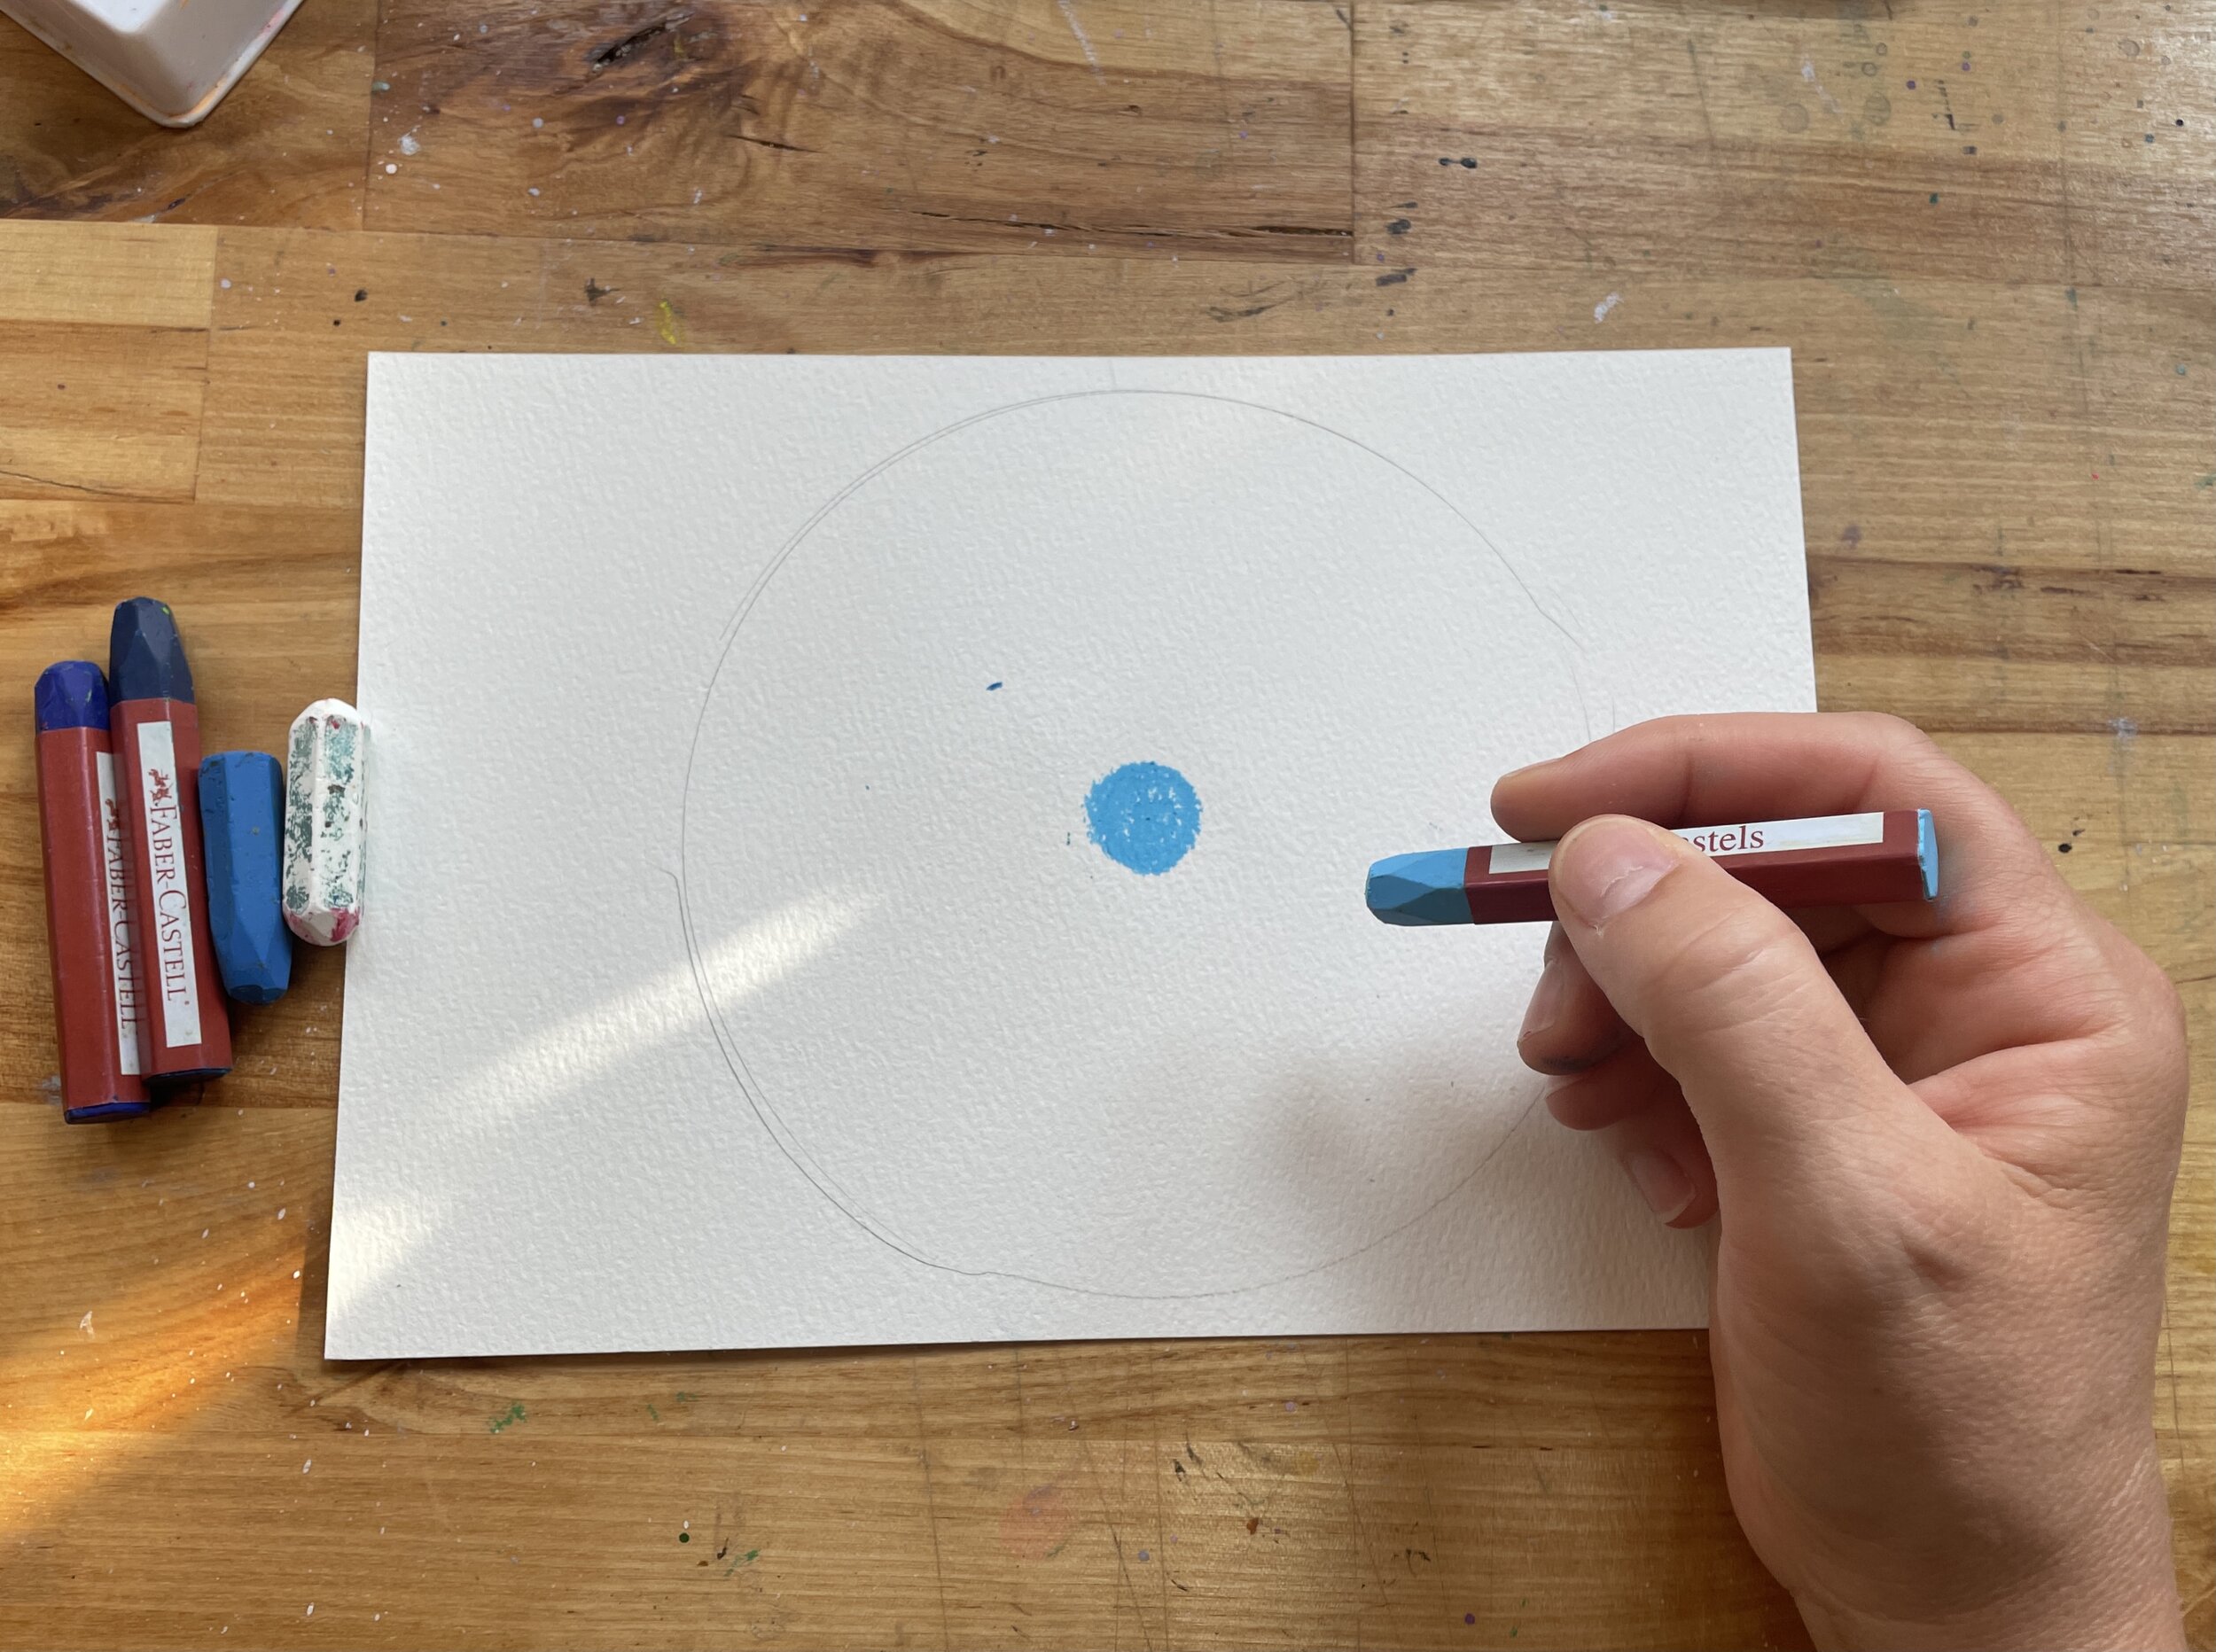
Step 1: Make a dot
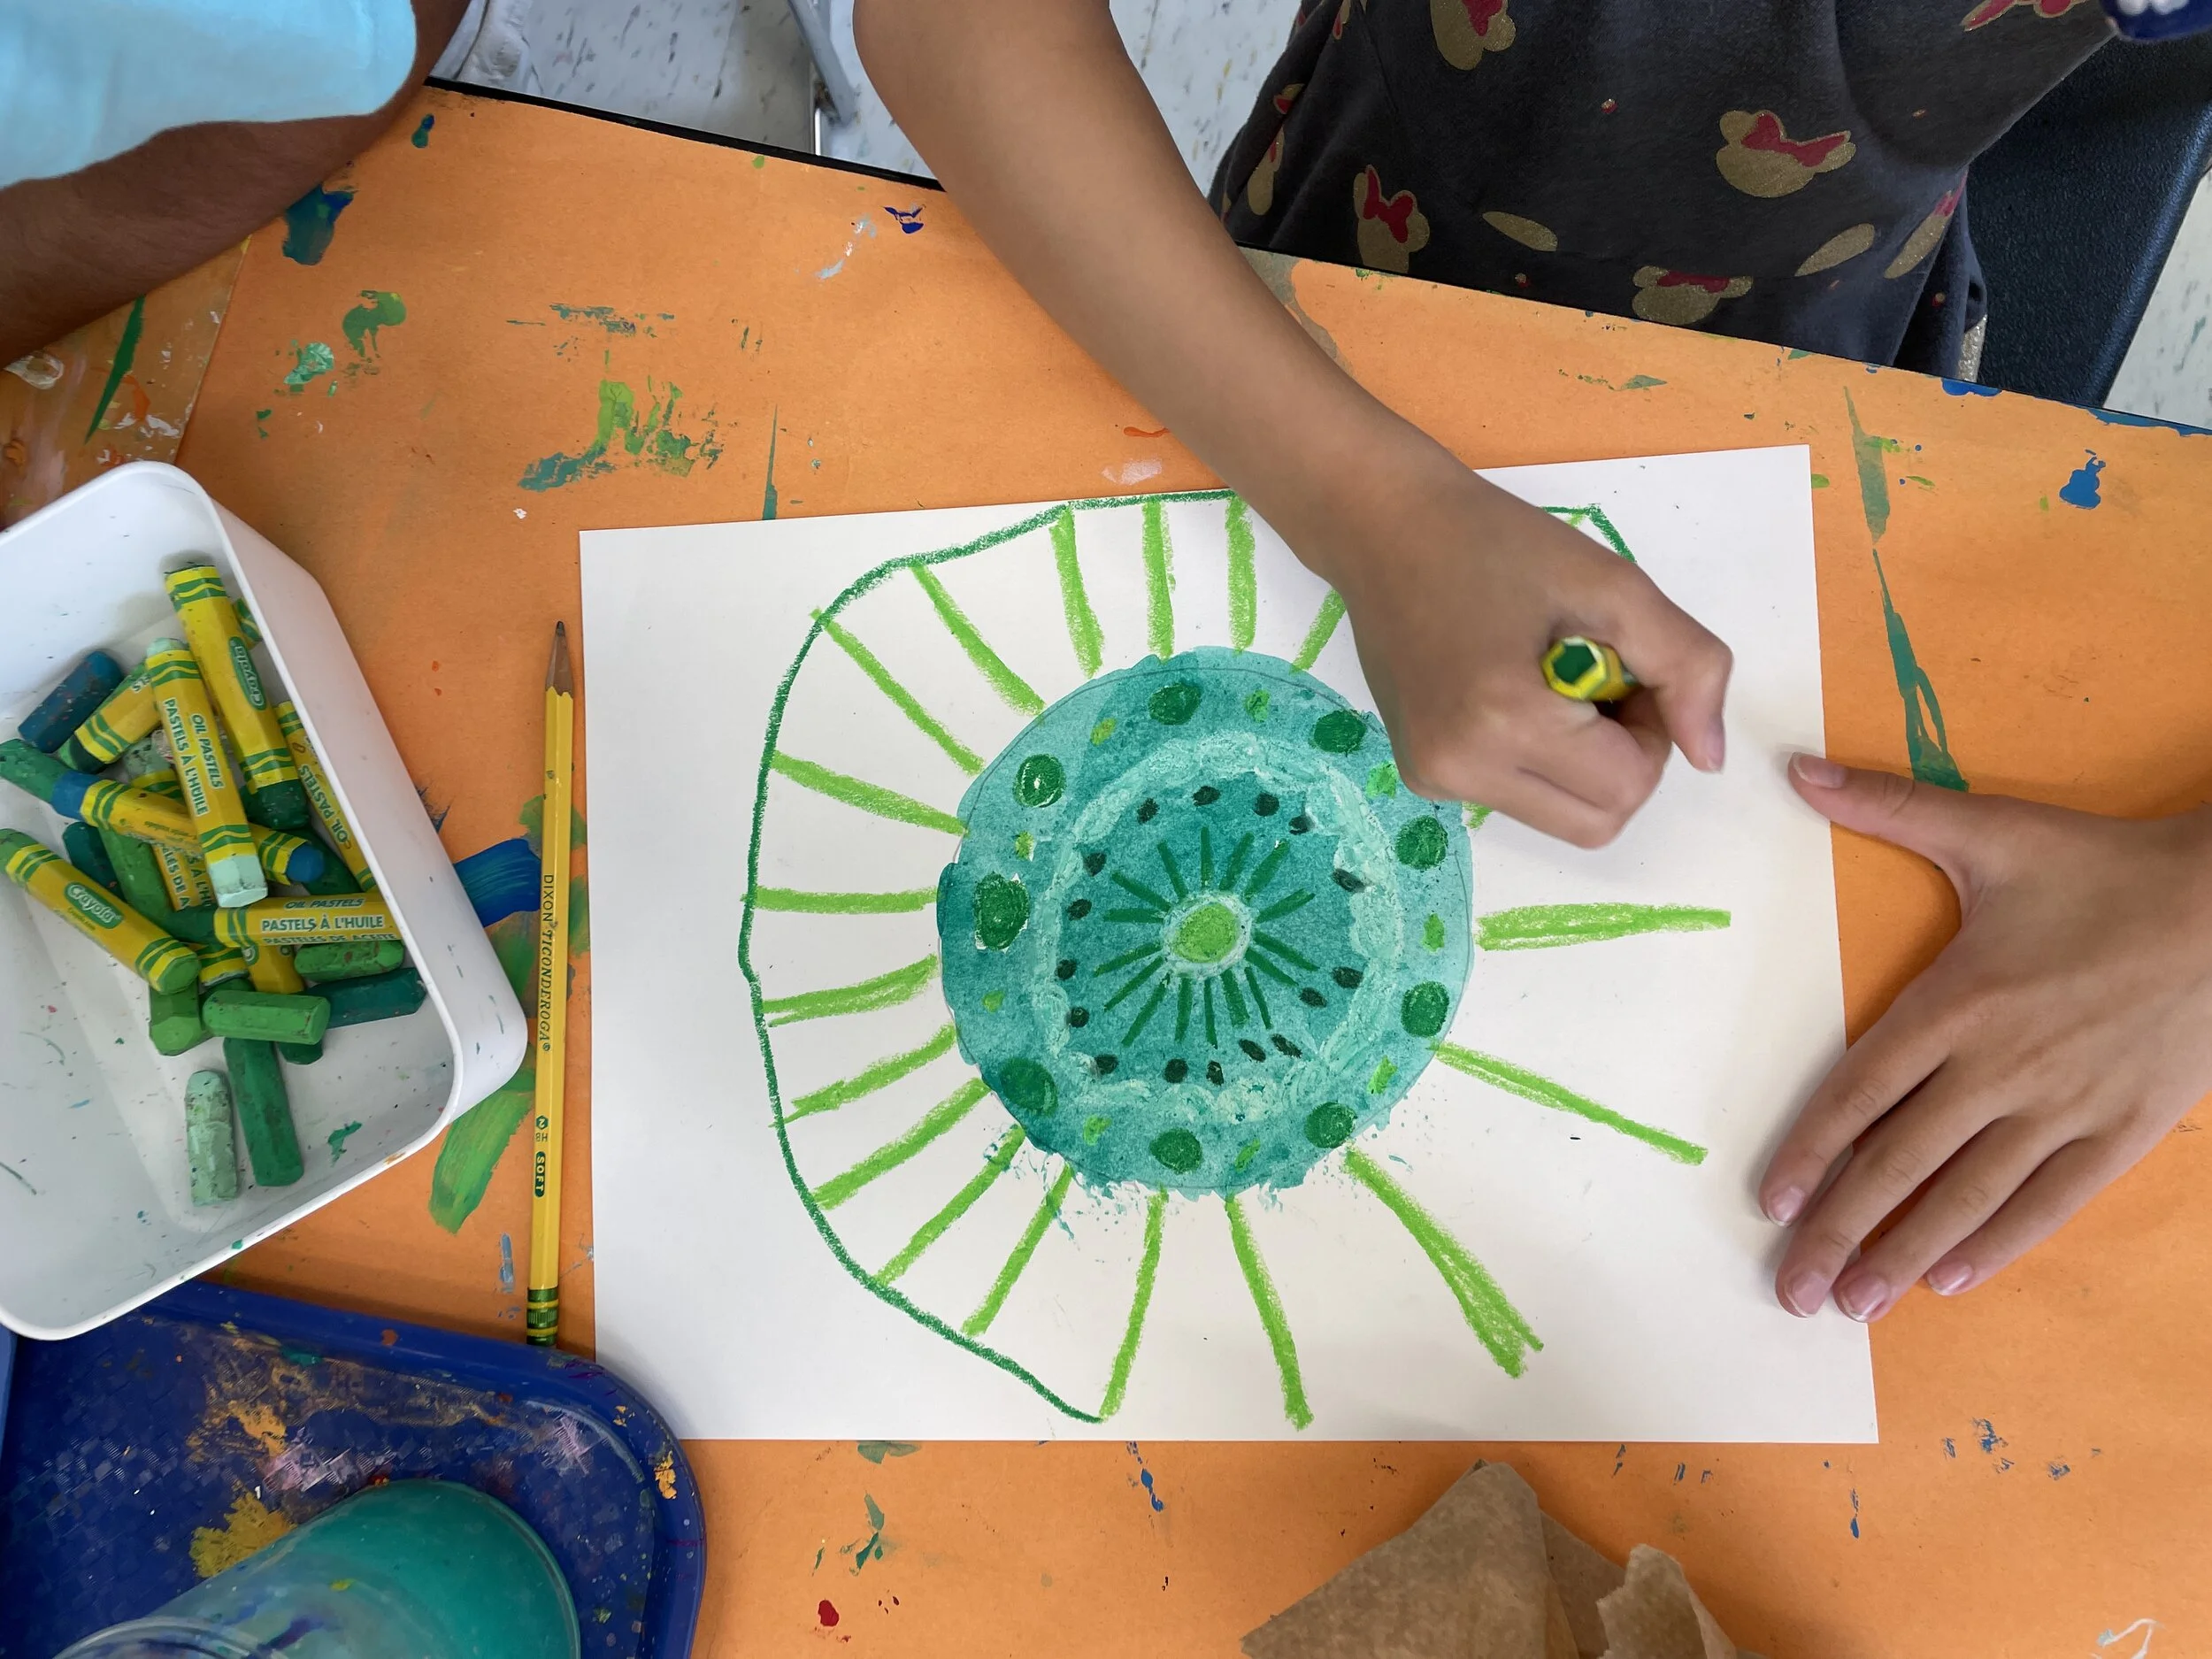
Have students trace a circle template (I just used a circular lid) and then had them begin by making a dot in the middle with an oil pastel.
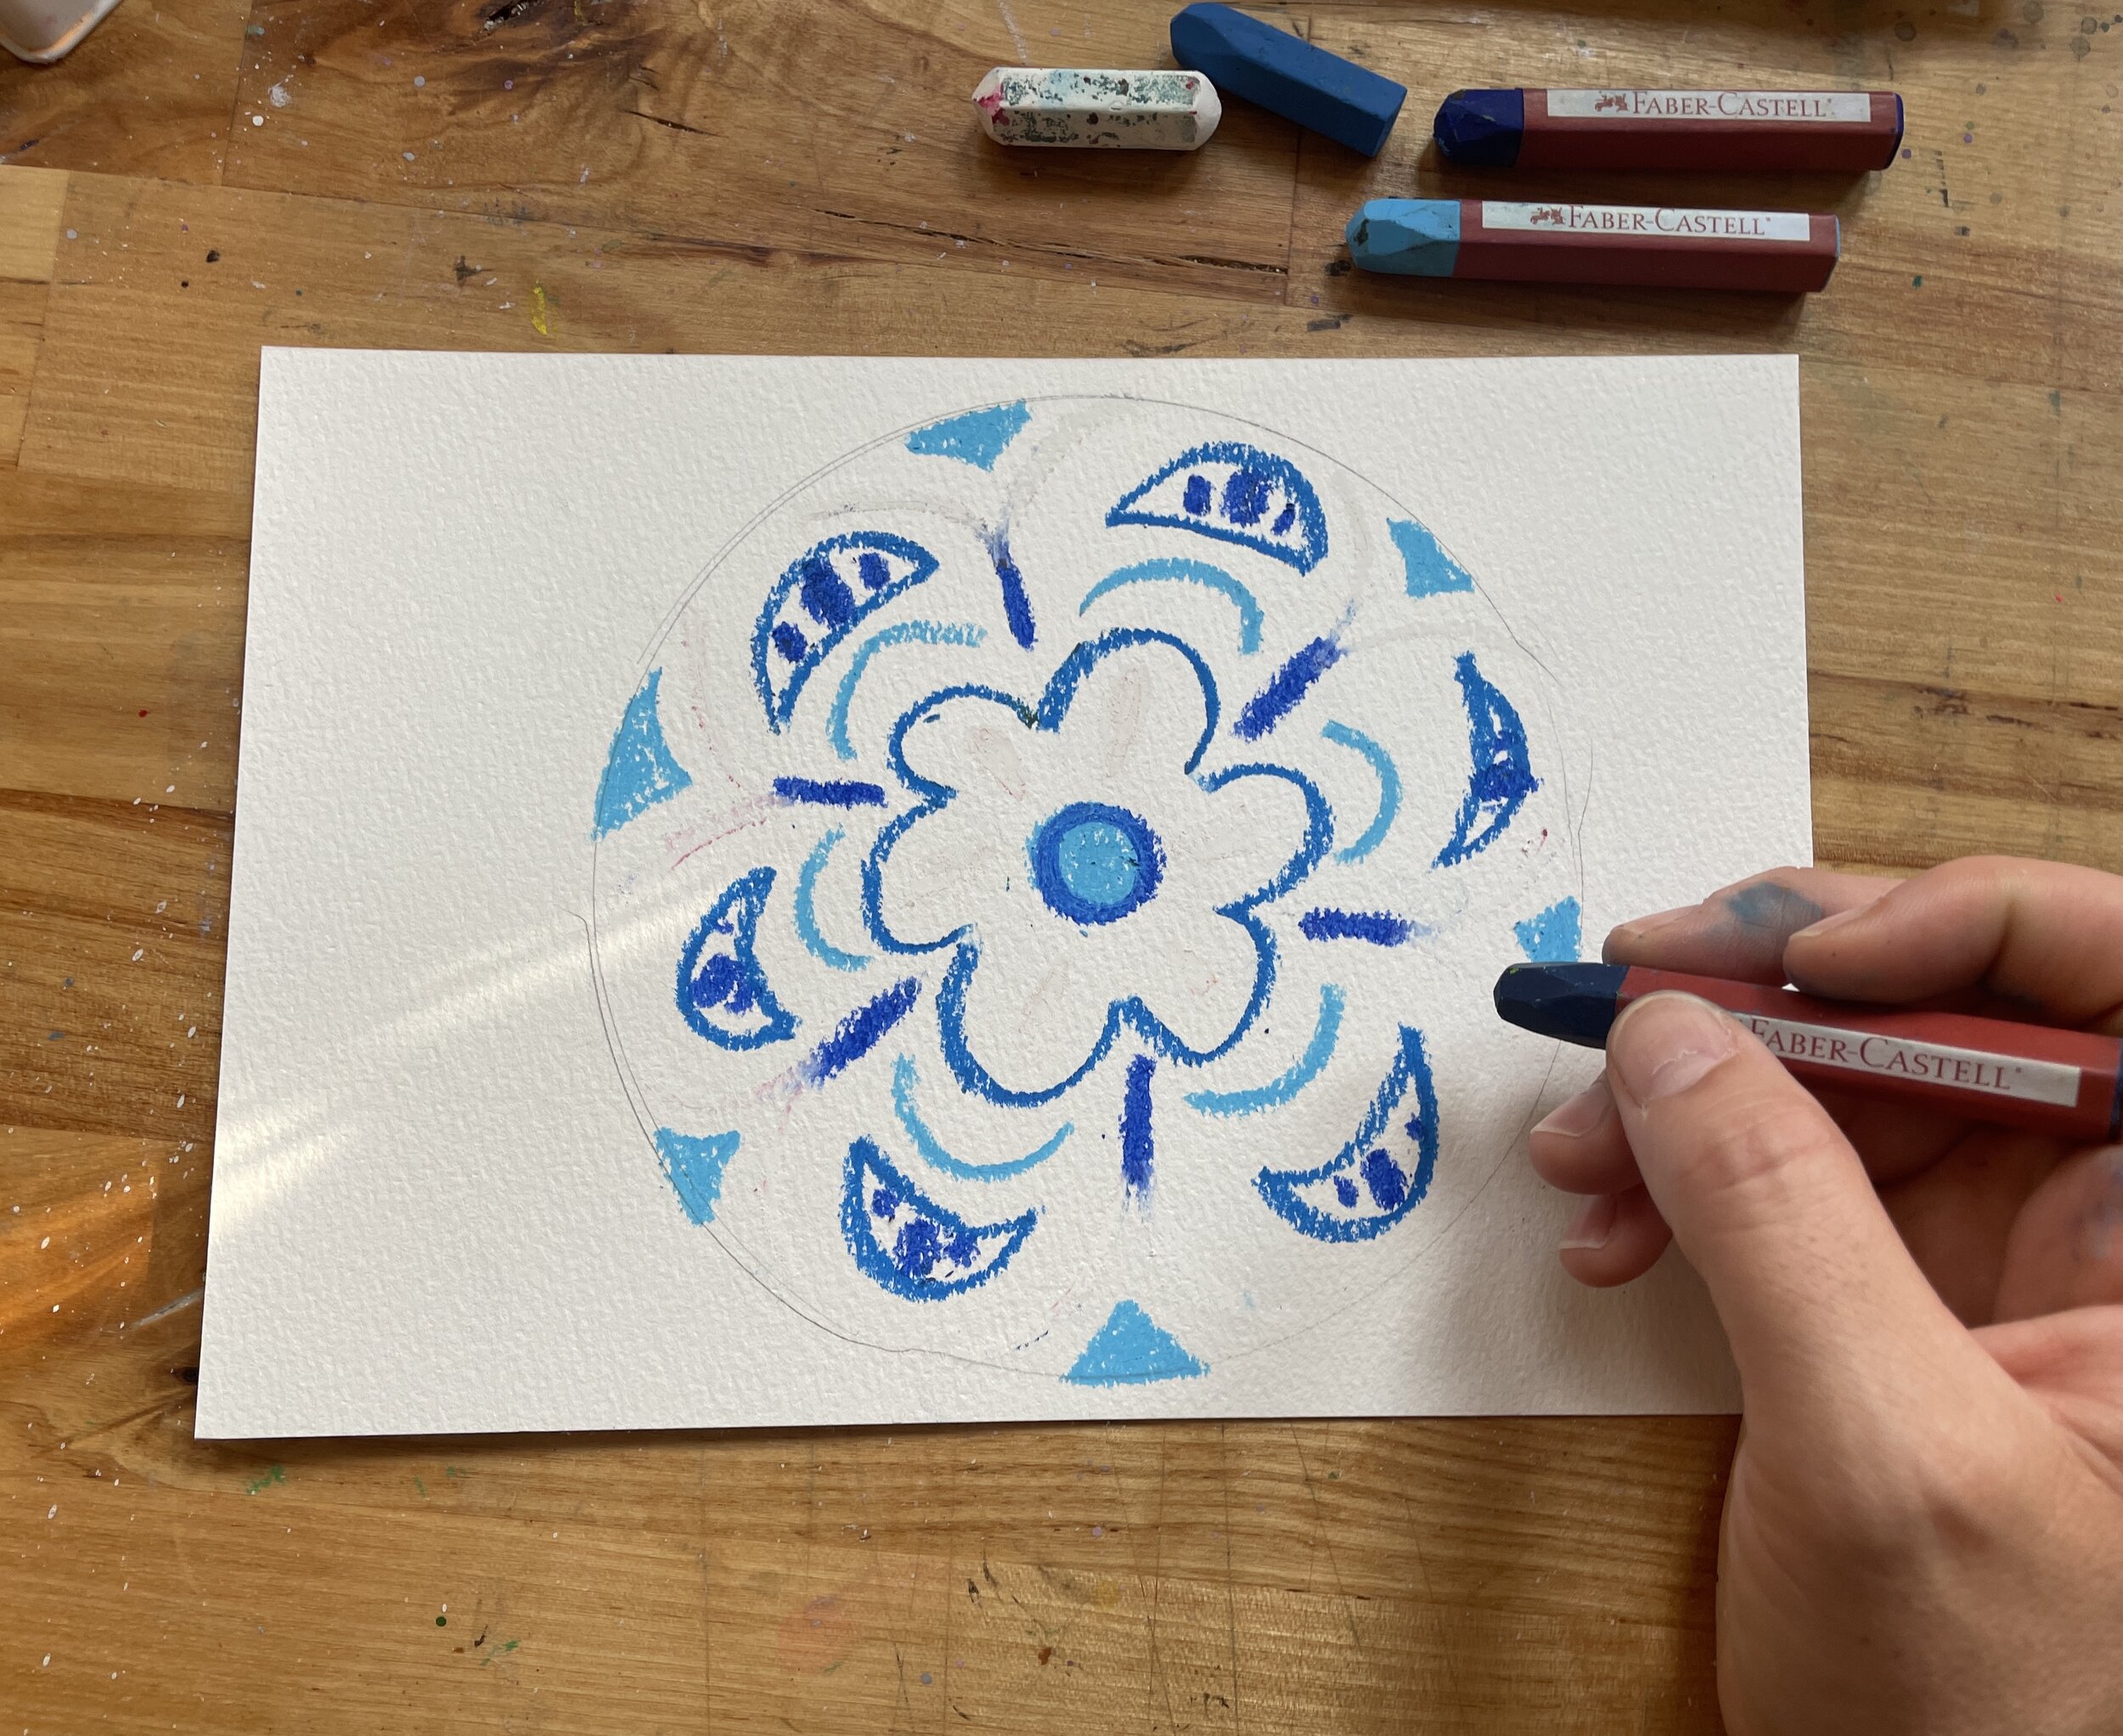
Step 2: Draw lines & shapes in one color
Next, after we “made our mark” I talk to students about adding lines & shapes. I explain “radial symmetry” (when you repeat a line/mark from one part all the way around in a circle, like a sun or flower- the pattern radiates around. Students fill their dot with radial patterns in monochromatic oil pastels
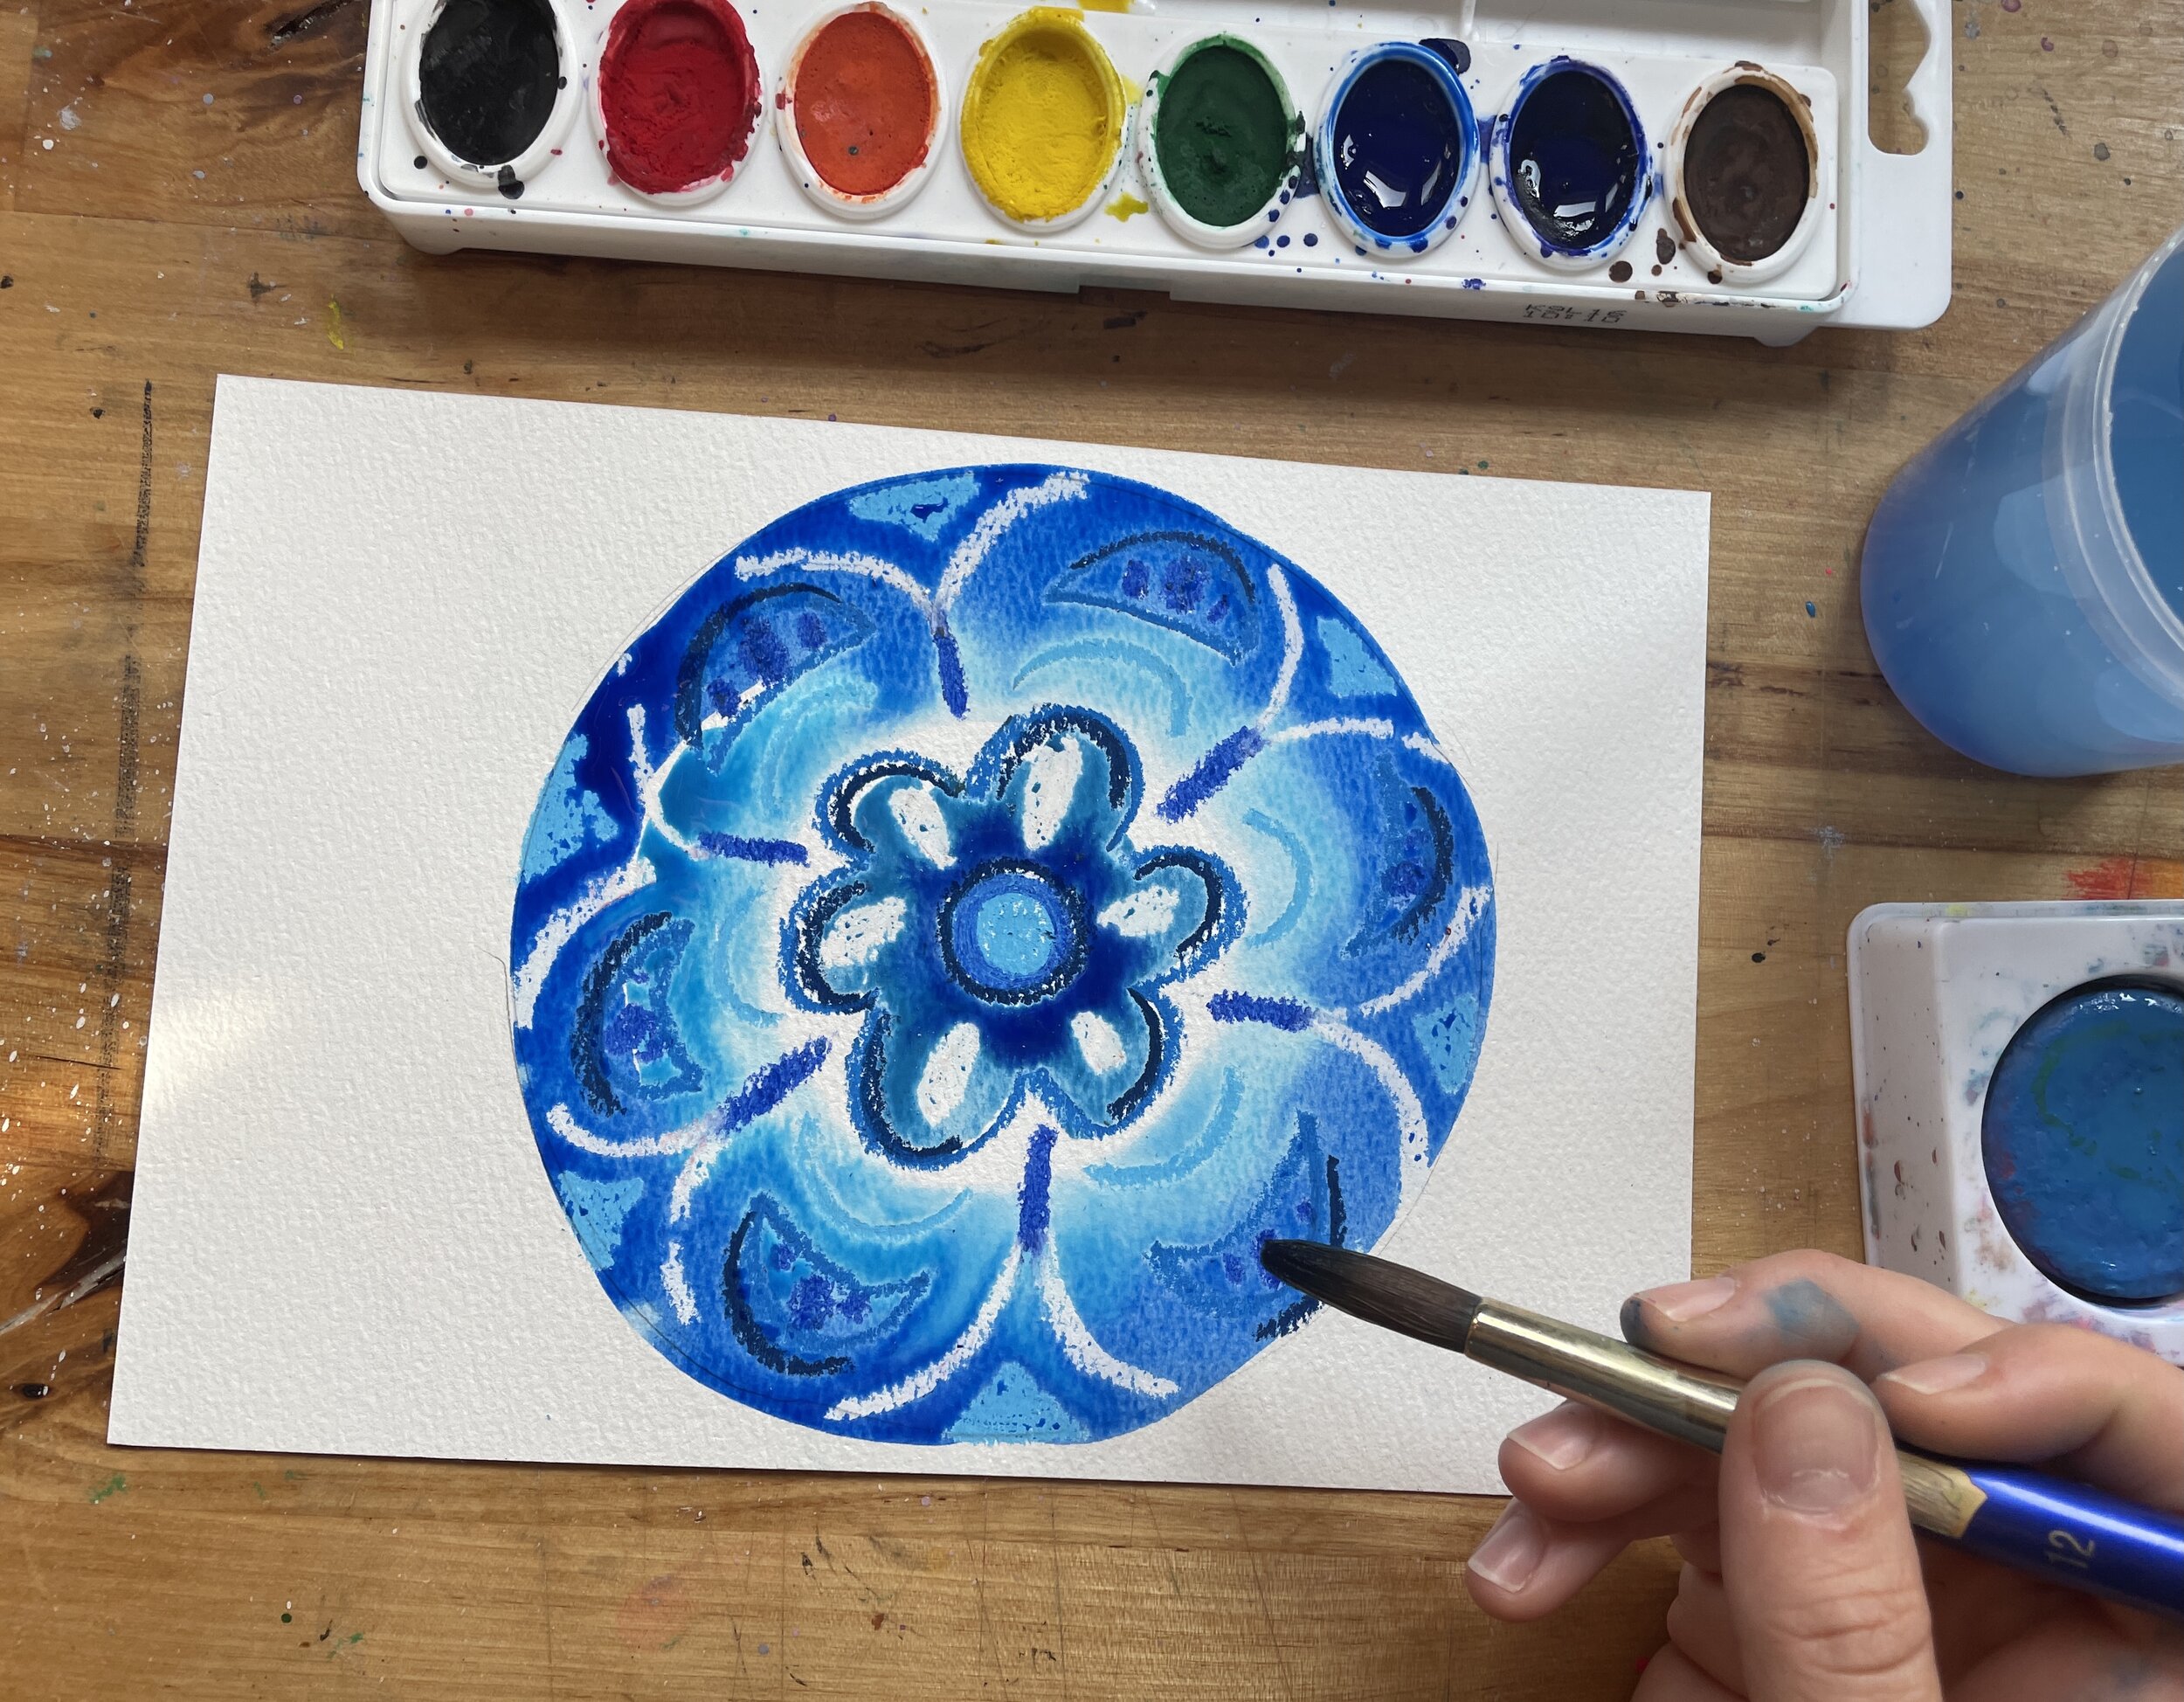
Step 3: Paint overtop
After oil pastel has been added, students use watercolor or tempera cakes in the same color to create a wax resist over top of patterns. A wax resist is when the oil pastel does not allow the watery paint to stick it, revealing the bold lines below. I encouraged students to paint or draw beyond their template pencil lines if they wanted to, still staying in a circle.
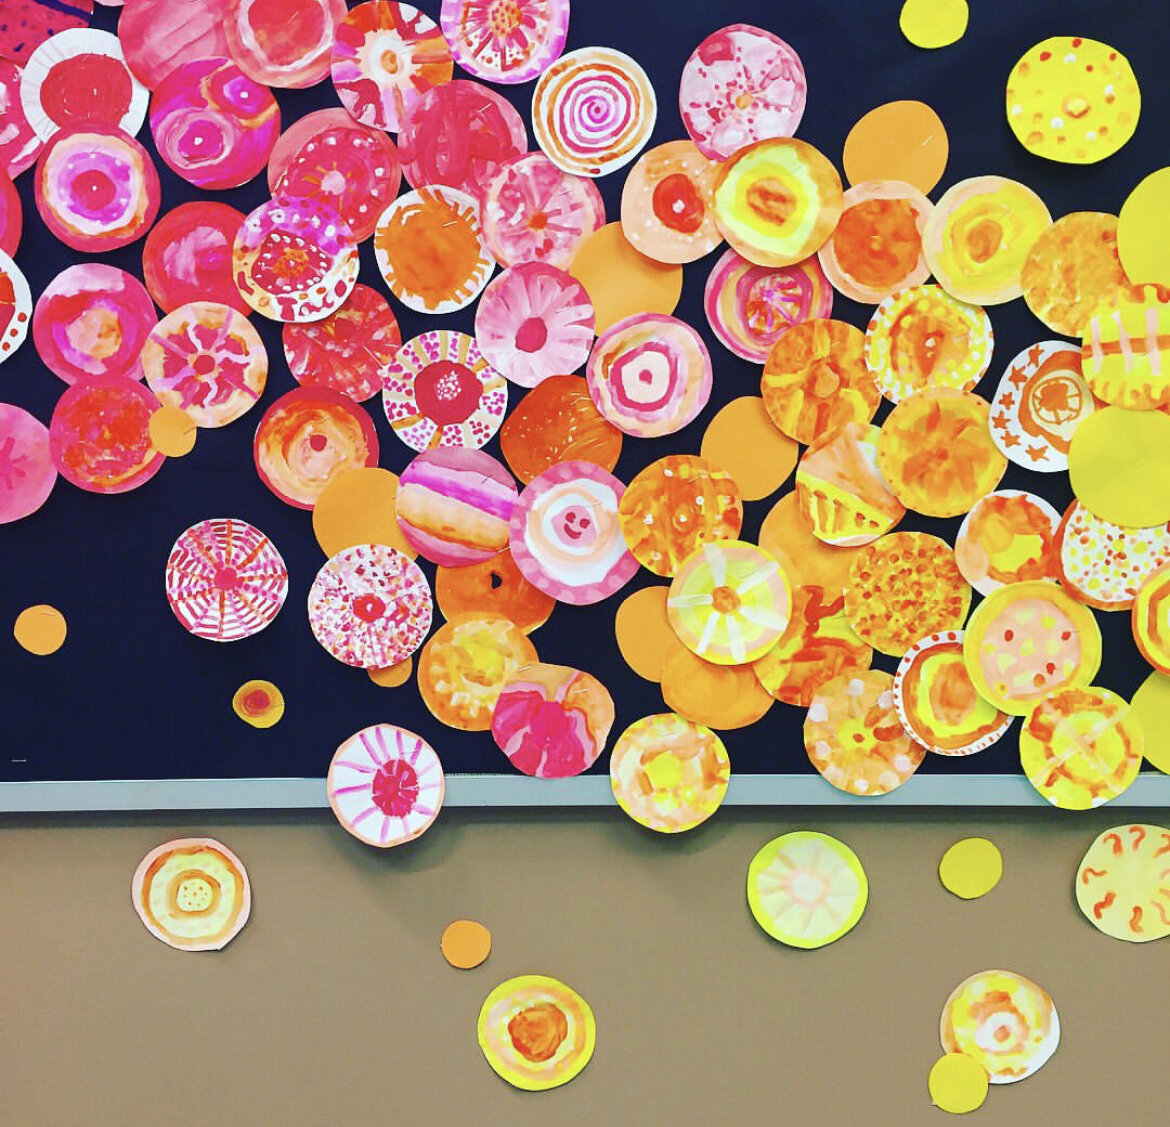
Step 4: Cut out and arrange
When dry, have students cut out their dots and store them in their designated color. Once all dots are cut out arrange on a bulletin board or display in rainbow order, overlapping them slightly.
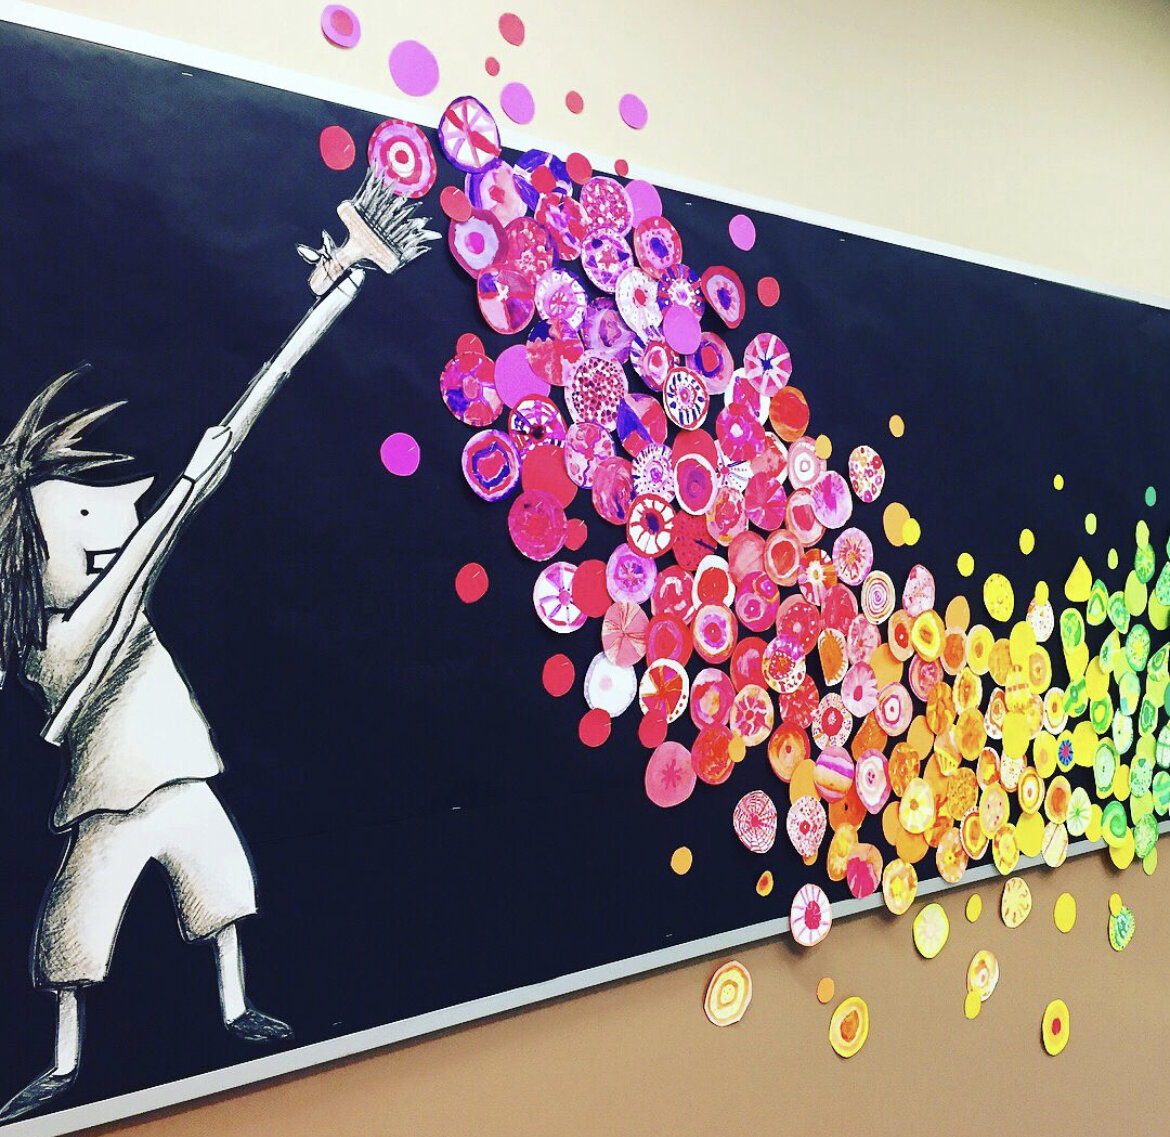
5. Add Vashti!
If you aren’t confident free-drawing Vashti (the main character in the dot), you could project her picture onto a piece of large bulletin board paper and trace the lines. I free-drew Vashti here and used a combo of Sharpie and crayon.
STUDENT EXAMPLES:
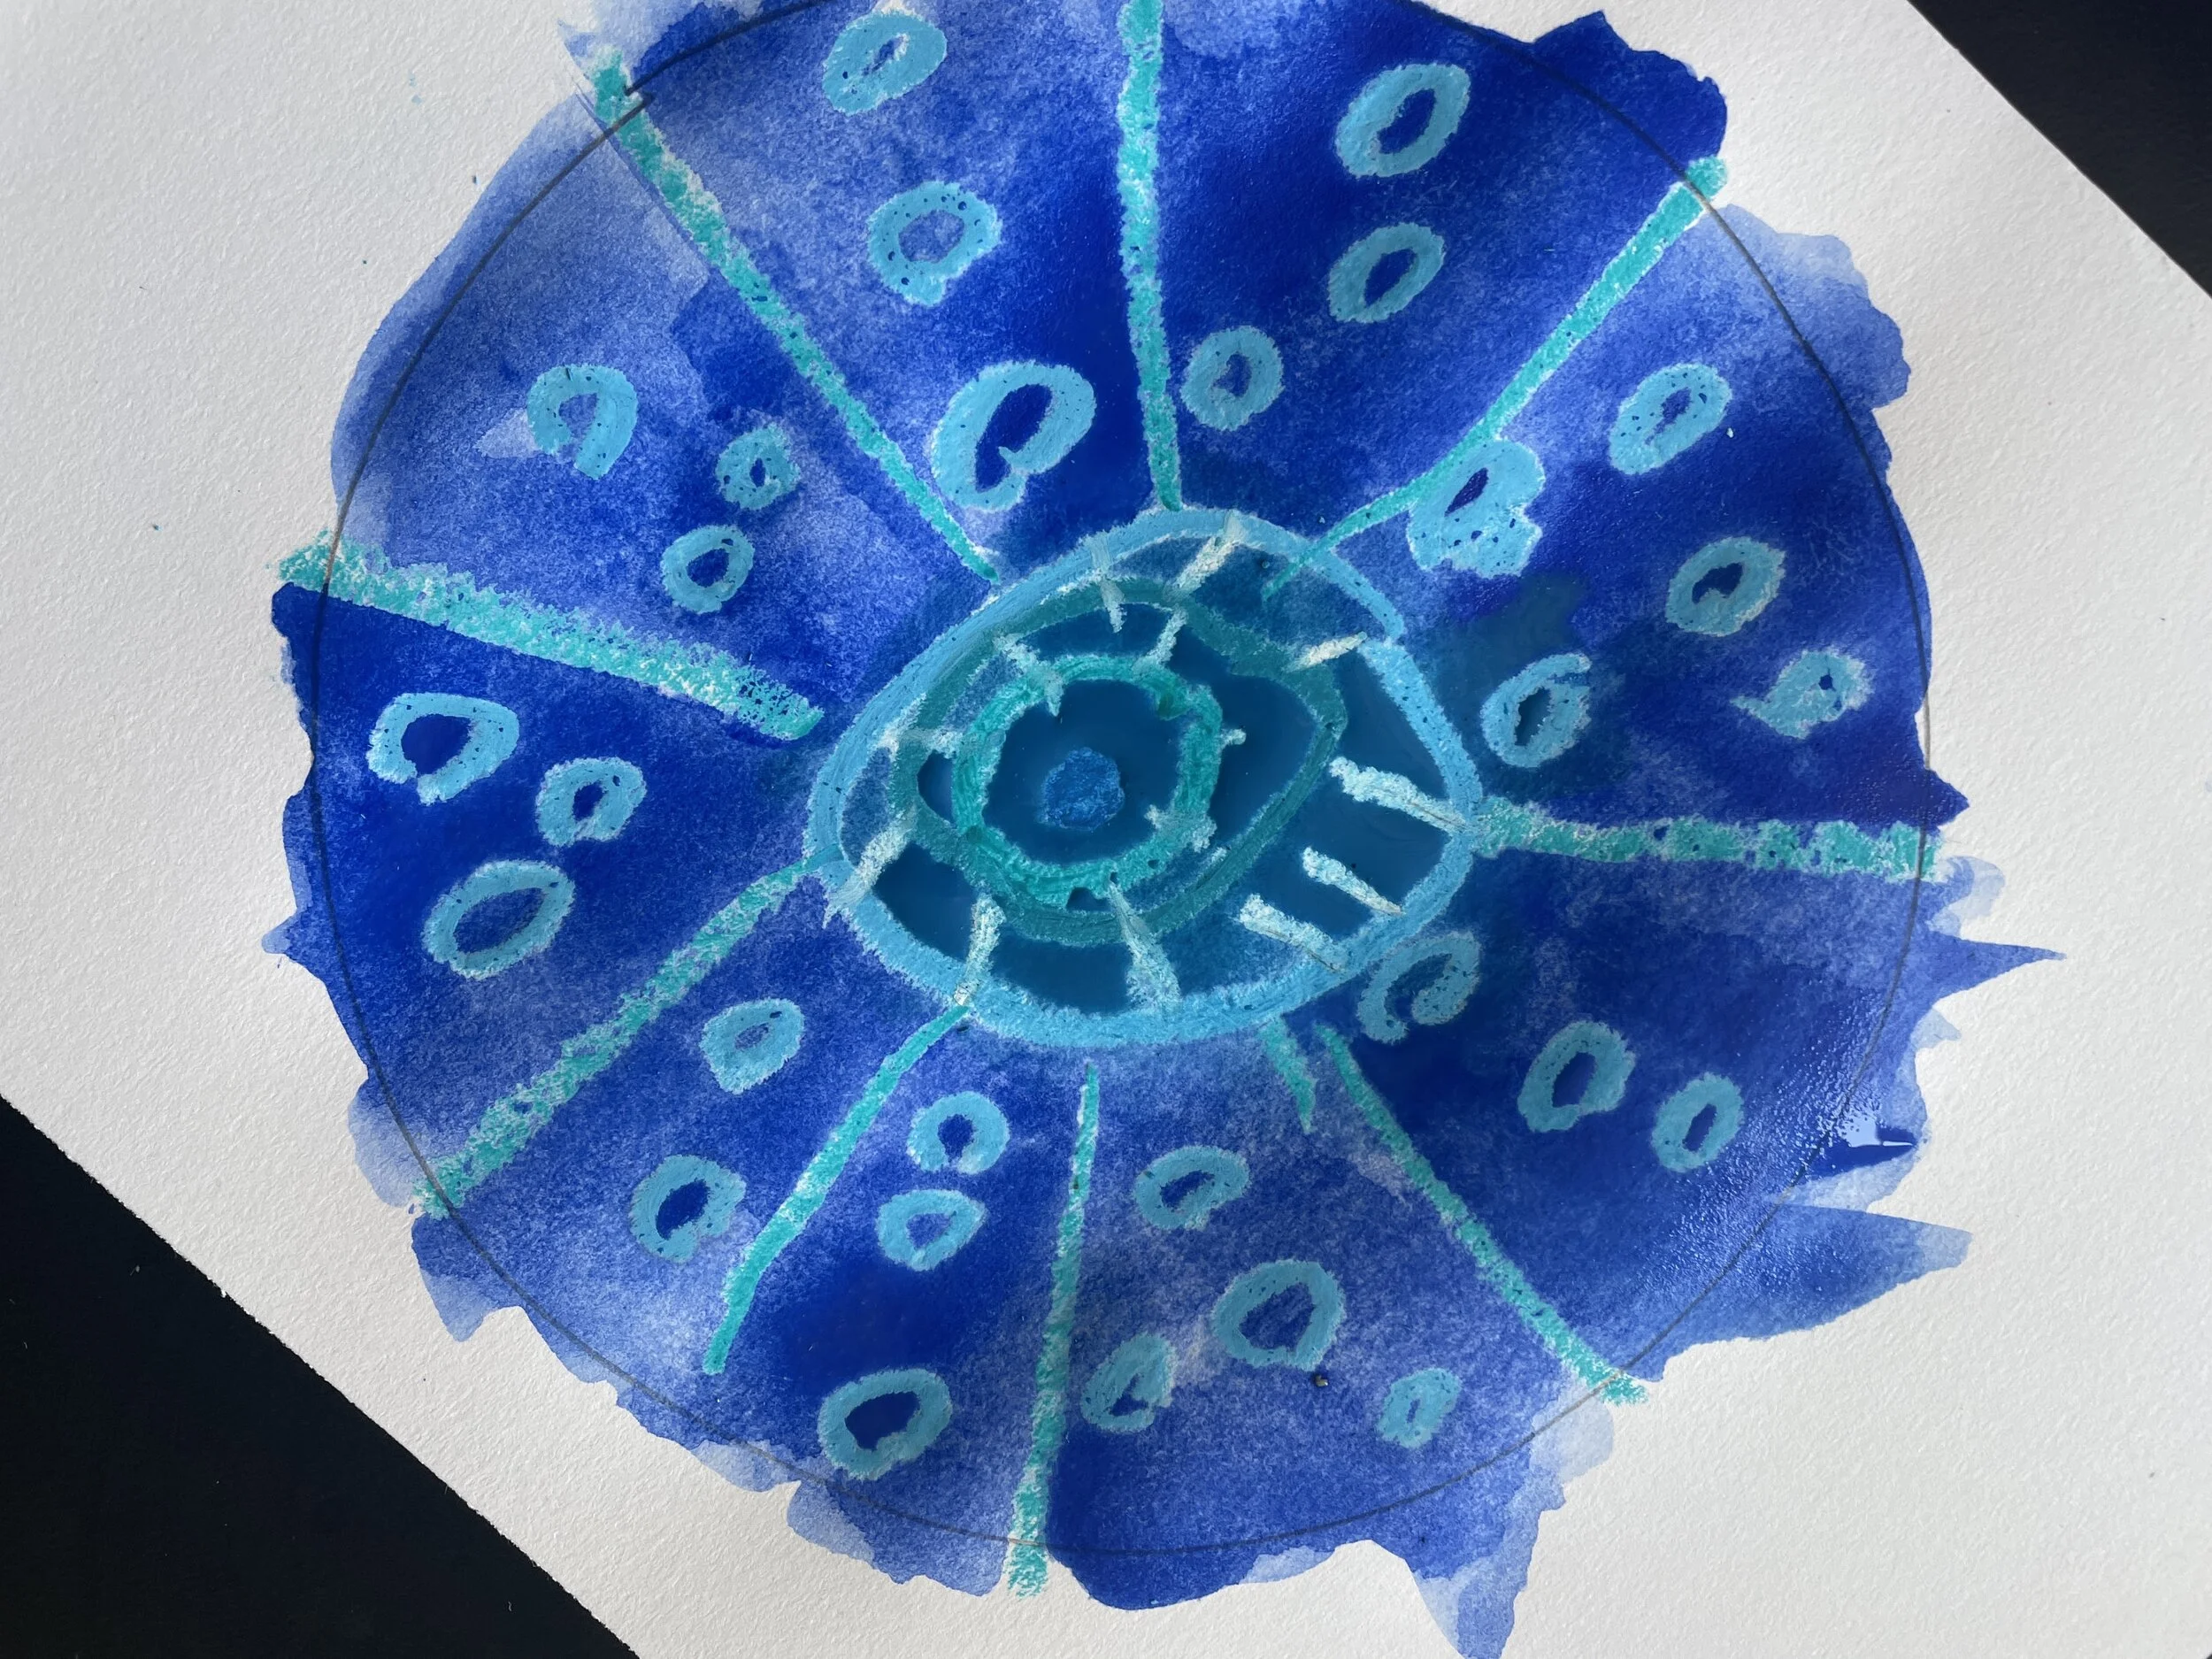


For my 4th and 5th grade students, I decided to have them paint their dots only using tempera paint. My absolute favorite tempera paint is Crayola Premier Tempera- in both traditional and fluorescent colors. Having my students begin the same way (with a circle tracer) I also gave my 4th and 5th graders an additional analogous color to the color to they were assigned. For example: the Red table had both reds and oranges at their table. Orange table had oranges and yellows available, so one and so forth. The reason for giving the older students two colors is so that when the dots are all arranged into our rainbow, we have a beautiful natural transition from one color to the next, not an abrupt stop and go between colors. Here are a few examples of my 4th and 5th grade dots. I also allowed them to work on larger paper for dot variety.


2 comments
This absolutely beautiful
me encanto la idea,hermosa la voy a copiar con mis niñ@s puedo?