Blog
10 Exciting Art Lessons to Try for Dot Day!
Looking for creative ideas to celebrate International Dot Day in your art room or classroom? This post is packed with Dot Day art lessons for elementary students that are easy to prep, engaging, and full of color. From collaborative school-wide displays and concentric circle paintings to pointillism inspired by Georges Seurat, these projects help students explore color theory, creativity, and community-building. Perfect for art teachers, classroom teachers, and teaching artists, these Dot Day activities connect seamlessly to The Dot by Peter H. Reynolds and give kids the chance to “make their mark” in meaningful ways. Whether you need quick, mess-free projects or larger collaborative murals, these Dot Day lesson plans will inspire your students and brighten your school!
Learn moreDIY Sun Catcher: An Easy and Colorful Art Project For Kids of All Ages!
Looking for an easy and colorful art project for kids? This DIY Sun Catcher lesson is perfect for art teachers, classroom teachers, and parents! Using black glue and markers on transparency film, students can create beautiful stained-glass–inspired sun catchers that brighten any window. Fun, affordable, and simple to set up—perfect for spring art projects, classroom activities, or creative afternoons at home.
Learn moreEasy Coffee Filter Flowers Craft for All Ages! 🌸
Looking for an easy and engaging spring art project for kids? These colorful coffee filter flowers are perfect for art teachers and parents alike! With simple supplies and a big visual payoff, this process-based craft explores color mixing, creativity, and sensory play—making it an ideal addition to your spring arts and crafts lineup.
Learn moreHow to Make a Textured 3D Tree for Your Classroom or Art Show
Creating a large, textured tree is a beautiful, dynamic project that can be used year after year to create an immersive experience for an art show or your classroom. Whether you're celebrating the seasons, creating a backdrop for an art exhibit, or just looking to add some creative flair to your space, this DIY tree project is a perfect fit. Here’s how to make it step-by-step. Materials Needed: Painter's tape Brown kraft paper Foil (for texture) Hot glue gun Brown paper towels (for paper mache) Paper mache paste (homemade or Elmer's glue paste) Cheap green plastic tablecloths Paper clips or binder clips Pool noodles (optional for branches) Streamers or twisted green bulletin board paper (for vines) Paint and brushes (for embellishments) Step 1: Set the Base Start by finding a column or bump-out wall space to use as the tree's base. Secure brown kraft paper onto the wall with painter's tape to form the trunk of the tree. This will provide a sturdy foundation for the rest of your project. Step 2: Add Texture with Foil Crinkle some strips of foil and hot glue them onto the kraft paper base. This adds texture and gives the tree a more sculptural, realistic look. Foil is lightweight but can still give the appearance of rough bark or tree texture. Step 3: Paper Mache the Trunk Next, use strips of inexpensive brown paper towels (perfect for this project and commonly found in schools!) to create a paper mache layer over the foil. Dip the strips into paper mache paste (you can either make it yourself or use Elmer's glue paste) and apply them over the crumpled foil. This layer adds both texture and strength to the trunk. Step 4: Create the Tree's Leaves For the leaves, use green plastic tablecloths from the dollar store. These are cheap, easy to work with, and have a nice flowing texture. Attach the tablecloths to the ceiling using paper clips or binder clips, letting them hang down to form the main body of the tree’s leaves. Step 5: Make Vines to Hang from the Tree Create some fun vines by twisting green bulletin board paper, streamers, or strips of tablecloths. Drape them around the tree to give it an extra layer of whimsy and realism. You can even have your students help create these in bulk for efficiency! Step 6: Add Branches with Pool Noodles If you'd like to add branches to your tree, pool noodles work wonderfully. Cut them to the desired length, then wrap them in crumpled kraft paper and secure them using hot glue or more paper mache. This makes for flexible, lightweight branches that can be arranged however you like. Step 7: Embellish the Tree Trunk Once the basic structure is in place, it’s time for some finishing touches! Use a dry brush technique with different shades of brown paint to add texture to the trunk. You could also paint in a critter in a hole in the tree, or get creative with other ideas to personalize the look. Step 8: Bonus – Reuse Your Tree for Different Celebrations One of the best parts about this project is that it’s versatile! You can reuse the tree year after year for different themes or school events. For example, I used this tree as part of a Mister Rogers-themed art show. The possibilities are endless when you think about how to incorporate the tree into different celebrations or art show themes! This DIY tree is a fun way to add a creative element to your space, and the best part is it can be used for multiple purposes throughout the year. From art shows to classroom decor, it’s sure to be a hit! Happy crafting!
Learn moreDIY Eco-Friendly Holiday Décor: Cardboard Winter Villages and Giant Paper Bag Snowflakes
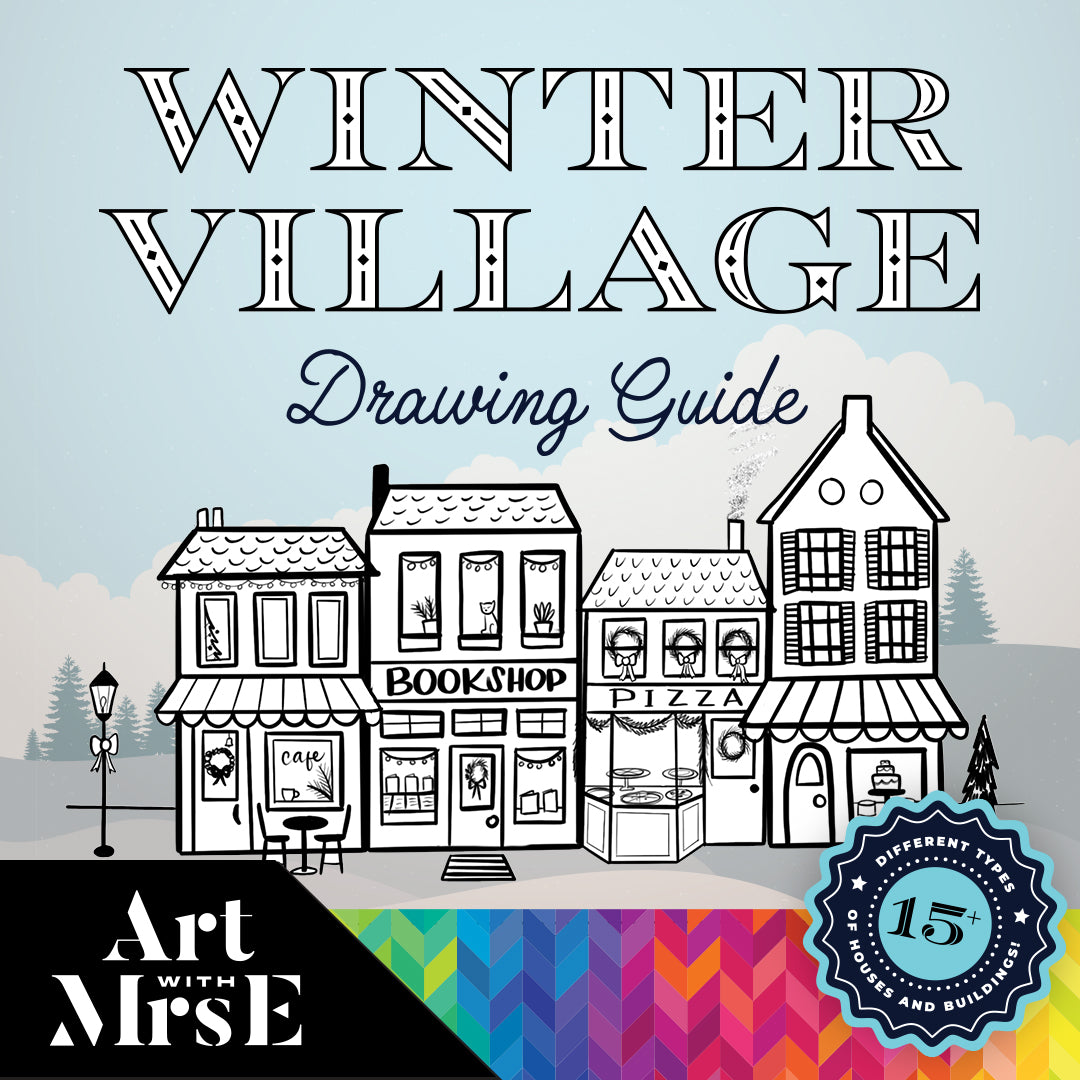
Looking for festive, budget-friendly holiday décor ideas? This season, skip the store-bought decorations and try making your own with materials you likely already have at home. These eco-friendly crafts are not only beautiful but also fun for the entire family to create together! In this blog, I’ll show you how to turn cardboard and brown paper bags into adorable winter villages and stunning giant snowflakes. Back story: Picture this, it's the year of 2020 and you are an art teacher attempting to teach art during a global pandemic to kids who are either: a. quarantined at home while the rest of their classmates are in school, or b. an entire class of children who are remote learning from home and having to use only supplies that are accessible to them at their house. Sounds kind of like a nightmare huh? Nope! Just another day as a teacher during the Covid 19 Pandemic. *shutters at the memories* All jokes aside, even though teaching through the pandemic was one of the most difficult times I've experienced throughout my career, it also was filled with many silver linings. One of them was forcing myself to think creatively about how I could still provide quality instruction to my students despite the circumstances. One of the fun routes I decided to go was to have a focus on using eco friendly materials and upcycling everyday materials to create art with. One of the supplies we used most often was cardboard! So around the holidays I decided to have my students create gingerbread homes out of cardboard and white paint or paint pens, and it was so much fun! I also forced myself to start making Youtube videos that my students could access at their leisure when making these projects from home. Anyways, it was a wild time but I came out of it with lots of fun lessons and ideas to continue to share! So let's get into them, shall we? 1. Cardboard Winter Village Transform everyday cardboard into a cozy holiday display with this upcycled winter village project. Whether you’re making a quaint snowy town or whimsical gingerbread houses, this craft is a perfect family activity. Materials Needed Cardboard (think cereal boxes, shipping boxes, or leftover packaging) Scissors Glue Markers or paint Optional embellishments: buttons, fabric scraps, cotton balls, glitter Step-by-Step Instructions Cut House Shapes: Use scissors to cut out house shapes from the cardboard. Vary the sizes for a charming village vibe—tall houses, cottages, or even a shop or church! Decorate: Let your creativity shine! Draw or paint doors, windows, and roof tiles. Add festive touches like wreaths or string lights using your markers or paints. You can use my Winter Village Drawing Guide for inspo! Embellish: For an extra cozy feel, glue on buttons for doorknobs, fabric scraps for curtains, and cotton balls for snow. Display: Arrange your village on a mantle, windowsill, or as a centerpiece for your holiday table. Tip: Encourage each family member to decorate their own house, adding their unique style to the village. Additionally, you can make these winter homes in all sizes! I loved making a giant house with my adapted art class, made from my paper storage cardboard! You can learn more about that full project on my blog 5 Amazing Winter Art Projects for Adapted Art. 2. Giant Paper Bag Snowflakes If you’re looking for a show-stopping decoration, giant paper bag snowflakes are the way to go. These are easy to make, eco-friendly, and bring a magical touch to any room. Materials Needed 7 paper lunch bags (brown or white) Glue bottle or hot glue (preferred) Scissors Ribbon/ String for hanging Step-by-Step Instructions Glue the Bags: Apply glue in an inverted “T” shape (across the bottom edge and up the middle) and stack the bags together. Repeat until all bags are glued. Cut Designs: Once the glue dries, cut patterns along the edges of the stack—triangles, semicircles, or zigzags work great. Fan the Stack: Carefully fan the stack open and glue the two ends together to form a snowflake shape. Hang and Display: Attach a string to your snowflake and hang it in a window, from the ceiling, or as part of a photo backdrop. These snowflakes look stunning in clusters of different sizes or colors and you can even paint them after the holiday season and turn them into flowers! You can find a video tutorial from me here! DIY Gingerbread House Gift Bags Turn ordinary brown paper bags into charming gingerbread house-themed gift bags. These personalized bags are perfect for wrapping small presents or treats and add a whimsical holiday touch to your gift-giving. Materials Needed Brown paper lunch bags White paint pen or white acrylic paint with a small brush Ribbon or twine Small gift tags (optional: cut from colorful cardstock) Scissors (optional for trimming) Treats, gifts, or holiday goodies to fill the bag Step-by-Step Instructions Prepare the Bag: Start with a flat brown paper bag. Fold down the top edge if you want a shorter bag. Draw the House Details: Use a white paint pen or white tempera paint and a thin paint brush to draw details like windows, doors, rooflines, and holiday elements (e.g., wreaths, snowflakes, or swirls). Get creative! Each bag can have its own design, from modern houses to cozy cottages. Add Embellishments (Optional): Punch a hole at the top of the bag and thread ribbon or twine through to secure it once the gift is inside. Attach a gift tag for a personalized touch, adding the recipient's name. Fill and Finish Add gifts into bag with small amount of paper filler, Fold in the sides, thread your yarn or ribbon through holes, and tie in the front.
Learn moreWindow Painting 101: How to Paint Festive Windows at School or Home
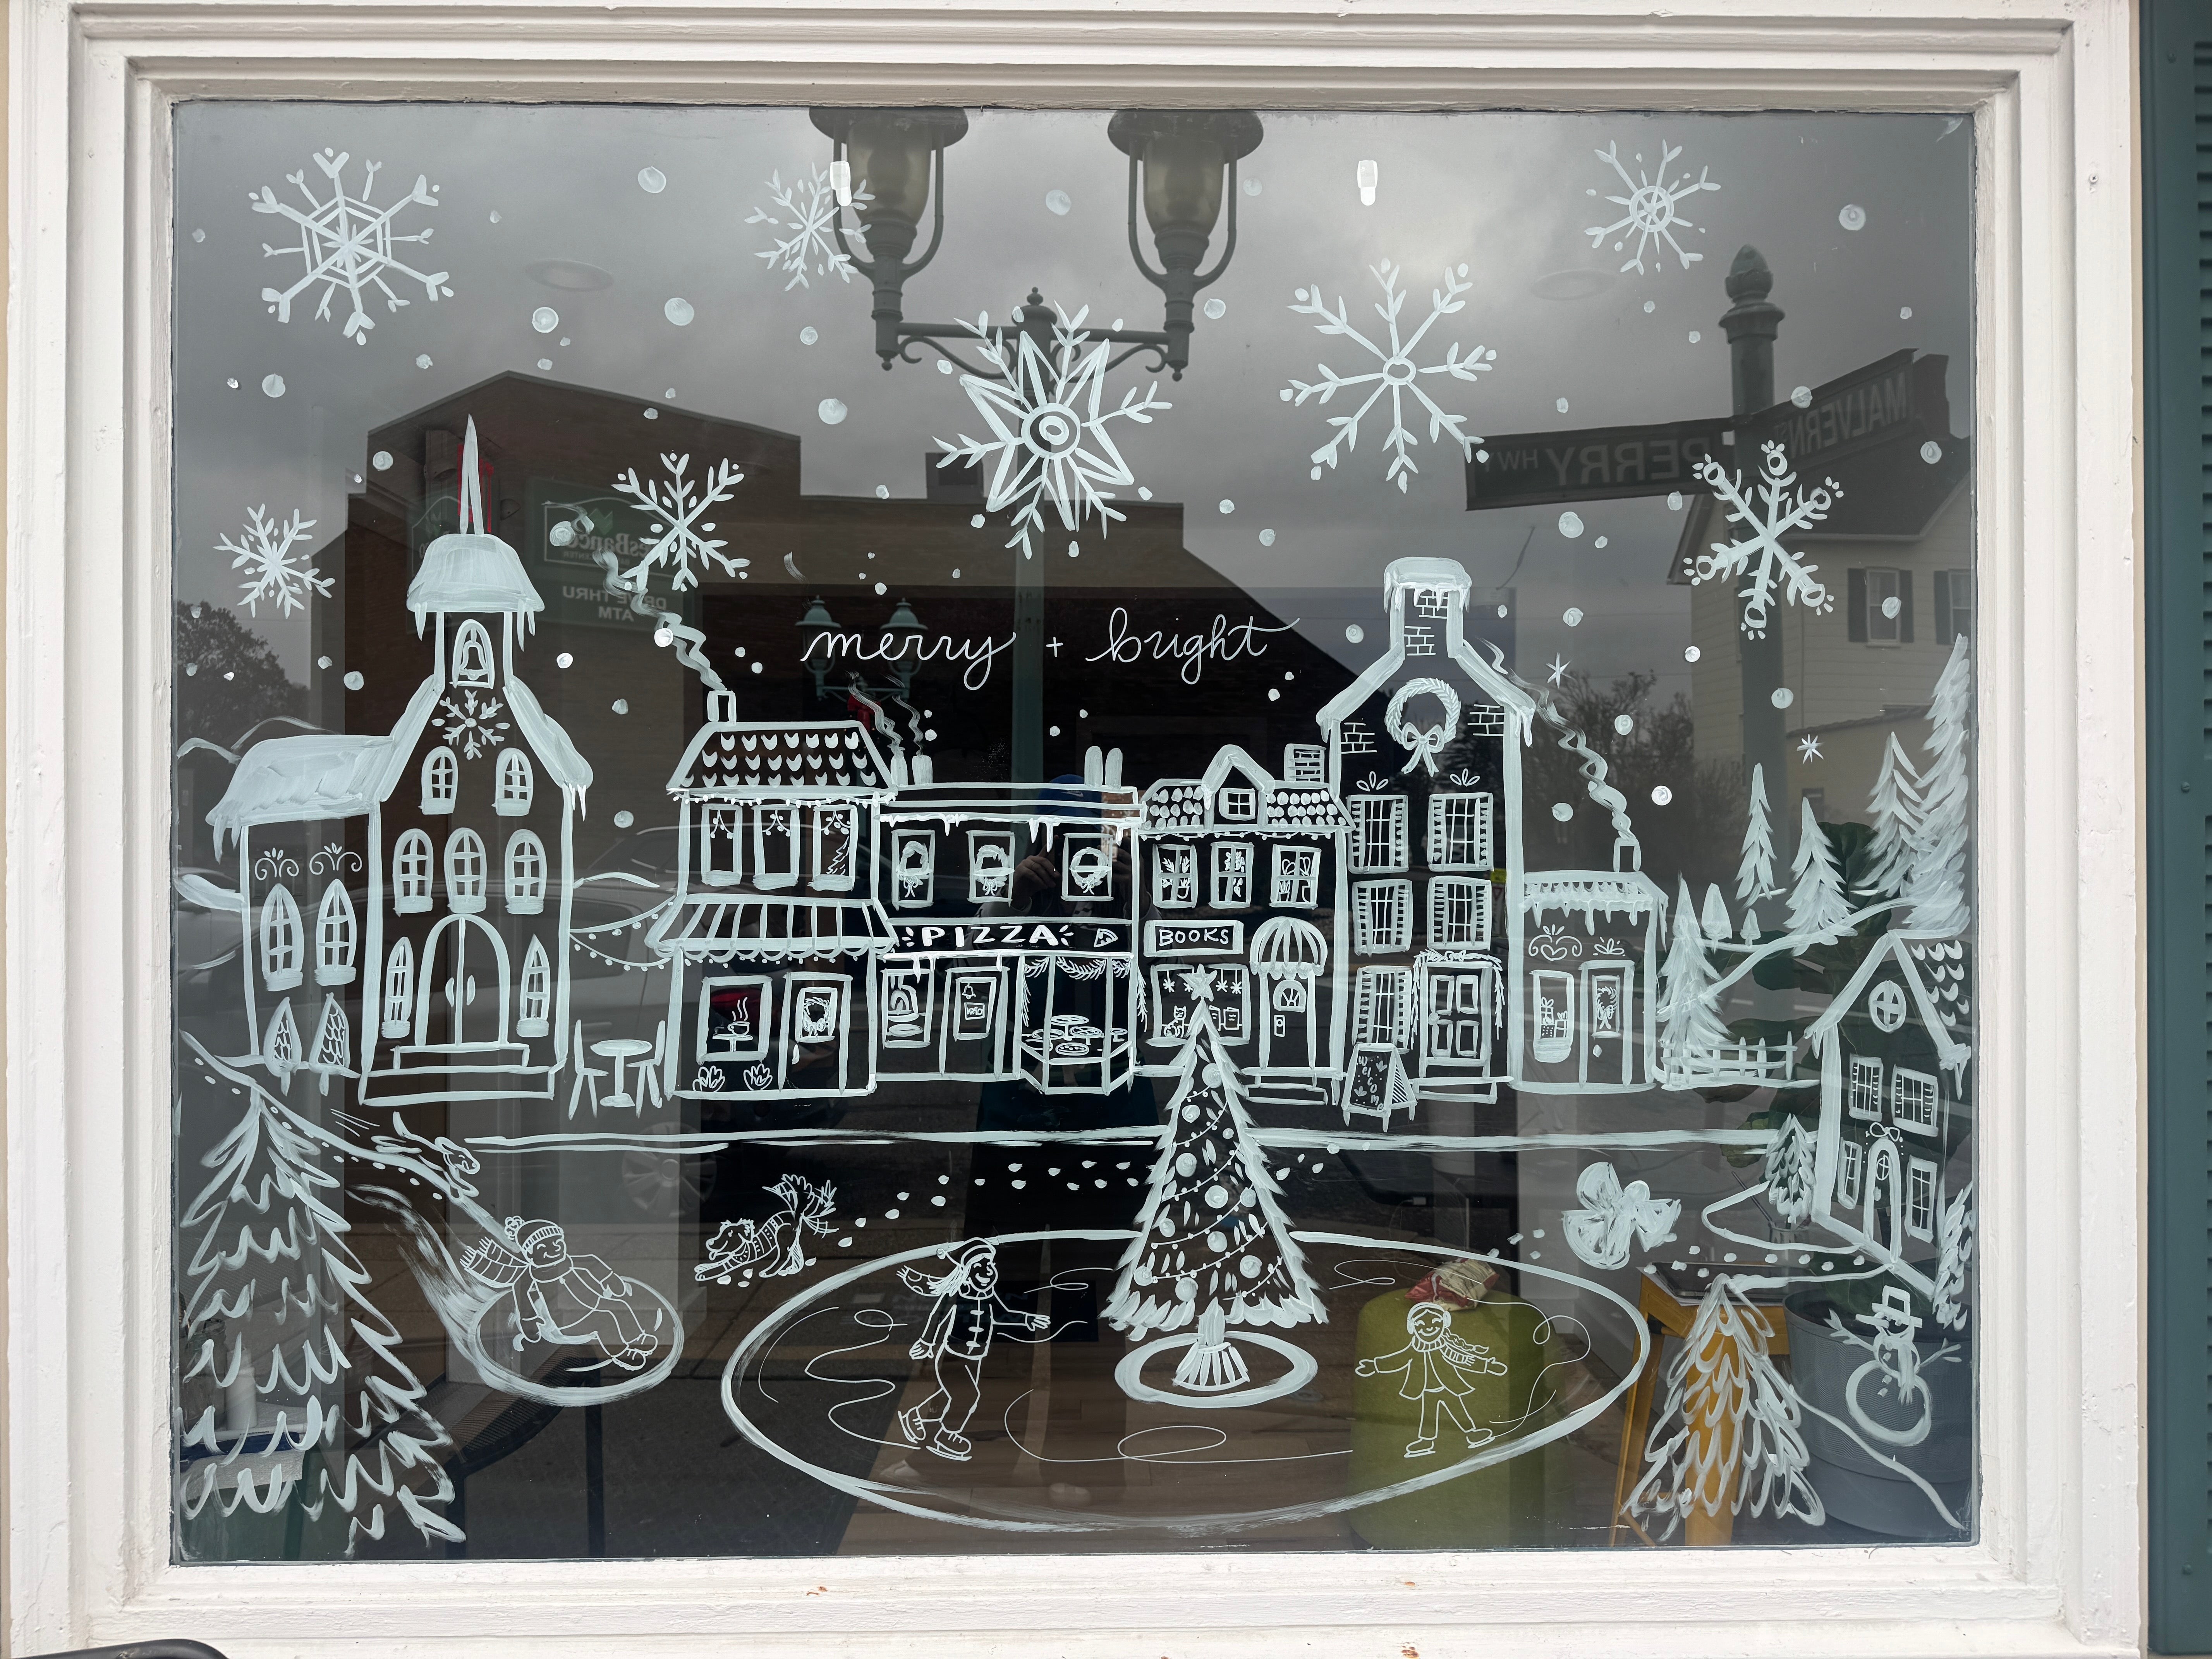
One of my favorite ways to spread holiday cheer throughout my school community has been to paint the windows. Painting the windows in your classroom, front office, library, wherever is such an amazing way to make a BIG impact with just a little time and paint. This is also a fun way to involve your students in a community based art project (if the imagery is simple enough!) Today I want to share all I know about window painting, share my process, as well as answer some of the questions I have received over the years when it comes to painting windows. So let's go! How to Paint Windows for the Holidays: In this blog, we'll guide you through the creative process of painting your windows, adding a personalized touch to your surroundings that captures the magic of the holidays. Gather Your Supplies: Before diving into your holiday masterpiece, gather the necessary supplies. You can honestly use many different times of paint/ markers to decorate the windows. I prefer to use tempera paint as it just washed right off! I love Crayola Premier paint. However, you can also use water based acrylic paint, paint pens, or chalk markers! Choose a color palette that perhaps compliments the surrounding area/ decor, or you can keep is classic and simple and just use all white! Sketch/ Gather Inspiration For Your Design: Start by sketching your design on paper to visualize how it will look on your windows. It would be just something real quick to help you with layout, and then you can reference other imagery while you work. You could consider more classic holiday imagery like snowflakes, ornaments, or festive landscape. You could also choose to paint some of the iconic holiday characters around this time of year- I have loved painting My favorite imagery has been painting a winter village. It's festive yet not specifically Christmas. I recently painted the windows at my local library and opted to paint a woodland creatures winter scene, as they had expressed they would like the leave the windows up throughout the winter, not just December. Here is a step by step tutorial for painting your own winter burrow scene from a recent blog post. You can find a link to my drawing guide for winter village drawing guide here, as well as my woodland creatures guide here. Prepare the Windows: If your windows are notably dirty, it would probably be a good idea to clean them before painting! You also might want to lay down a drop cloth, or just a poster board along the window ledge to catch any paint drips. Get Painting: With your design in mind and your windows prepped, it's time to bring your vision to life. If you want to begin with the end in mind- and would like to use a scraper to take the window paint off, you can add a pump or two of dishsoap to the paint for easy clean up! Now, just keep in mind, the more soap you add, the thinner/ more diluted your tempera paint will be. If you would like paint that is more opaque, then just use the tempera paint as it is. Gather a mixture of brushes to vary line thickness. I like having a few brushes of each size/ shape. I mostly end up using flat brushes to paint windows. I use large + medium flat brushes for painting in larger areas, and medium + smaller round brushes for smaller details. Once you get painting you will discover what brushes work best for you! * A few other things to note about the painting process: * If you are planning on making your windows visible from both sides of the window, you need to consider your process. If you use only one color (like the white for the winter village) you will be fine! Everything will be drawn in a monoline and perfect from all sides of the window. However, if you are painting a character or scene with more colors and wish to have a black outline, you will need to start with the black outline of your scene first. Typically when we paint, we block in shapes first and then add the black details on top so they are visible- but if you would like your windows to be viewed on both sides, you will need to: 1. Paint the black outline first. 2. Paint in the colors of the shapes as if you are working on a coloring book page. Meaning- do not paint over the black outlines, as this will move/ smudge the black paint and mix it into your colors. Only paint in the negative spaces in and around the black outline.Then, once evetything is painted in, you can add a bit more black on top to clean up/ darken your black outlines. Just be sure to wait for the paint to dry so it doesn't move/ you don't pick the paint back up. If you are going to blend colors, you will need to blend as you paint, and while the paint is wet! Once you let tempera paint dry on the window, if you try to paint over it, it will be darker, look splotchy and not look as clean as if it were all painted in one layer. Try to avoid layering as much as possible on windows, unless you are using acrylic paint and don't plan on making your windows viewable from both sides. Here is an artist, Lindsey Morales who paints windows for the season on business's windows. She uses interior acrylic house paint and paints a base layer of white first and then builds up her painting like she would on a canvas or mural- but note: her paintings aren't viewable from the inside of the building, as all you would see is the white base layer. 5. Share the Joy: Your painted windows are sure to bring smiles to those passing by. Share the joy with your community by taking photos and sharing them through your newsletter or social media. You can consider organizing a window-painting event with your students to make it a shared experience. There is no better feeling than knowing you are spreading joy for other's to enjoy- what a special feeling you can share with your students. 6. Clean-Up and Removal: When the holiday season comes to an end, remove the window paint using a damp cloth or window cleaner. Washable window paint is designed to come off easily, leaving your windows clean and ready for the next creative endeavor. If you used soap in your tempera paint you can use a large paint scraper to scrape the paint off the windows. You can also use a paint scraper to take to acrylic paint off, you just have to spray the paint with water first to loosen the paint. Here is the window scraper I recommend! Painting your windows for the holidays is a wonderful way to express your creativity, spread festive cheer, and bring a touch of magic to your surroundings. Whether you're creating a winter wonderland or a scene straight from your imagination, let your holiday spirit shine through your painted windows to spread joy and love to others! Happy Creating!
Learn more5 Reasons Why You Should Teach Monster Themed Art Lessons
Do you want to see your students beam with excitement, burst with creativity, and create things that you never dreamed were possible? Well then you need to read this blog all about one subject that every art teacher needs to use in their art lessons: MONSTERS.
Learn moreDiverse Famous Artist Posters for the Art Room
If you're looking for a way to add color, creativity and rich art history into your art room, then I have the perfect visuals for you. Meet the Famous Artists Poster series, perfect to bring art history to life for art students of all ages. Your art room is about to become a living canvas as we showcase the work of some of the most celebrated artists in history, spanning various eras and genres. From the timeless beauty of Leonardo Da Vinci's Renaissance masterpieces to the bold, contemporary expressions of Jean-Michel Basquiat, we've curated a selection that's as diverse as it is inspiring.
Learn more10 Effective Ways to Foster Genuine Connections with Your Art Students At the Start of The Year
Discover 10 practical strategies to establish authentic connections with your art students at the start of the school year. From showing genuine interest in their interests and hobbies to creating and fostering a supportive environment, this blog offers valuable insights for art educators seeking a way to further connect with their students.
Learn moreAnimal Rescue Art Show | Teaching "Art Making For Others"
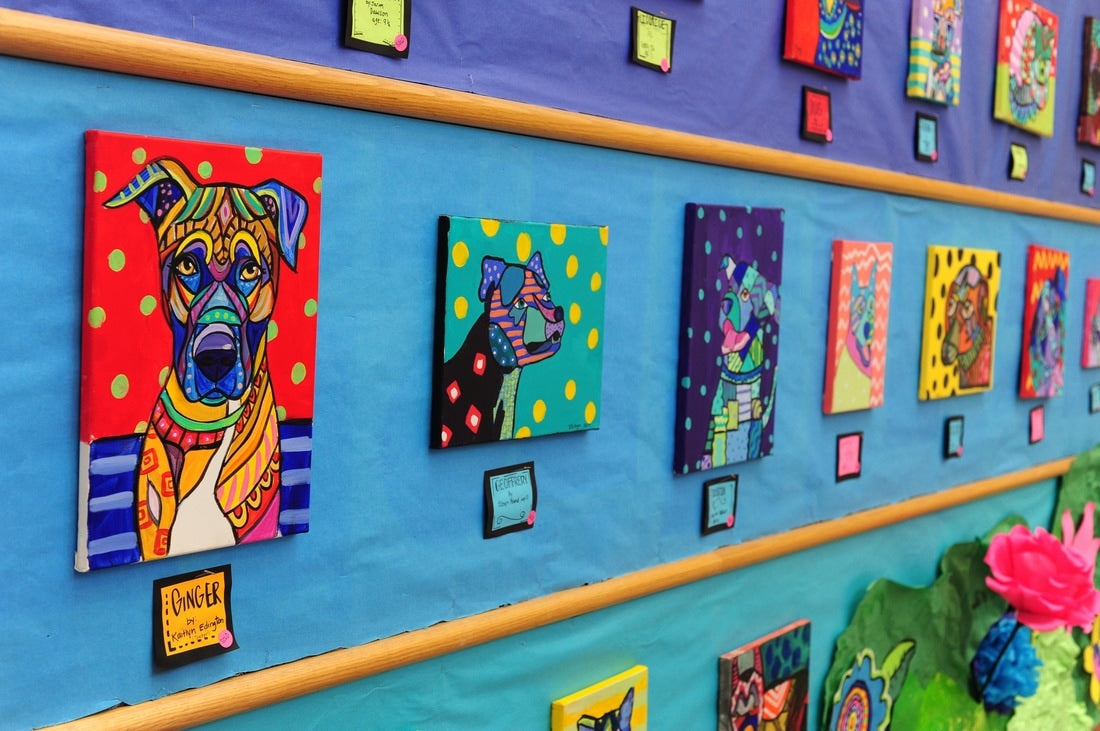
This was one of my absolute favorite, most beautiful and meaningful art projects I have ever done! As a dog love and rescue advocate, to be able to teach my students how to use their art to inspire change and hope to help others has been the most rewarding experience as a teacher. Click here to read about how my students created art for our local animal shelter that raised money and filled hearts!
Learn moreDIY Waterfall Display for an Art Show
Let's learn how to make a DIY waterfall display for a school wide art show. Here you will find the simple steps and materials used to create an area of interest that is sure to elicit all the "oohs and ahhhs" at your next art show! A water element is an fun and interactive way to lure your art show guests in as they enjoy the beautiful art around them!
Learn more10 Items Every Art Teacher Needs to Make Your Art Show *extra* Special
Attention art teachers in need of help in putting on an art show- I have you covered! In this blog I am sharing all of the essential materials, methods and more to ensure the success of your school wide art show!
Learn more

