Blog

The Ultimate Guide to Window Painting: What Paints to Use & How to Remove Them
Want to paint your classroom or home windows for the holidays but not sure which paint to use? This complete guide breaks down the best paints for window art—including tempera, acrylic, latex, chalk markers, and Posca pens, and explains exactly how to remove each one from glass. Whether you’re creating classroom window murals, holiday displays, or seasonal business art, you'll find expert tips on choosing the right paint, making your designs look vibrant, and cleaning it all off with ease. Perfect for teachers, parents, and artists looking for easy window painting ideas and simple cleanup methods.
Learn more
5 Things I WIsh I Knew My First Year Teaching Art
Starting your first year teaching art can feel exciting, overwhelming, and a little intimidating. In this blog, I share 6 lessons I wish I knew back in 2008—from building relationships before diving into content, to mastering classroom management, using positive reinforcement, and meeting students where they are. You’ll also learn why it’s okay to take things slow, start simple with supplies, and stop comparing your classroom to Pinterest-perfect setups. Whether you’re a brand new art teacher or just looking for a reset, these tips will help you create a warm, supportive art room where students feel valued and inspired. Keywords: first year art teacher tips, art classroom management, positive reinforcement in the art room, new art teacher advice, elementary art teaching strategies
Learn more
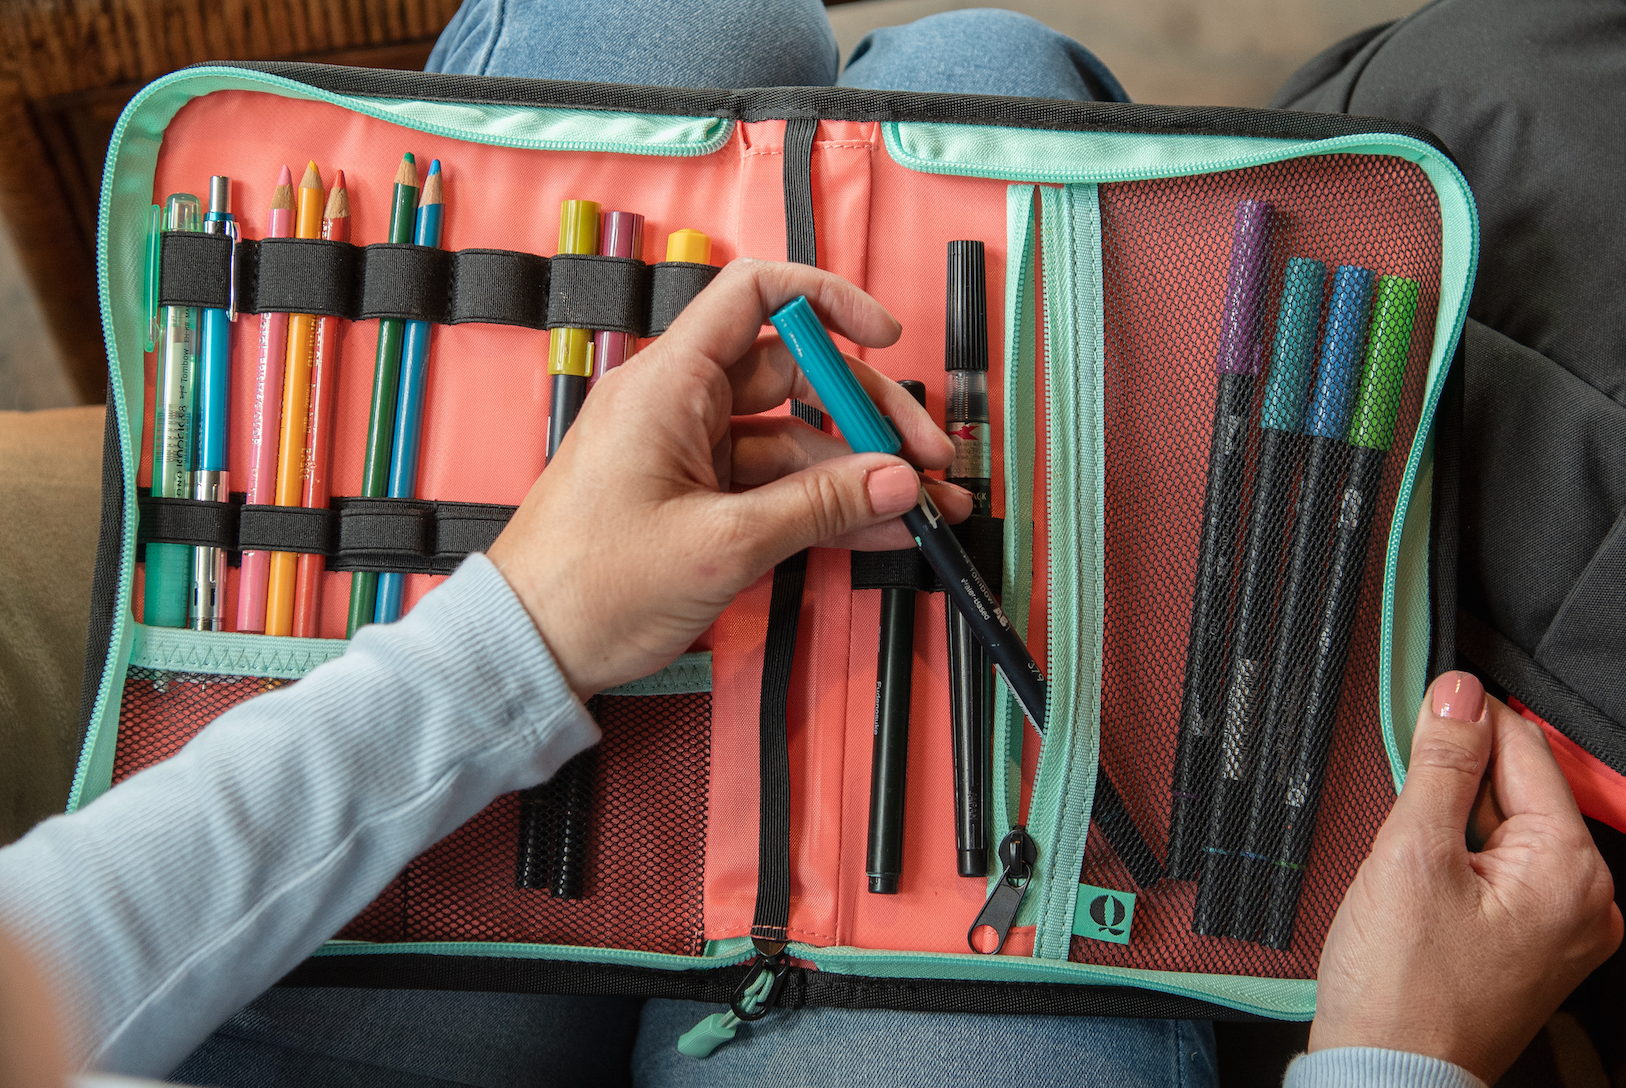
The Absolute PERFECT Must-Have Apron for Art Teachers + Artists
Let’s be real—teaching art is messy. Between clay days, paint spills, and everything in between, we art teachers need gear that works as hard as we do. That’s exactly why we created the Quell Artist Apron—a durable, thoughtfully-designed apron made by an art teacher, for art teachers. This isn’t your average apron. It’s the one I wish I had during my first 10+ years in the classroom. After constantly getting paint on my clothes, misplacing my phone, or stuffing my pockets (and hair) full of pencils, and don't even get me started on the sensory issues I suffered when teaching clay. I knew there had to be a better way... So- my husband and I made one. 😱😱😱😱😱 ✨ Designed with Purpose, Built to Last Every feature of the Quell Artist Apron was designed with function, comfort, and daily classroom life in mind: Durable, High-Quality Fabric This apron is built to withstand the chaos of the art room. Made from thick, high-quality canvas, it holds up to everything from clay dust to watercolor splashes. It’s easy to wipe clean, and it’s soft enough to move with you—not against you. So whether your frantically prepping paint before your next class, or working on your next mural, this apron has got you covered (literally!) Adjustable Neck Strap Say goodbye to neck strain. Our adjustable neck strap ensures a perfect, comfortable fit—no matter your height or frame. Teaching all day? This apron has your back (literally). Extra-Long Waist Ties Whether you prefer to tie in the front or the back, we’ve got you covered. Our extra-long ties make it easy to adjust for the fit and style you like best. One size fits most—with comfort and flexibility to spare. (Hillary Green and Keisha Casiano rocking their aprons two different ways!) Three Large Front Pockets Need a place for scissors, sharpies, or sticky notes? We’ve got three roomy pockets up front, perfect for carrying all the essentials you reach for throughout the day. Secret Phone Pocket YES, there’s a hidden phone pocket. This pocket is placed up high to keep your phone protected and accessible when you need it. Pencil Holders No more digging through bins for your favorite pencil. The Quell Apron has designated pencil slots built right in so you can grab and go with ease. 💍 The Feature That Started It All: The Jewelry Pocket This is my favorite part—and the reason this apron exists. Showing this ladies of Talk Pittsburgh the secret jewelry pocket- they had the best reaction! For years, every time I taught clay, I had to take off my wedding band. I didn’t want it to get ruined, and clay under your rings? The worst. But every time I tucked it in my desk drawer or a random cubby, I had that sinking feeling: What if I lose it? What if I forget it? That’s why the Quell Apron includes a zippered jewelry pocket right near your chest—small, safe, secure, and always within reach. Now, I slip off my ring, zip it into the pocket, and get back to teaching without a second thought. It’s a simple addition—but one that felt, dare I say, life changing?! Thanks Nylah for sharing your Quell Apron with us! 🖌️ Built for the Realities of the Art Room The Quell Artist Apron is more than just stylish and functional—it’s a classroom companion that makes your day easier. Whether you’re on your feet for hours, prepping paint, loading the kiln, or leading a messy masterpiece, this apron has space for everything you need—and keeps you comfortable while doing it. It’s the apron I wish someone had handed me my first year teaching—and now, it’s one I can’t teach without. BUT... It's Not Just for Art Teachers… While the Quell Apron was designed with art educators in mind, it’s become a favorite for creators of all kinds. Whether you’re a hair stylist, chef, potter, florist, or just diving into the delicious world of sourdough baking, this apron has you covered—literally. The durable fabric, thoughtful pocket layout, and adjustable fit make it perfect for anyone who wants to create without the mess (and look good doing it). It’s the apron I wish someone had handed me my first year teaching—and now, it’s one I can’t work without. 🎁 Bonus: It Also Makes the Perfect Gift Know an art teacher who deserves a little extra love (maybe it's you!)? The Quell Artist Apron makes a thoughtful, practical gift for: New art teachers Teacher appreciation week Holiday gifts Or... just because 🎨💛 Ready to upgrade your apron game for the school year? Click here to shop the Quell Artist Apron Because you deserve an apron that works as hard as you do. hugs, Kaitlyn
Learn more
Simple, Low-Cost Classroom Management Ideas That Actually Work (and Your Students Will Love!)
Looking for easy and effective classroom management strategies for your art room? In this post, I’m sharing two of my favorite positive reinforcement techniques that are simple, low-cost, and actually work—especially in elementary art classrooms. From choosing a daily “Art Star” to rewarding students with face painting days, these classroom management ideas help build a positive classroom culture without breaking the bank. Perfect for new and veteran art teachers alike!
Learn more
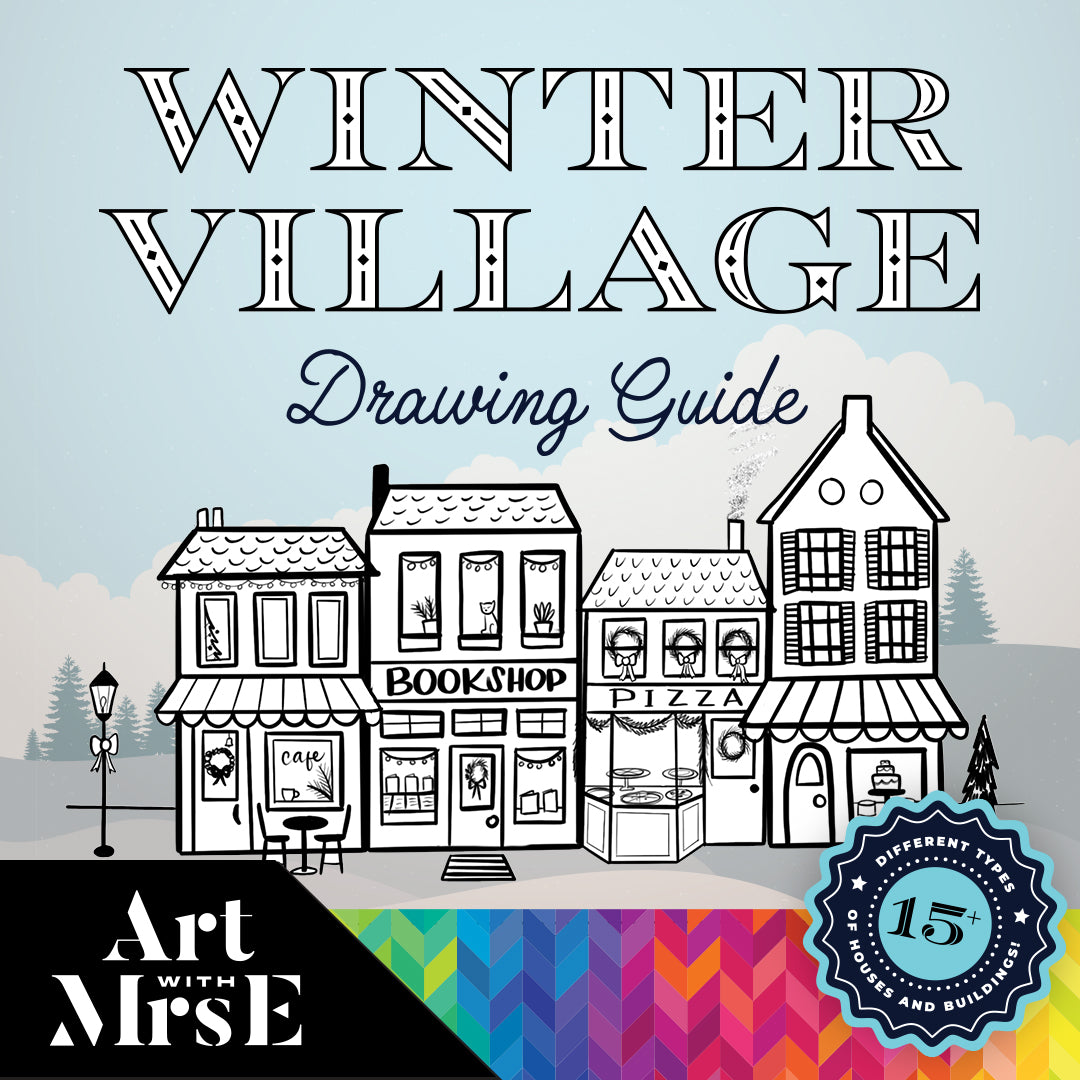
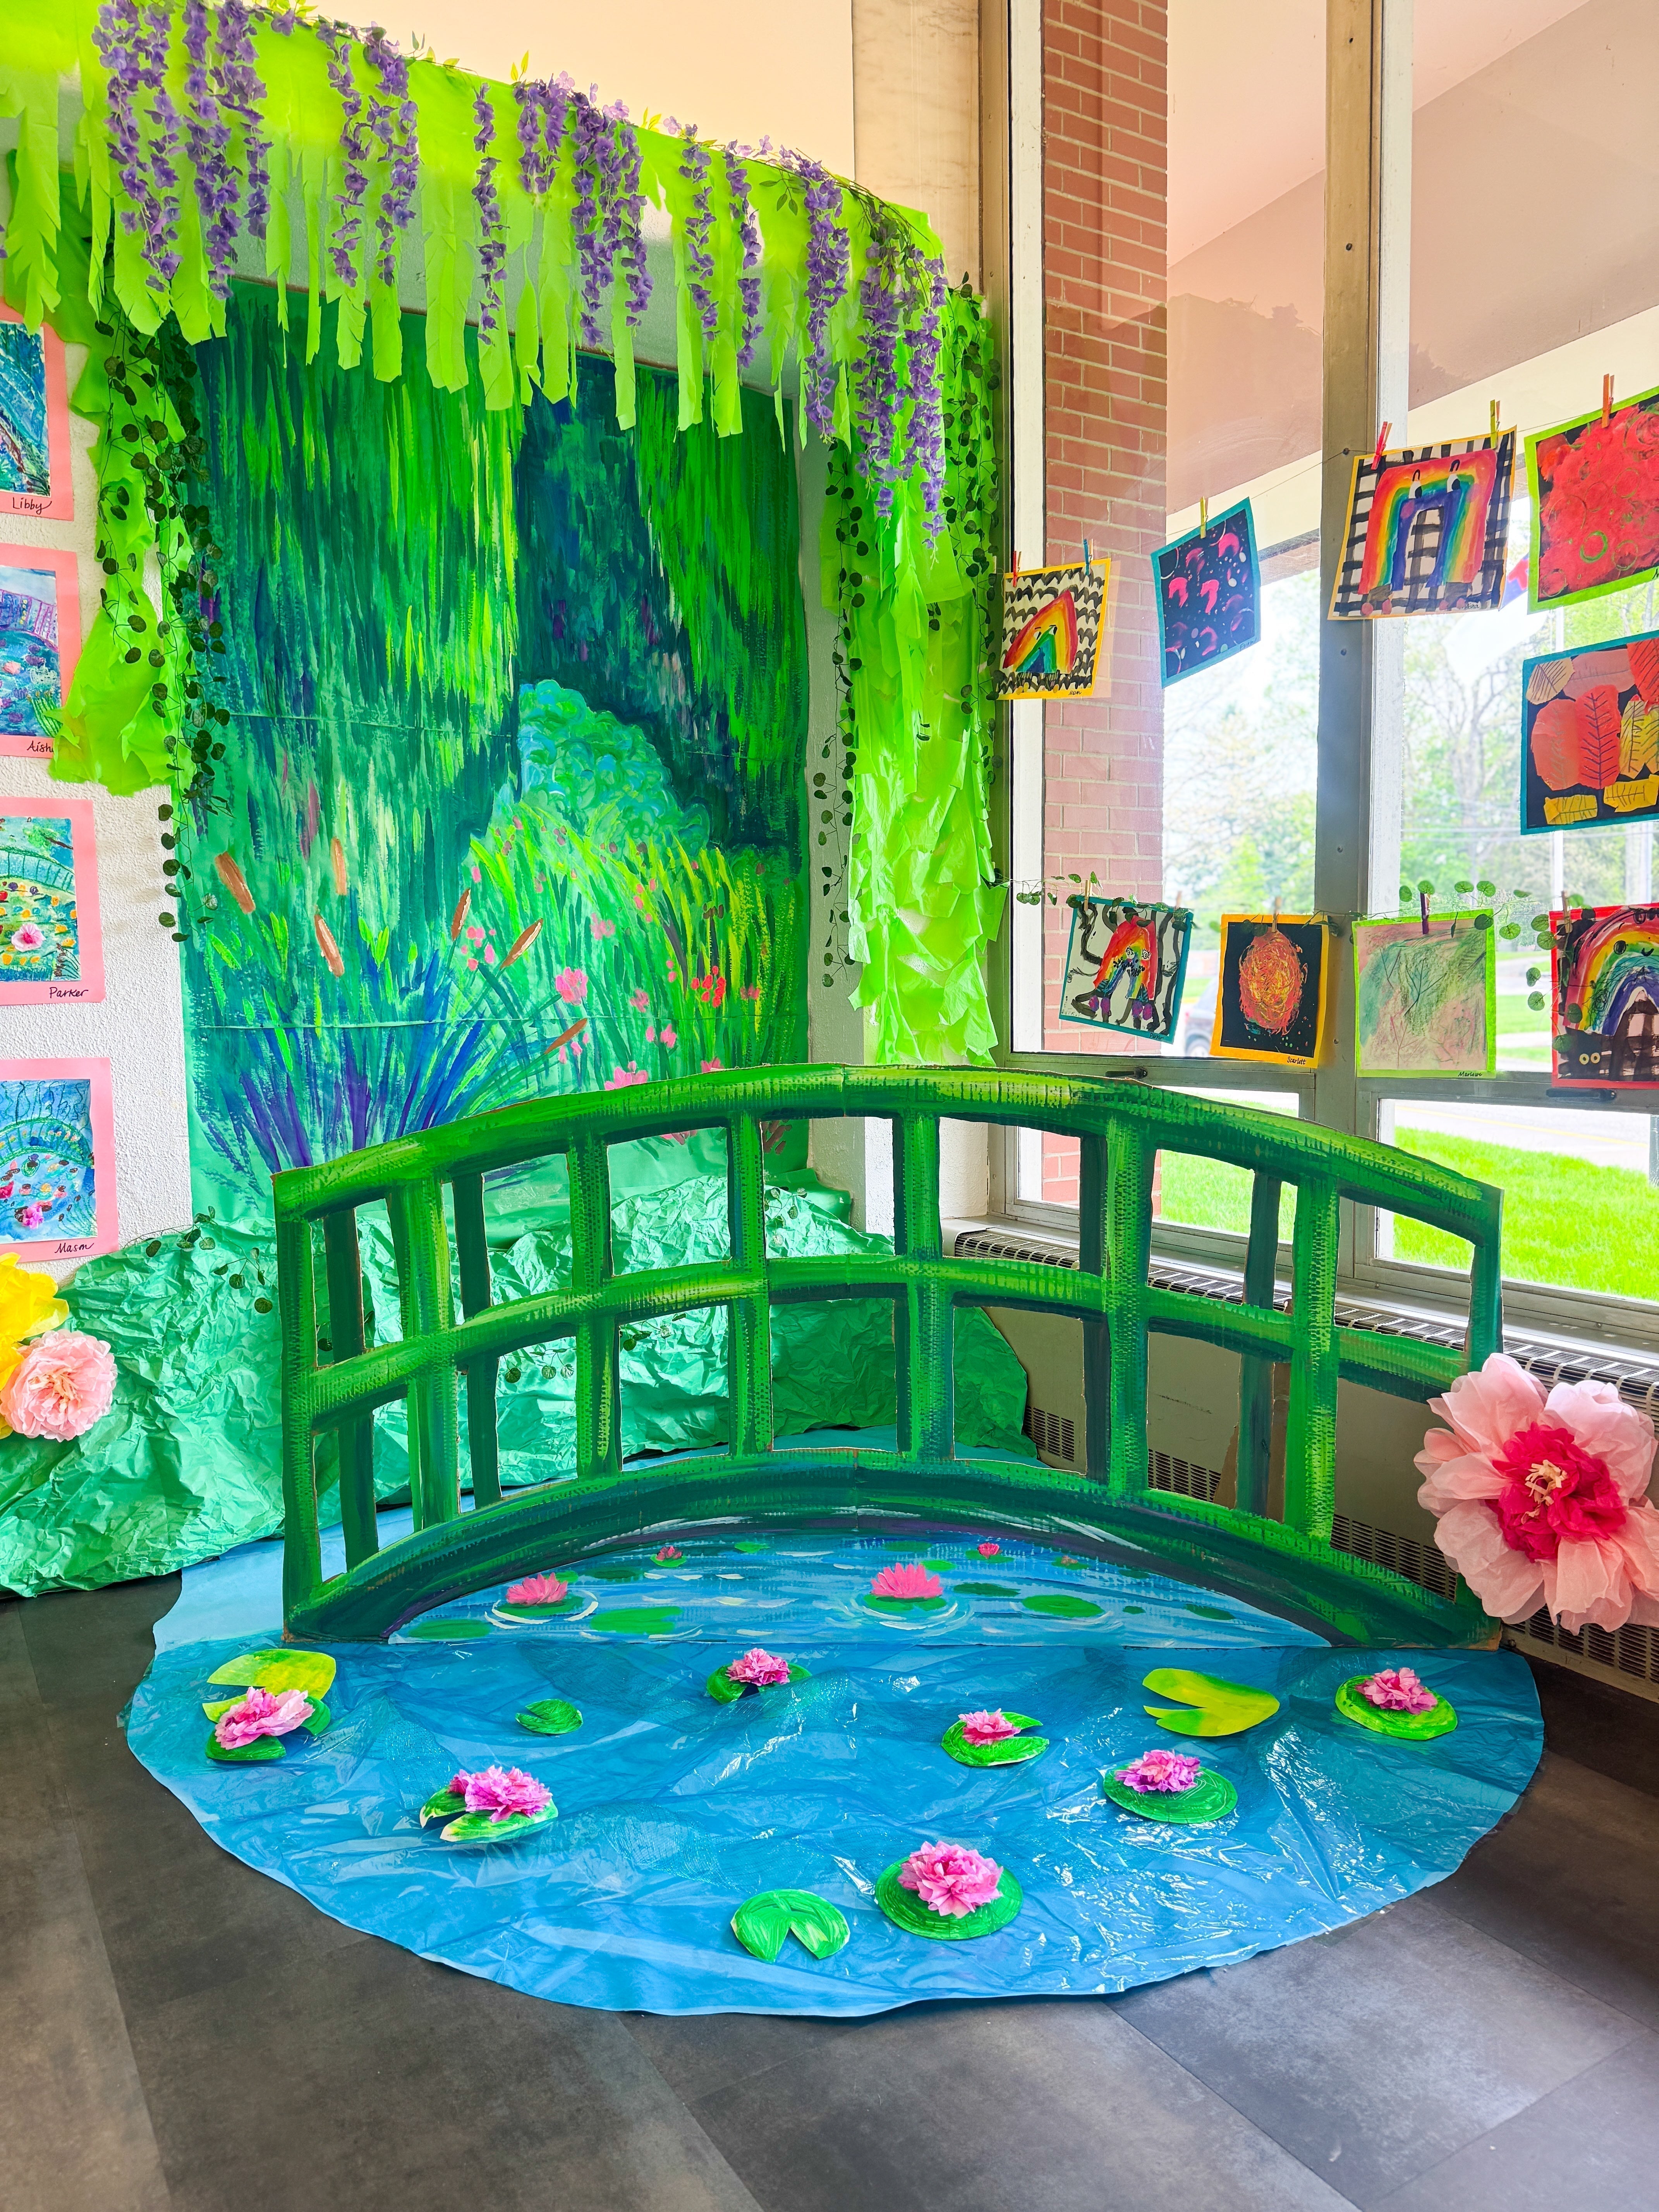
How to Make a Textured 3D Tree for Your Classroom or Art Show
Creating a large, textured tree is a beautiful, dynamic project that can be used year after year to create an immersive experience for an art show or your classroom. Whether you're celebrating the seasons, creating a backdrop for an art exhibit, or just looking to add some creative flair to your space, this DIY tree project is a perfect fit. Here’s how to make it step-by-step. Materials Needed: Painter's tape Brown kraft paper Foil (for texture) Hot glue gun Brown paper towels (for paper mache) Paper mache paste (homemade or Elmer's glue paste) Cheap green plastic tablecloths Paper clips or binder clips Pool noodles (optional for branches) Streamers or twisted green bulletin board paper (for vines) Paint and brushes (for embellishments) Step 1: Set the Base Start by finding a column or bump-out wall space to use as the tree's base. Secure brown kraft paper onto the wall with painter's tape to form the trunk of the tree. This will provide a sturdy foundation for the rest of your project. Step 2: Add Texture with Foil Crinkle some strips of foil and hot glue them onto the kraft paper base. This adds texture and gives the tree a more sculptural, realistic look. Foil is lightweight but can still give the appearance of rough bark or tree texture. Step 3: Paper Mache the Trunk Next, use strips of inexpensive brown paper towels (perfect for this project and commonly found in schools!) to create a paper mache layer over the foil. Dip the strips into paper mache paste (you can either make it yourself or use Elmer's glue paste) and apply them over the crumpled foil. This layer adds both texture and strength to the trunk. Step 4: Create the Tree's Leaves For the leaves, use green plastic tablecloths from the dollar store. These are cheap, easy to work with, and have a nice flowing texture. Attach the tablecloths to the ceiling using paper clips or binder clips, letting them hang down to form the main body of the tree’s leaves. Step 5: Make Vines to Hang from the Tree Create some fun vines by twisting green bulletin board paper, streamers, or strips of tablecloths. Drape them around the tree to give it an extra layer of whimsy and realism. You can even have your students help create these in bulk for efficiency! Step 6: Add Branches with Pool Noodles If you'd like to add branches to your tree, pool noodles work wonderfully. Cut them to the desired length, then wrap them in crumpled kraft paper and secure them using hot glue or more paper mache. This makes for flexible, lightweight branches that can be arranged however you like. Step 7: Embellish the Tree Trunk Once the basic structure is in place, it’s time for some finishing touches! Use a dry brush technique with different shades of brown paint to add texture to the trunk. You could also paint in a critter in a hole in the tree, or get creative with other ideas to personalize the look. Step 8: Bonus – Reuse Your Tree for Different Celebrations One of the best parts about this project is that it’s versatile! You can reuse the tree year after year for different themes or school events. For example, I used this tree as part of a Mister Rogers-themed art show. The possibilities are endless when you think about how to incorporate the tree into different celebrations or art show themes! This DIY tree is a fun way to add a creative element to your space, and the best part is it can be used for multiple purposes throughout the year. From art shows to classroom decor, it’s sure to be a hit! Happy crafting!
Learn more
Face Painting Tips for Beginners
Face painting can be a fun and rewarding skill to pick up, whether for classroom rewards, birthday parties, or community events. These five beginner-friendly tips will help you get started with confidence, from choosing simple designs to managing eager kids in line!
Learn more
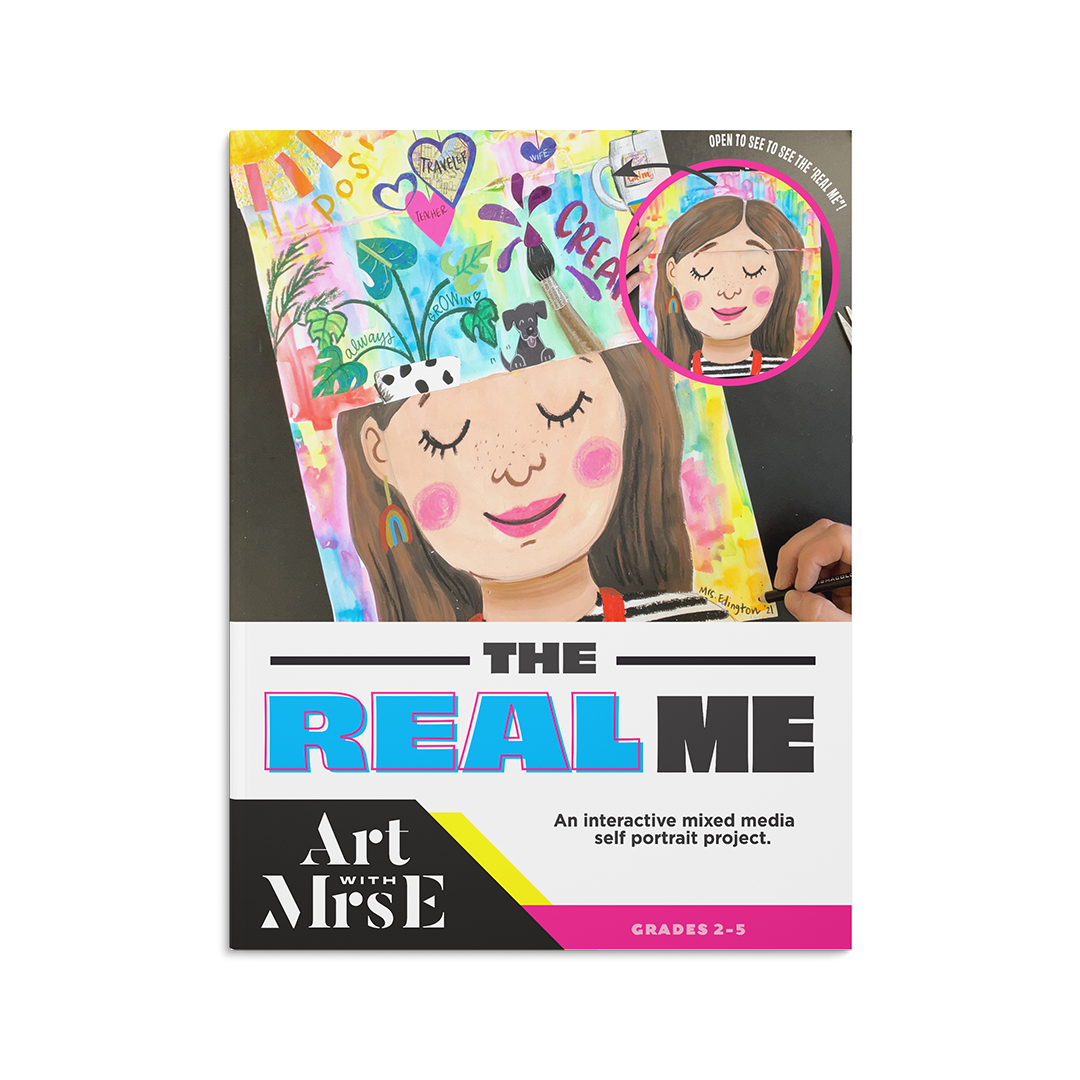
10 Reasons Why You Should Share Your Personal Art with Your Students as an Art Teacher
As an art teacher, one of the most impactful things you can do is share your personal artwork with your students. This not only inspires them but also demonstrates your credibility and passion for art. By showcasing your unique creations, you provide real-life examples of artistic techniques and growth. Your students will see firsthand the dedication and skill involved in creating art, which can motivate them to invest more deeply in their own artistic journeys. Learn how sharing your personal art can transform your teaching approach and inspire your students to reach new heights in their creativity.
Learn more
5 Unexpected Pieces of Advice for New Art Teachers: Lessons from a Veteran Art Teacher
Discover five essential pieces of advice for new art teachers from my 15 years of experience teaching elementary art. Learn how to slow down, set boundaries, and collaborate with colleagues to create a supportive and inspiring art education environment. Embrace these tips to enhance your teaching journey and let your creativity shine.
Learn more
How to Respectfully say No to Excessive Requests as an Art Teacher
Art teachers often face numerous miscellaneous requests that can overwhelm their schedules. Learn effective and respectful ways to say no, maintain boundaries, and focus on your primary teaching responsibilities with our guide on how art teachers can manage extra requests in schools.
Learn more
How to Make DIY Sketchbooks in the Elementary Art Room
Learn how to make easy DIY sketchbooks for elementary students using budget-friendly materials! Perfect for art teachers, parents, and homeschoolers, this guide offers simple binding techniques to create personalized sketchbooks that inspire creativity in the classroom or at home.
Learn more
10 Effective Ways to Foster Genuine Connections with Your Art Students At the Start of The Year
Discover 10 practical strategies to establish authentic connections with your art students at the start of the school year. From showing genuine interest in their interests and hobbies to creating and fostering a supportive environment, this blog offers valuable insights for art educators seeking a way to further connect with their students.
Learn more
How to Make Student Art Portfolios
DIY Student Art Portfolios Welcome to one of my favorite days to end of the school year. This is not only a day where you can finally pass back alllllll the student art from the year (def enlist your student helpers) but your students will work totally independently on their portfolio while you do. Not only will these big ole portfolios will safely transport home all of the gorgeous art your students have made, but having your kiddos create an end of the year portfolio is the perfect opportunity to recognize, and chat about all of the growth your students have made in their artistic practice. Creating portfolios also teaches students how to take more ownership and care of their work, and allows them to transport and store their artwork from the year in a safe place at home where they can refer back to their work and their growth for years to come. Not to mention is it super fun for them to personalize! Here is How to Make a DIY Student Portfolio: 1. Fold 18 x 24 Manila / tag board paper in half (i just literally order the cheapest biggest paper I can find) 2. Staple 3 x on each side (or just one side depending on how big the art going home is) I usually walk around the room while my students are already decorating their portfolios and staple the sides as they work. That way I don't feel like I have millions of things to prep ahead of time, and I often use their good work habits to my advantage by saying things like "Ok, I'm coming around and stapling the portfolios of the tables that are working the hardest and quietest". BAM. Amazing work habits from my kiddos and I am able to float around, staple and observe. 3. Teach students how to draw their name in bubble letters (and shading their name if they want to). There is just something so empowering about learning how to draw your name in bubble letters, wouldn't you agree? And if you show them how to add shading or highlights? Whewwwww hold onto your hat! They are just BEAMING with pride when they finally "get it"! I have an easy to use "How to Draw Bubble Letters" drawing guide available here that my students just love. 4. Have Students write the year we were in art together (2022- 2023) so that they can easily identify what year they made their artwork. 5. Allow students to draw and customize their portfolios! This can seem tricky because often times when we tell students to draw whatever they want, many struggle with exactly WHAT to draw. So times I will give my students a prompt like "Draw what you are most excited about this summer" Or "Draw what your favorite part of 4th grade was". But you can also give them total freedom! I rarely allowed my students to have "free draw time" so many really enjoyed the freedom. If students wanted a bit more guidance, I always make all of my Drawing Guides available. There is something about watching my students teach themselves how to draw a specific image on their own that really helps build their confidence. It's like I'm teaching them, but from a distance. Sometimes I will put out a few of my more popular guides out on the tables for anyone who needs them, or leave them out on a counter for kiddos to come up and just grab what they need. Totally up to you! You can find my bundle of Drawing Guides available here! 6. If the portfolio paper you are using is thick, have students trace any pencil lines in either black sharpie markers (we love using huge chisel chip markers for this) OR- if your portfolio paper is too thin, just have them draw in a black washable marker. Otherwise, the sharpie marker may bleed through the paper and worse, onto the students' art if there is already artwork inside. I love using Crayola Construction paper crayons to color with because we typically use colored tag board or manilla paper and the construction paper crayons just pop so vibrantly! 6. While students are busy decorating their portfolios myself and some student helpers (either the students who are early finishers or my star students) help pass back allllllll their work! The kiddos working just open their portfolio, slide in their work and keep decorating their portfolios. It’s a win/win! If you haven't had your students transport their artwork home in an end of the year portfolio I highly recommend you give it a try! It reinforces the importance of their work (that you should care how safely your art gets home), teaches them how to recognize and celebrate their improvement over the year, and adds importance to their creations by sending them home in such a thoughtful manner.
Learn more