Blog

Watercolor Cityscape Art Lesson
If you're looking for a great lesson to start the year off with your elementary school students, I've got the perfect art project for you! WIth a focus on line, shape, unity, and repetition this watercolor cityscape lesson is great for all ages.
Learn more
My Favorite Supplies as an Artist
Here are my absolutely favorite art supplies that I use and swear by as an art teacher and artist! Everything from my favorite watercolors, to sketchbooks, pens, colored pencils and more! This blog will take the guess work out of "what supplies should I get? I don't know where to start" and help you start your journey!
Learn more
How to Make Sensory Bottles for Adapted Art
Creating sensory bottles is one of the best projects to do at the start of the year in adapted art class. Here are the easy steps you can follow to create sensory bottles with your students.
Learn more
10 Picture Books to Pair with Your Next Self Portrait Lesson
If you're anything like me, you enjoy a good hook at the start of a lesson. Something that will lure the kiddos in, grab their interest and keep them engaged throughout the upcoming project. For me, 9/10 that hook involves a picture book. I teach self portraits with almost every grade, sometimes multiple times a year (I just LOVE to see their growth and how they represent themselves) so it's important to me to have a variety of great picture books up my sleeve to read not only at the start of a lesson, but throughout the project. Below you will find a list of just SOME of my favorite picture books that I like to read throughout a self portrait lesson. Here are my top 10 Favorite Picture Books to Pair with Self Portrait Lessons 1. What I Like About Me by Allia Nolan. 2. You are Enough by Margaret O’Hair, 3. I Like Myself by Karen Beaumont 4. The Color of Us by Karen Katz 5. The Skin You Live In by Michael Tyler 6. It’s Ok to Be Different by Todd Parr 7. Just Like Me by Vanessa Brantley-Newton 8. Eyes That Kiss in the Corners by Joanna Ho 9. Becoming Vanessa by Vanessa Brantley-Newton 10. That's Not My Name by Anoosha Syed I hope you find this list of books celebrating our identity to be helpful the next time you teach a self portrait lesson! If you are looking for some tips on best practices when teaching self portraits, be sure to check out my blog "8 Tips For Teaching Self Portraits" here . You can also grab my Advanced Self Portrait Guide or Simple Self Portrait Guide here! Happy Teaching (and Reading!)
Learn more
8 Tips For Teaching Self Portrait Lessons To Elementary Students
If you're looking for a few tips and tricks when teaching self portraits, look no further! In this blog you will find 8 of my top tips to help you implement best practices into your next self portrait art lesson.
Learn more
Life Update 🖤
Hey friends. As many of you have been getting your classrooms together and planning your first few lessons for the start of the year, I have been a bit more quiet during this “back to school season”. While this has felt a bit nerve wracking, I wanted to take a moment to share with you all that I have decided to step into a new chapter of my life, by stepping out of the classroom. What do you do when you have your dream job that has a gorgeous classroom, the best coworkers, and incredible students & families… but your heart is still heavy? When the stresses of being a full-time working mom have only been intensified by teaching through a pandemic? When your work/ life balance has simply become a total imbalance? I’ve made a lot of big and bold decisions in my life, but the decision to step away from the only career I have ever known, has been the hardest by far. The only thing I’ve ever wanted to be my entire life was an art teacher. And for the last 15 years, it’s become the majority of my identity. At times it felt like my entire identity. But I am slowly realizing that I’m more than an art teacher in a public school. I’m a mother, a wife, a daughter & sister, a friend, an artist, a muralist, a volunteer, a dreamer, a presenter, an observer, an advocate, and an educator in more ways than one. In this next chapter of my life, I may be stepping away from the traditional classroom, but my love and passion for teaching kids (and adults) how they can enrich their lives by adding art to it is something that will never go away. I am the person I am today because of the impact that art has had on me since childhood. And that passion to share my love of art will now have the opportunity to be shared in so many NEW ways! As I move forward, I hope to create a work/ life balance that allows me to keep my family first, while still providing me the opportunity to fill my creative cup in ways that, until now, I had only dreamed were a possibility. So instead of spending the tiny bit of free time I have had thinking “maybe someday, when I find the time, I’ll create that” I can now start saying “Yes! I can’t wait to start working on that!” And actually do it. Though the pandemic has been difficult for so many of us, it has also given me clarity about what is truly important in my life and the (sometimes scary) changes I need to make in order to create the life I want. Thank you for being here and for supporting me in this space. Whether it’s been through leaving me an encouraging comment, buying my artwork and/or teaching resources, sharing my account with a friend, sending me something thoughtful in the mail (too many of you to thank for this one! I will never stop being humbled by your thoughtfulness) or just sending me a direct message of encouragement or thanks. Whether you’ve been following me from the earlier days in my career or are new here, you all have allowed me to feel a part of such a beautiful and supportive teaching community and I truly hope that you will still stick around as I share more about my next chapter. You know as teachers, we are always sharing our objectives at the start of a lesson so here are my objectives for this next chapter: To continue to help and support teachers, children and artists of all ages find and gain confidence in their creative voice while allowing myself the time and pace to refocus on myself, my family, and my artwork. I can’t wait to continue to serve educators & students in many new and exciting ways through my love of art education. Stick around because there is so much more to come : ) Thanks y'all❤️ Love, Kaitlyn
Learn more
The Ultimate Adapted Art Supply List
Disclosure: This post contains affiliate links. Y'aLL ReAdY fOr ThiS?? *cue up the 90's Jock Jams * No seriously, are you ready for the *Ultimate Supply List * for your adapted art class? After 15 years of teaching self contained adapted art, I have compiled a list of my go to supplies that can be used in many different ways. Oh and there's more good news: most of these supplies can actually be found at your local dollar store! Quick sidebar: If you are teaching a self contained adapted art class this year and are looking for help with HOW to go about navigating this class, I encourage you to head to my previous blog here, and you can also check out this blog post with some of my all time favorite art lessons to do in adapted class. Ok, let's do this!! The Ultimate Adapted Art Supply List * The first three sections of this list are made up mostly of items that can be found at your local dollar store. However, to make things easy, I went ahead and linked what I could to Amazon for convenience. I have also linked my favorite brands for the more traditional art supplies. Containers for Holding Supplies or Used for Printing * Muffin tins Sheet pans Salad Spinner Aluminum Casserole Pans Foil Plastic cups w/ lids Ice cube trays with lids Plastic Spray bottles Materials Great for Sensory Play * Cornstarch (for Oobleck) Food coloring (safer alternative to liquid watercolor) Shaving cream (or whipped cream for sensory play) Flour Dish soap ( Salt (salf resist for watercolor) Baking Soda (for fun experiments with vinegar) Colored Rice (sensory bin filler) Mini plastic animals or cars (perfect for sensory bins!) Kitchen storage rack (for Oobleck play) Chips & dip dishes (for sorting paper, materials or sensory supplies) Recycled Supplies* Bubble wrap (all sizes- for all the printing!) Cardboard (all the cardboard!) Cardboard egg cartons Styrofoam egg cartons Plastic containers (for sensory bottles) Cardboard tubes Materials to Add Texture * Dish brush with handle Loofahs Rolling pins Tooth brushes (use to splatter paint) Cotton Swabs Clothes pins (to hold small pieces of sponge) Plastic silverware Plastic combs Marbles Potato masher Kitchen utensils Garlic press Eye droppers Plastic Wrap Craft Sponges Squeegee Supplies From Art Distributors Kinetic Sand or Play Foam Sand Fun Foam Cloud Clay Model Magic Clay palm printers Texture Rollers Easy grip texture rollers Texture Scrapers Fluorescent Tempera Cakes Fluorescent Tempera Paint (tip: add white to each color to make them more opaque on black paper!) Squeezable paint brushes Kwik Stix Bingo Daubers Chalk Markers (great for drawing on transparencies or windows ) Contact paper Transparency Film Plexiglass sheets (for printmaking & painting) Standing Plexiglass (reuse those old sneeze guards from covid times) Adapted Scissors Large Pencils Clear Glue Empty Daubers (to add glue to) Pom Poms Craft Foam Googely Eyes Adapted Paint Brushes Textured Art Tools Whew! I know that seems like a HUGE list but honestly, I bet you already have many of these materials in your storage room. Stay tuned to learn more about how I use many of these materials for specific activities and lessons in my adapted art class. Embrace the mess and have fun! Cheers!
Learn more
How to Feel More Confident Teaching Adapted Art
Are you looking to gain more confidence in teaching adapted art? I'm here to help! Check out this blog to learn how to create a valuable, enriching and powerful adapted art program!
Learn more
How to Create a "Grab and Go" Adapted Art Bin
Learn how to create a "Grab and Go" bin full of Adapted art supplies you can grab in a pinch during class!
Learn more
10 Must-Have Books that Inspire Creativity!
If you've been following me for a while on Instagram, you know that I am a crazy Children's lit lover! How many pictures books do I have in my classroom AND in my own kids' rooms? The limit DOES NOT exist! Since recently celebrating Read Across America Week, I thought I would go ahead and share some of my favorite books to have in the art room- or in any space hoping to inspire children. Here we go! 1. The Art Lesson | Tommie DiPaola. Call it nostalgia, but this book has been one of my absolute favorites since my childhood. In fact, my aunt bought me this book when I was in kindergarten and addressed it to me, "The Real Artist" just like Tommie in the book. Cue the tears! This was the book that made me want to be an artist and ultimately an art teacher. Everyone needs a bit of Tomie dePaola magic in their classroom. You can buy it here. 2. Bridget's Beret | Tom Lichtenfeld This is such a sweet story about overcoming your obstacles and creative blocks and finding your creative spirit again! It also always helps when you read it WITH a beret to your students :) Grab it here! 3. Mixed: A Colorful Story | Arree Chung Such a cute book when teaching about color mixing, and a great moral to the story as well. An art room must have! Grab Mixed here! 4. Aaron Slater, Illustrator | Andrea Beaty Did this book make me cry the first time I read it? Yes. Do I see a bit of myself in the main character Aaron? Also Yes. Do I think our children need to read about a character who isneurodivergent? 100x yes. You can buy Aaron Slater here! 5. What do You Do with an Idea? | Kobi Yamada A beautiful story about staying true to yourself and your ideas no matter who supports you from the start. The illustrations are just breathtaking as well. Buy it here! 6. The Day the Crayon's Quit | Drew Daywalt A now "classic" in the classroom. A hilarious tale about crayons who have a real bone to pick with their owner and write him many letters to air their grievances. You can find it here! 7. Be a Maker | Katey Howes I absolutely LOVE the message of this book. Not only does the author encourage the readers to be a maker and explore their creativity- but she shows us how important it is to put your talents to use for the good of other! You can find Be a Maker here! 8. The Creatrilogy Series (The Dot, Ish, and Sky Color) | Peter H. Reynolds It wouldn't be an art room book list without The Dot and the rest of the Creatilogy trilogy would it? Peter Reyonlds' main character, Vashti, takes us along on her journey to find her creative spark to "just make a mark". Grab The Dot here! 9. Swatch, the Girl Who Loved Color | Julia Denos I feel as though Swatch, the main character in this book is an illustrated version of me. Swatch, the color tamer shares her love of color a little bit of chaos. The perfect book for a busy, colorful art room! Grab Swatch here! 10. Boxitects | Kim Smith This book is so inspiring, especially coming out of a 2 year pandemic where my kid and I heavily relied on creating things out of cardboard to save our sanity in quarantine! Not only is the story really sweet but there is also several "how-to's" in using cardboard to create all kinds of amazing creations! This one is my son's favorite on the list! You can grab Boxitects here. Whether you are just beginning to build your art room library or are looking for new books to add to your classics, I hope you were able to find this list helpful! Keep creating and keep reading!
Learn more
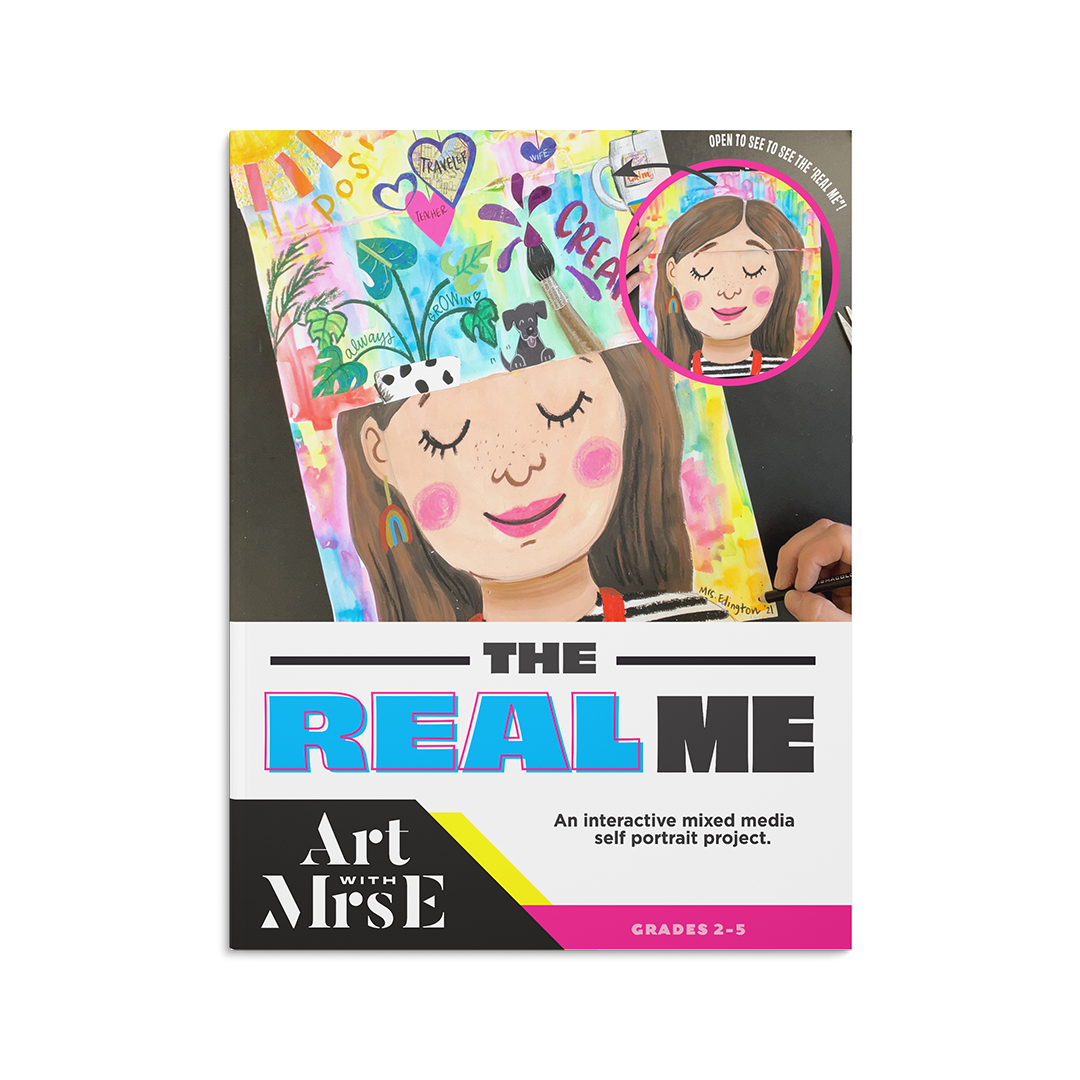
My Favorite Self Portrait Art Lesson for Kids: The Real Me Art Project
In 2008, I developed a self-portrait art lesson to help students express both their inner and outer selves, combining drawing, collage, and typography. I recently updated the project to include techniques like mixing skin tones, understanding facial proportions, and depicting diverse hair textures. This refreshed lesson not only enhances students' artistic skills but also encourages self-expression and identity exploration; find the full lesson plan on my website or TpT store.
Learn more
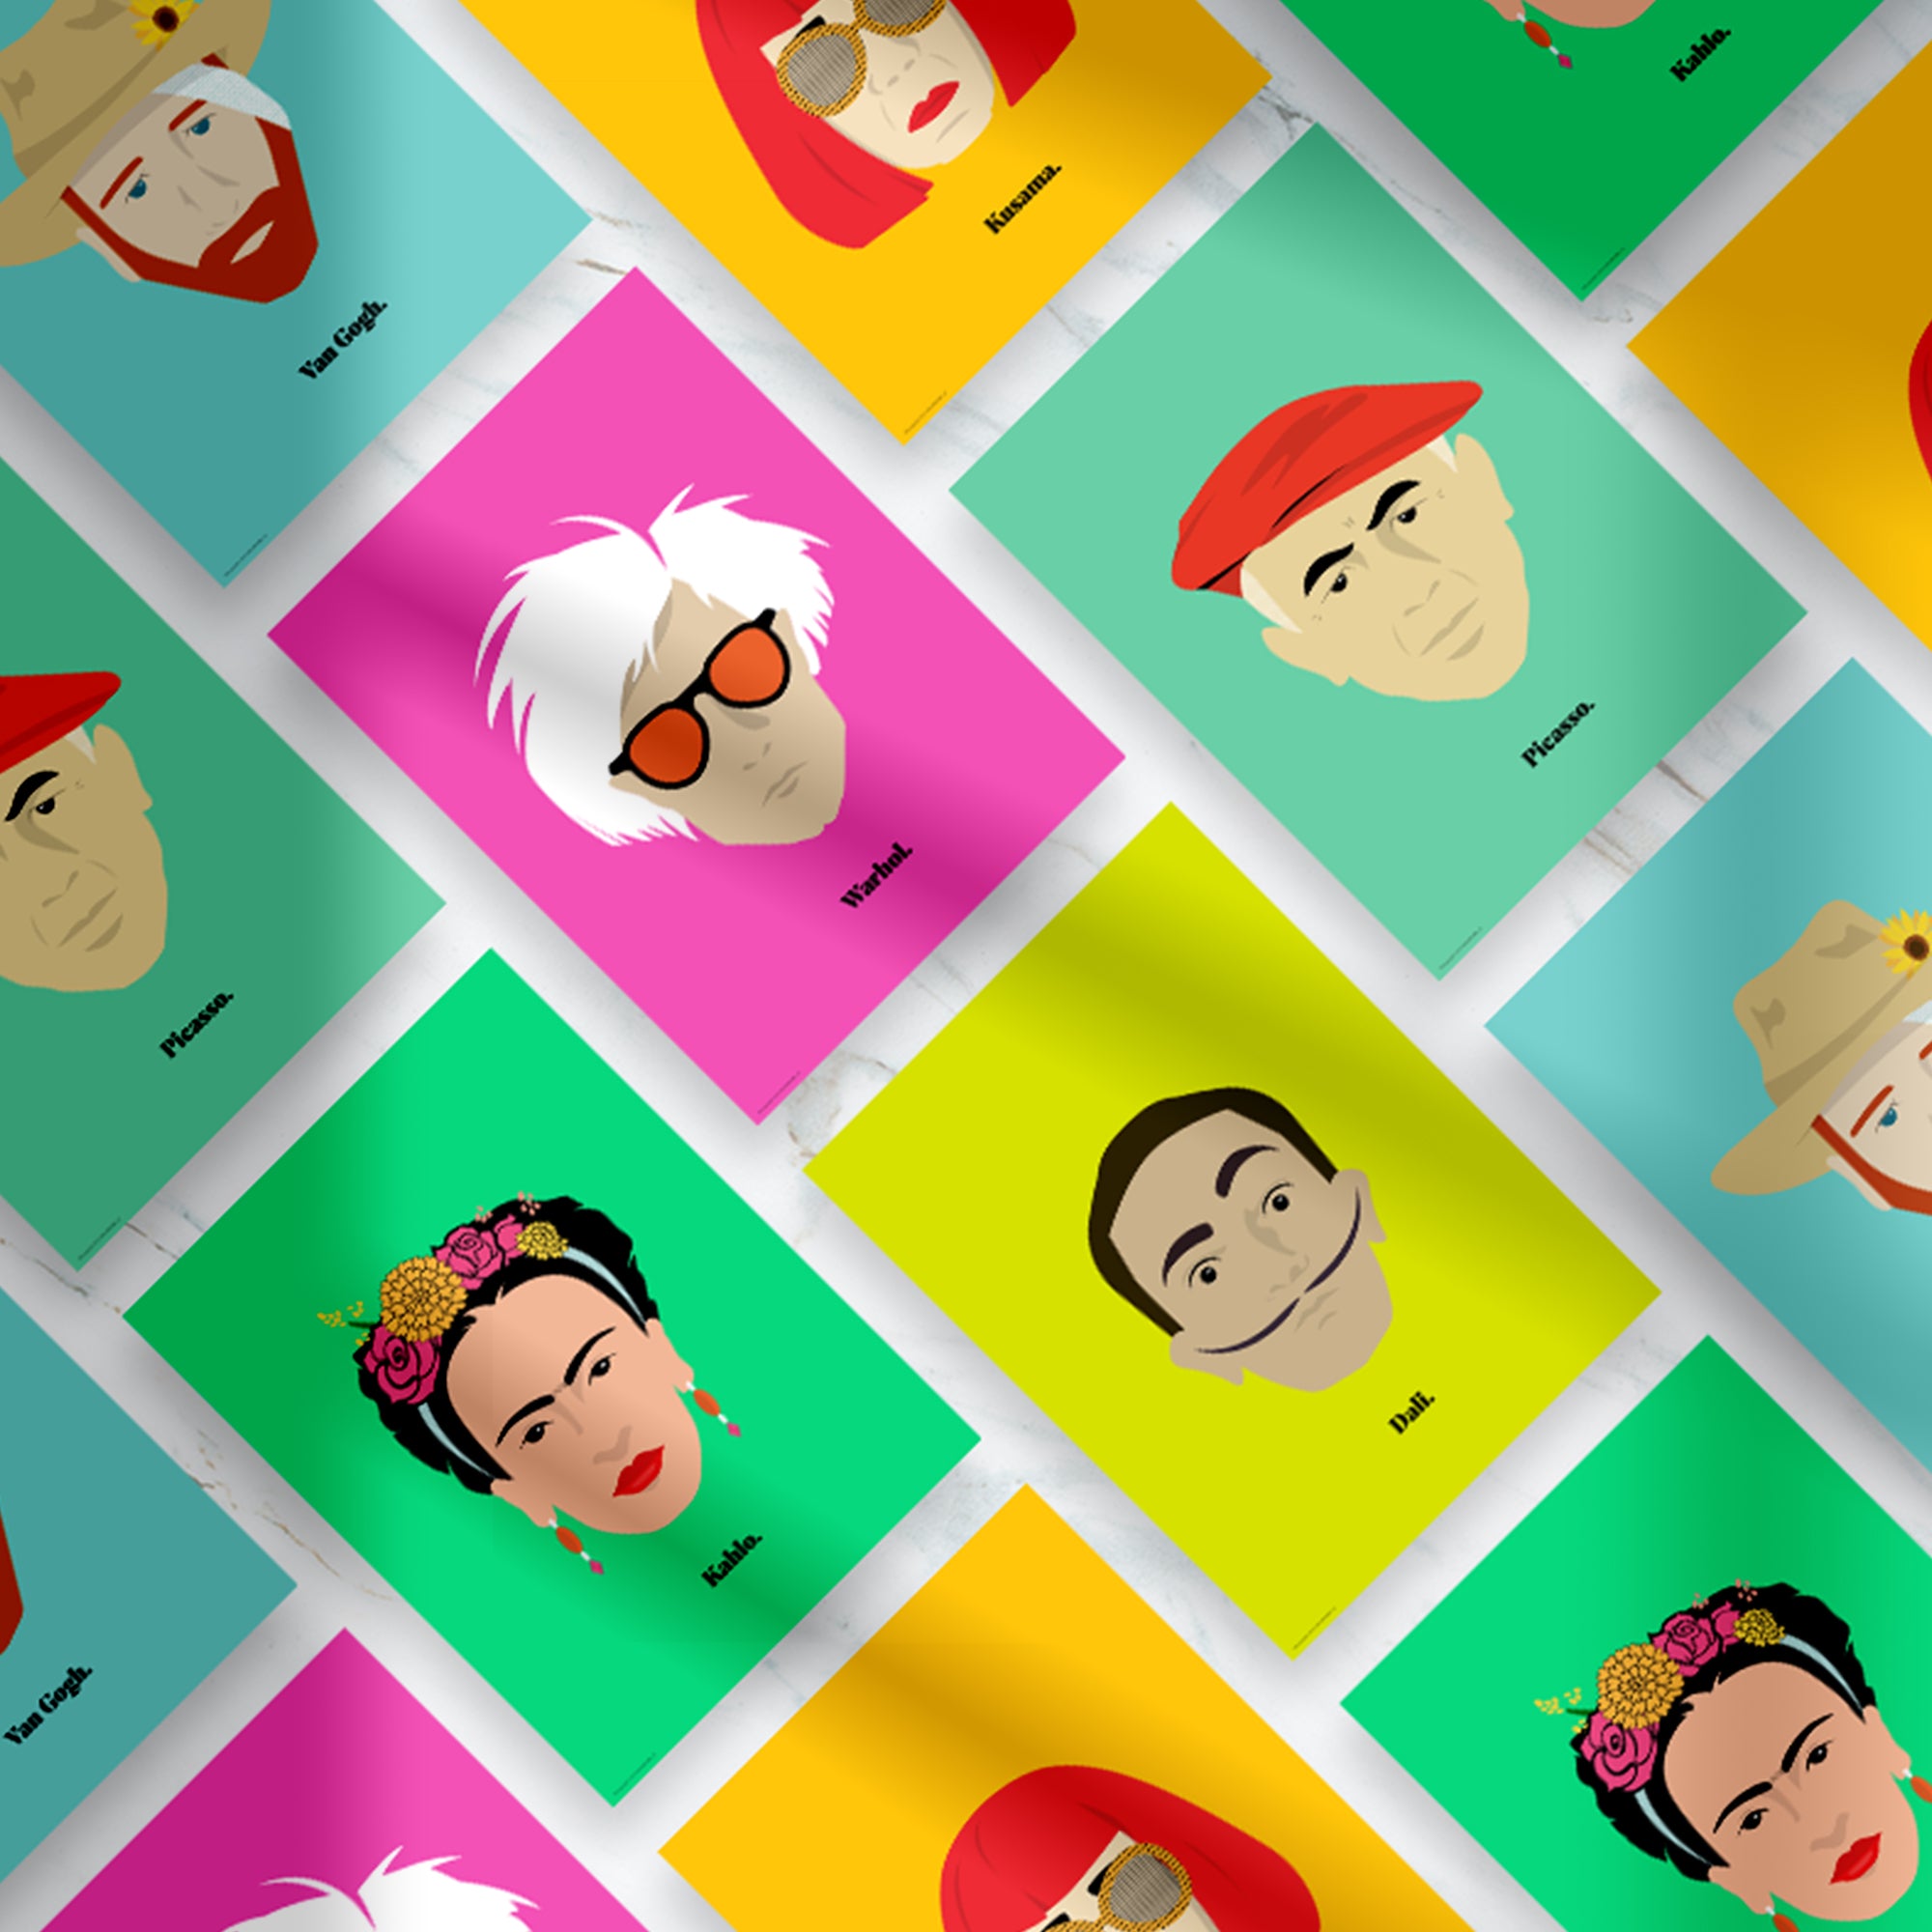
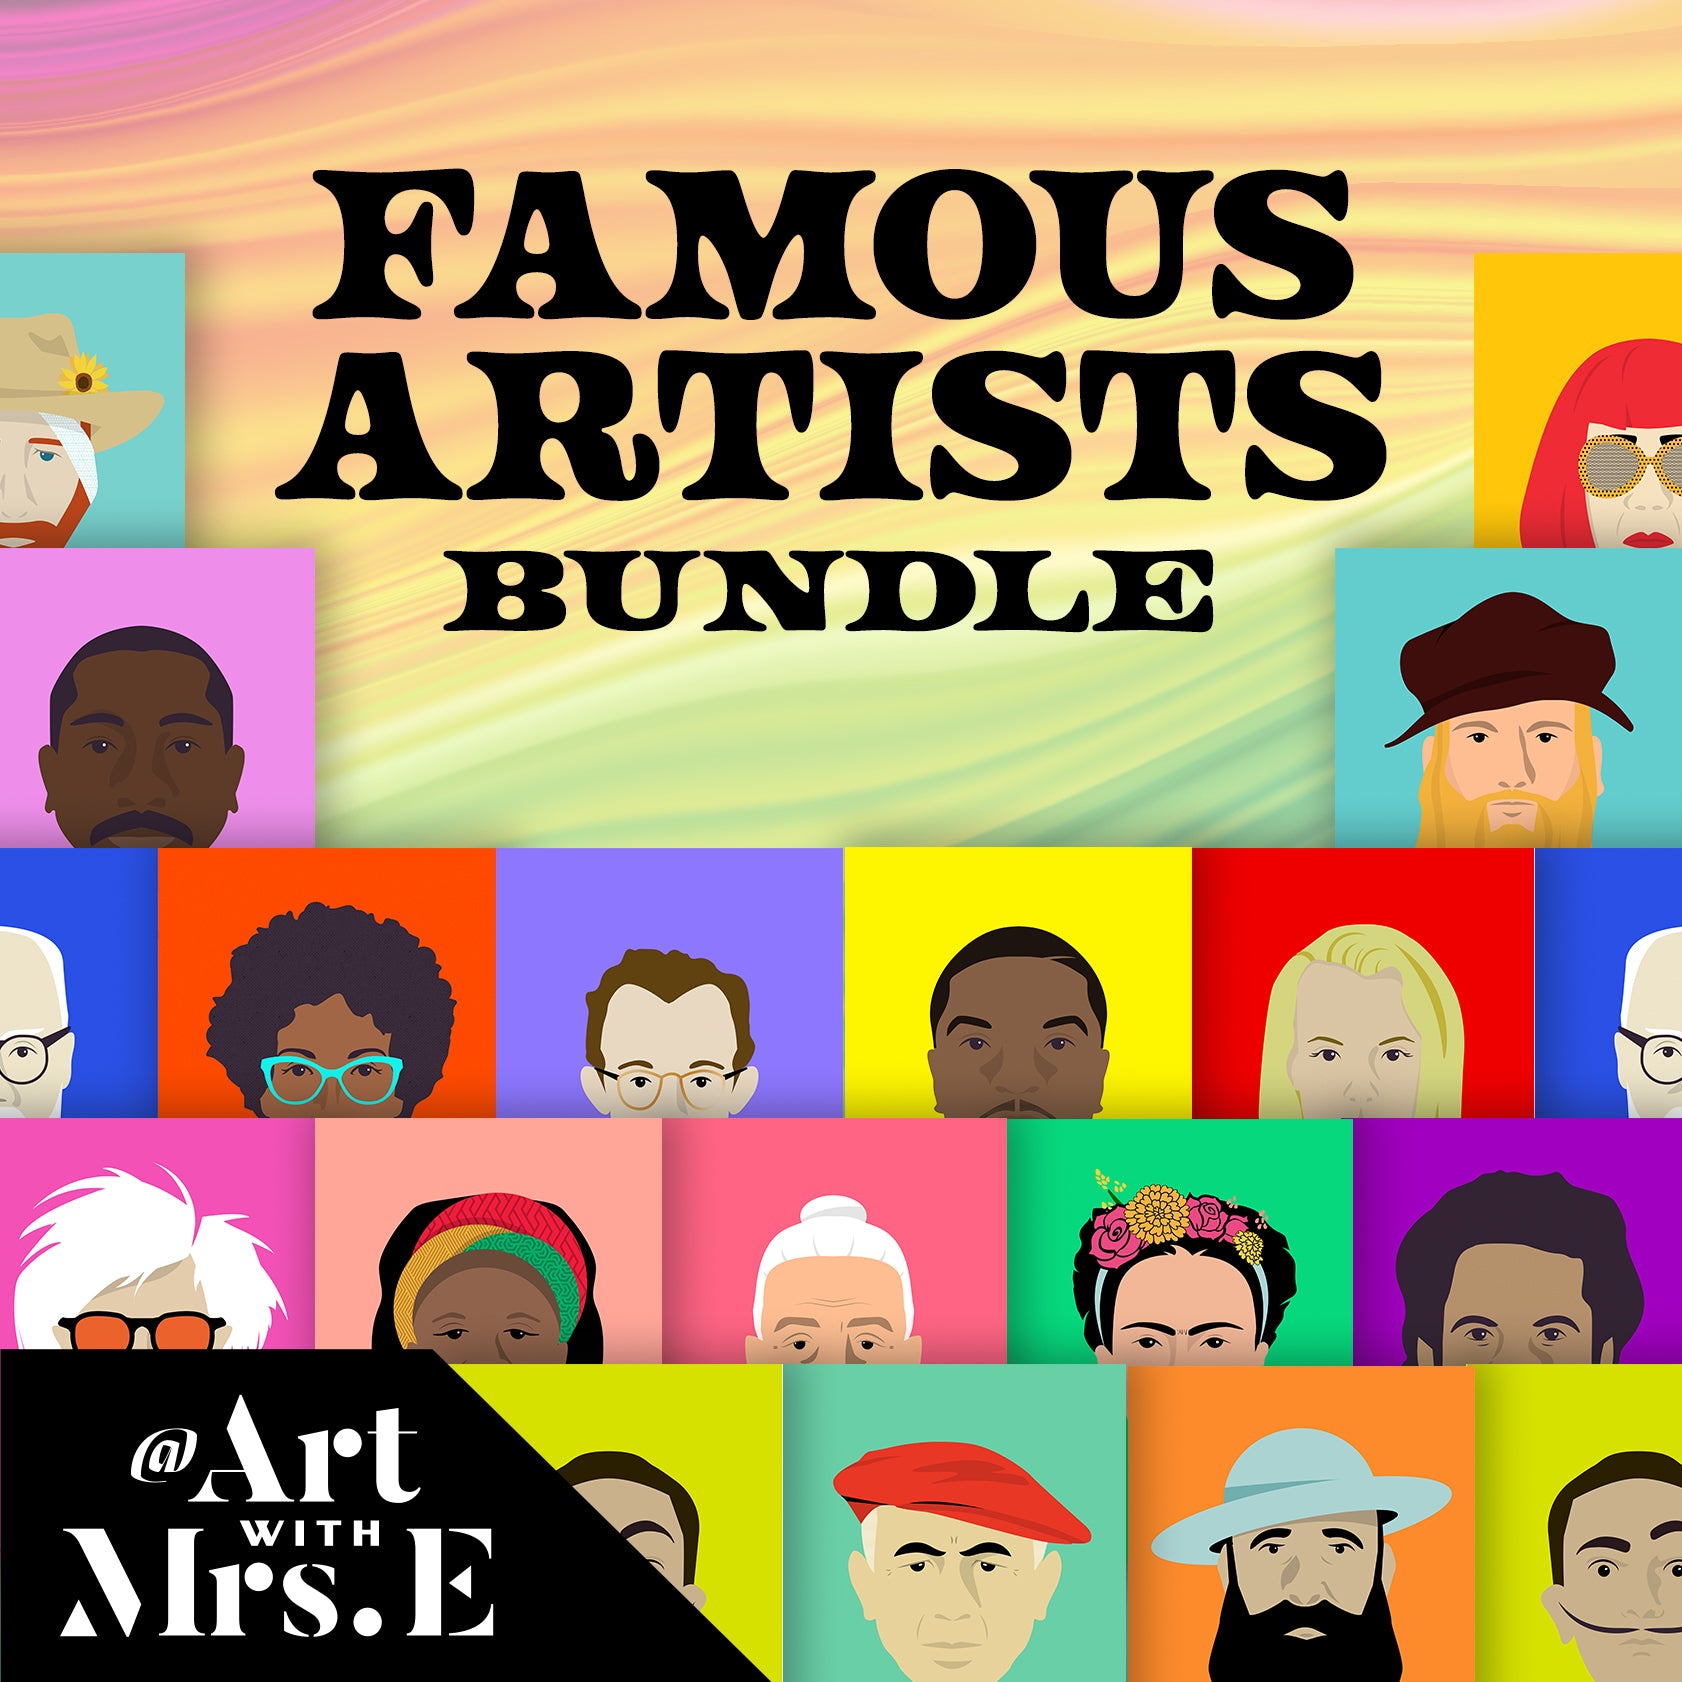
Folk Art Portraits: Celebrate Influential and Inspiring People
One of my favorite lessons that I do every year with my students is a Folk Art Lesson inspired by the artist Heather Galler. If you are unfamiliar with Heather's work, she has a very distinct style of bold black outlines, bright colors, and lots of lines, shapes and patterns. Her work has been an inspiration for many art projects I've done over the years with my students, but for his one I wanted to focus on her portraits. I love creating this lesson in during the months of February and March, because it gives my students the perfect opportunity to focus on the achievements of Famous African Americans for Black History Month as well as the accomplishments of influential women during Women's History Month in March. In previous years, I have also had students create portraits of people in their community (for our Mr. Roger's art show) and also of teachers and staff members. It's just such a fun lesson that can be adapted in many different ways. I usually do this lesson with 3rd grade and up. To start the lesson off, we have a big talk about inspiring people who have influenced us in some way, and why. Often times, I have my students research and write about this person in their sketchbooks so that they can gather their thoughts which will help when it comes time to create their portrait . Once they have done some reflecting, then I have my students pull up a photo of the person on their iPads and make sure they save it to reference. The next thing I do is I give each students a white board and dry erase marker to practice their portrait using my reference sheets from my full lesson. (*TIP* a few years ago I went to Lowes and got a large sheet of dry erase board and had them cut it down into 8 x 10 rectangles for my classroom. It has been SO amazing to have a class set of white boards available at all times!) The reason I have my students practice on a white board instead of sketching their whole portrait in pencil is because we will be using a bingo dauber with ink (Cassie Stephen's hack) to draw the portraits- and because the tip on that is rather large, I do no want to set my students up for failure by drawing all these small details that can't be achieved with the bingo dauber. Ok back to the lesson: During my demonstration, I show my students how to focus on drawing simplified lines and shapes to represent the physical characteristics of the person they are drawing. I teach them to focus on using the correct type of line to show the appropriate texture, and focus on the features of the person's face that make them unique. Here are a few of my examples drawing Justice Ruth Bader Ginsberg, Amanda Gorman, and Bisa Butler. Once students have drawn a rough draft of their influential person on their board, I instruct them to take a photo of their work with their ipads. I teach them to level their iPad directly above their art, take their photo and them show them how to crop it. This step is important because the chances of my kiddos being able to draw their draft and then draw their final project in the same class is slim. This way they have documentation of their rough draft on their white board before they have to erase it at the end of class. From there, students work to recreate their portrait on large 12 x 18 paper. For the FULL Folk Art Portrait Lesson, you can head to my website, or my Teachers Pay Teachers store. In the lesson you will have access to all of the drawing guides/ idea sheets that students can use to assist their drawings, as well as several different ways to finish these portraits off. I hope your students enjoy this lesson as much as mine do! If you create this lesson with your kiddos, be sure to tag me on Instagram (@artwithmrs.e) so that I can see and re-share their amazing work! Have fun!
Learn more