Blog


How to Make Festive Foil Embossed Ornaments
There’s just something about the holiday season that makes me want to gather with friends, sip something warm, and make something creative together. If you’re looking for an activity that’s equal parts cozy and beautiful, embossed foil decorations are it! These little gems look elegant and shiny, but here’s the best part- they’re so simple to make. No fancy tools or artistic background required, just a little bit of craft foil, a pencil, and some imagination! Not to mention, they're incredibly addicting to make :) What is Foil Embossing? Embossing is the process of pressing designs into a surface so they stand out in relief. With craft foil, you can trace or draw a design, and the lines stay permanently raised. Unlike kitchen foil, these sheets are thicker and sturdier, so they won’t rip or crinkle back. Think of them as the “sweet spot”, thin enough to cut with scissors, but strong enough to hold beautiful details. That shiny finish catches the light just right, making your leaves, acorns, and mushrooms shimmer like little treasures. Supplies You’ll Need (Note: This post contains a few affiliate links—if you choose to shop through them, I may earn a tiny commission at no extra cost to you. It helps support me in creating more projects to share with you, so thank you!) Copper Craft foil- .003" (look for foil made for embossing or “metal tooling foil”) Embossing tools or a dull pencil/ craft stick Scissors Crafting wire Foam pad or stack of paper to emboss on Folk Art Idea Sheet Optional: Ribbons for decorating or hanging Step-by-Step Instructions Draw your Folk Animal Design Choose a simple animal shape: rabbit, bird, deer, fox, or other simple animal or object. Sketch the outline of the animal on a piece of paper that's the same size as your metal square ( 5" x 5" or so). If you want to skip the drawing of your own animal all together- you can actually just cut out one of the illustrations in my Idea Sheet to just trace! 2. Trace or Draw Tape your drawing or image to the metal foil. Use a pencil or embossing tool to press lines and details into the foil. Don’t worry about perfection—the texture is what makes these special. Be sure to put a stack of papers, or even a dish cloth under the foil. This will allow the foil to "give" a bit when you press down. 3. Emboss the Foil on front and back. Remove the paper and use your embossing tools to really push the lines in both on the front, and on the back. Embossing is when your design pops up and stands out. Debossing is when it sinks in, almost like a carved impression. You can really have fun using larger embossing tools to push large areas out and then use smaller tools to draw small lines and patterns. 4. Cut It Out Once you’re happy with the design, carefully cut around the shape with scissors. 5. Add Finishing Touches (Optional) Poke a small hole at the top with a push pin or hole punch and string copper wire or ribbon through to turn your foil pieces into seasonal garland. Ideas for Using Your Foil Decorations Create ornaments for your Christmas tree Use as gift tags to add a handmade touch. String several together to make a garland for your mantel. Add to cards, collages, or even frame them as mini artwork. Crafting is ALWAYS Better Together :) One of my favorite parts about this project is that it’s so social. Because the process is relaxing and repetitive, it’s perfect for doing while chatting. Set a pile of foil sheets on the table at your next book club, pour some cider, and watch the creativity unfold. Everyone goes home with a handful of shiny fall keepsakes—and a memory of the time you spent together. Embossed foil fall decorations are the perfect mix of simple, affordable, and stunning. Whether you’re crafting with friends, your kids, or just enjoying some solo creative time, they’ll bring a touch of shimmer to your season. If you'd like to check out my tutorial on Talk Pittsburgh, just click the video link below! Looking for more Winter themed art lessons and ideas?? Check out my blog all about how to make an easy Winter Village with your students, or how to paint your windows for the season! Or how about my most popular art lesson- the Northern Lights Lesson! So many fun possibilities this winter! Have fun!
Learn more
Embossed Foil Fall Decorations: The Perfect Craft for a Gathering
Learn how to make beautiful embossed foil fall decorations with just a few simple supplies! This easy DIY craft is perfect for autumn get-togethers, book clubs, or family nights, and creates shimmering leaves, acorns, and mushrooms to brighten your seasonal décor.
Learn more
The Absolute PERFECT Must-Have Apron for Art Teachers + Artists
Let’s be real—teaching art is messy. Between clay days, paint spills, and everything in between, we art teachers need gear that works as hard as we do. That’s exactly why we created the Quell Artist Apron—a durable, thoughtfully-designed apron made by an art teacher, for art teachers. This isn’t your average apron. It’s the one I wish I had during my first 10+ years in the classroom. After constantly getting paint on my clothes, misplacing my phone, or stuffing my pockets (and hair) full of pencils, and don't even get me started on the sensory issues I suffered when teaching clay. I knew there had to be a better way... So- my husband and I made one. 😱😱😱😱😱 ✨ Designed with Purpose, Built to Last Every feature of the Quell Artist Apron was designed with function, comfort, and daily classroom life in mind: Durable, High-Quality Fabric This apron is built to withstand the chaos of the art room. Made from thick, high-quality canvas, it holds up to everything from clay dust to watercolor splashes. It’s easy to wipe clean, and it’s soft enough to move with you—not against you. So whether your frantically prepping paint before your next class, or working on your next mural, this apron has got you covered (literally!) Adjustable Neck Strap Say goodbye to neck strain. Our adjustable neck strap ensures a perfect, comfortable fit—no matter your height or frame. Teaching all day? This apron has your back (literally). Extra-Long Waist Ties Whether you prefer to tie in the front or the back, we’ve got you covered. Our extra-long ties make it easy to adjust for the fit and style you like best. One size fits most—with comfort and flexibility to spare. (Hillary Green and Keisha Casiano rocking their aprons two different ways!) Three Large Front Pockets Need a place for scissors, sharpies, or sticky notes? We’ve got three roomy pockets up front, perfect for carrying all the essentials you reach for throughout the day. Secret Phone Pocket YES, there’s a hidden phone pocket. This pocket is placed up high to keep your phone protected and accessible when you need it. Pencil Holders No more digging through bins for your favorite pencil. The Quell Apron has designated pencil slots built right in so you can grab and go with ease. 💍 The Feature That Started It All: The Jewelry Pocket This is my favorite part—and the reason this apron exists. Showing this ladies of Talk Pittsburgh the secret jewelry pocket- they had the best reaction! For years, every time I taught clay, I had to take off my wedding band. I didn’t want it to get ruined, and clay under your rings? The worst. But every time I tucked it in my desk drawer or a random cubby, I had that sinking feeling: What if I lose it? What if I forget it? That’s why the Quell Apron includes a zippered jewelry pocket right near your chest—small, safe, secure, and always within reach. Now, I slip off my ring, zip it into the pocket, and get back to teaching without a second thought. It’s a simple addition—but one that felt, dare I say, life changing?! Thanks Nylah for sharing your Quell Apron with us! 🖌️ Built for the Realities of the Art Room The Quell Artist Apron is more than just stylish and functional—it’s a classroom companion that makes your day easier. Whether you’re on your feet for hours, prepping paint, loading the kiln, or leading a messy masterpiece, this apron has space for everything you need—and keeps you comfortable while doing it. It’s the apron I wish someone had handed me my first year teaching—and now, it’s one I can’t teach without. BUT... It's Not Just for Art Teachers… While the Quell Apron was designed with art educators in mind, it’s become a favorite for creators of all kinds. Whether you’re a hair stylist, chef, potter, florist, or just diving into the delicious world of sourdough baking, this apron has you covered—literally. The durable fabric, thoughtful pocket layout, and adjustable fit make it perfect for anyone who wants to create without the mess (and look good doing it). It’s the apron I wish someone had handed me my first year teaching—and now, it’s one I can’t work without. 🎁 Bonus: It Also Makes the Perfect Gift Know an art teacher who deserves a little extra love (maybe it's you!)? The Quell Artist Apron makes a thoughtful, practical gift for: New art teachers Teacher appreciation week Holiday gifts Or... just because 🎨💛 Ready to upgrade your apron game for the school year? Click here to shop the Quell Artist Apron Because you deserve an apron that works as hard as you do. hugs, Kaitlyn
Learn more
My New Favorite Paint Pens (and Marker Sets You Have to Try)
Looking for vibrant, versatile art markers that won’t break the bank? Whether you’re an art teacher, parent, or sketchbook lover, this Ohuhu marker review breaks down my favorite sets—from acrylic paint pens to alcohol markers—and how I use them in both the classroom and at home. These budget-friendly art supplies are perfect for mixed media sketchbook work, classroom signage, and creative projects with kids. If you’re curious about Ohuhu markers, this guide has everything you need to know (plus how to save 10%!).
Learn more
My Favorite Watercolor Sets (and What I Actually Use!)
Discover my favorite watercolor sets for artists of all levels—including pros and cons of tubes vs. pans, liquid watercolors, and portable kits perfect for art teachers, hobbyists, and creatives on the go.
Learn more
My First Mini Course is Here: Botanical Silhouettes 🌱
Two years ago, I painted a silhouette of my daughter filled with blooming botanicals—and had no idea how much that single painting would change the course of my creative journey. At the time, it was simply a personal piece, created with love as I watched my daughter start to grow into the little lady she was starting to become. I decided to share this painting on my Instagram and was blown away by the reaction! Something about this painting seem to resonate with my followers: fellow moms, teachers, art admirers and soon after, I found myself sharing the process with others through my first ever adult art workshops. These workshops then morphed into online workshops and before I knew it, I had taught this lesson to hundreds of people—from fellow teachers to complete beginners—each one creating beautiful, heartfelt works of art inspired by someone (or some pet) they love. Teaching this lesson to other adults who have maybe always bee interested in art by rarely made the time for it lit a spark in me: I loved teaching adults. I loved teaching busy moms. I loved that I could create a special time for each of my attendees to look inward, focus on their own joy, practice and experience. I was also surprise to learn that after 15 years of teaching kids under the age of 12, that I could experience all of the same feelings of price and joy that filled my cup when teaching kids- but on a peer to peer scale. After teaching my Growth Mindset workshop over 10 times both in person and online, I am now thrilled to share that my first ever mini course is officially here! Introducing: 🌿Botanical Silhouettes: A Growth Mindset Mini Course 🌿 This self-paced course invites you to create a meaningful silhouette painting of a loved one using gouache, layered with plants and symbols of growth. It’s inspired by the idea that, like nature, we are constantly growing—especially when we allow ourselves to slow down, get creative, and make space for learning. What’s Included: ✔️ A detailed supply list (perfect for beginners)✔️ Pre-recorded video tutorials you can pause and rewatch anytime✔️ A Plant Painting Guide to build your confidence with gouache✔️ A step-by-step presentation that breaks down the whole process Whether you’re a seasoned artist or just starting out, this project is a beautiful reminder that creativity and growth go hand in hand. I hope it brings you the same sense of peace, joy, and connection that it brought me when I painted that first silhouette of my daughter. One thing I know is that when you finally say yes to your creative side, so much more than your art will start to grow. If you're interested in creating your own gouache masterpiece, click here to begin! 🌿 Happy making!
Learn more
How a Simple Sketchbook Practice Changed My Life (as a Teacher and a Mom)
Nine years ago, I was a new mom battling postpartum anxiety, trying to balance teaching full-time and caring for my baby. Everything changed when I picked up an old sketchbook and made a small promise to myself: 20 minutes of creative time a day. What started as a simple act of self-care turned into a daily sketchbook practice that transformed my mental health, reignited my passion for art, and eventually led to a thriving creative career. In this post, I’m sharing how my sketchbook became a lifeline—and how it might just do the same for you.
Learn more
Introducing Our New Quell Sketchbook: Your Creative Companion Made with Heart
Discover the new Quell Sketchbook—an A5, hardbound artist-quality sketchbook with smooth 157gsm mixed media paper and a lay-flat design. Perfect for drawing, painting, journaling, and sketching on the go. Loved by artists and kids!
Learn more
The Artist Bag That Goes Where You Go: Meet Quell’s Newest Must-Have
The Quell™ Artist Bag is the ultimate solution for artists, creatives, and art teachers who want to make art on the go easier than ever. Designed with a sleek, minimalist style, it features smart compartments for sketchbooks, supplies, and essentials—perfect for plein air painting, classroom travel, or creative adventures. Whether you're commuting, exploring, or teaching, this compact yet spacious bag keeps you organized and ready when inspiration strikes.
Learn more
8 Practical Tips For Making More Art as a Busy Adult and Parent
How to Make Time for Art—Even When Life Feels Too BusyFeeling too overwhelmed to be creative? Between work, parenting, and life’s never-ending to-do list, making time for art can feel impossible. But the truth is—you don’t need hours or a fully stocked studio to build a meaningful creative practice. In this post, I’m sharing 8 realistic tips for how to make art a part of your daily routine (even with kids!) using simple tools, habit stacking, and self-care strategies. Whether you’re picking up a sketchbook for the first time or reigniting an old creative spark, this guide will help you build a consistent, low-pressure art habit that actually fits your life.
Learn more
Face Painting Tips for Beginners
Face painting can be a fun and rewarding skill to pick up, whether for classroom rewards, birthday parties, or community events. These five beginner-friendly tips will help you get started with confidence, from choosing simple designs to managing eager kids in line!
Learn more
What's in my Quell Case: My Favorite Art Supplies to Take on the Go!
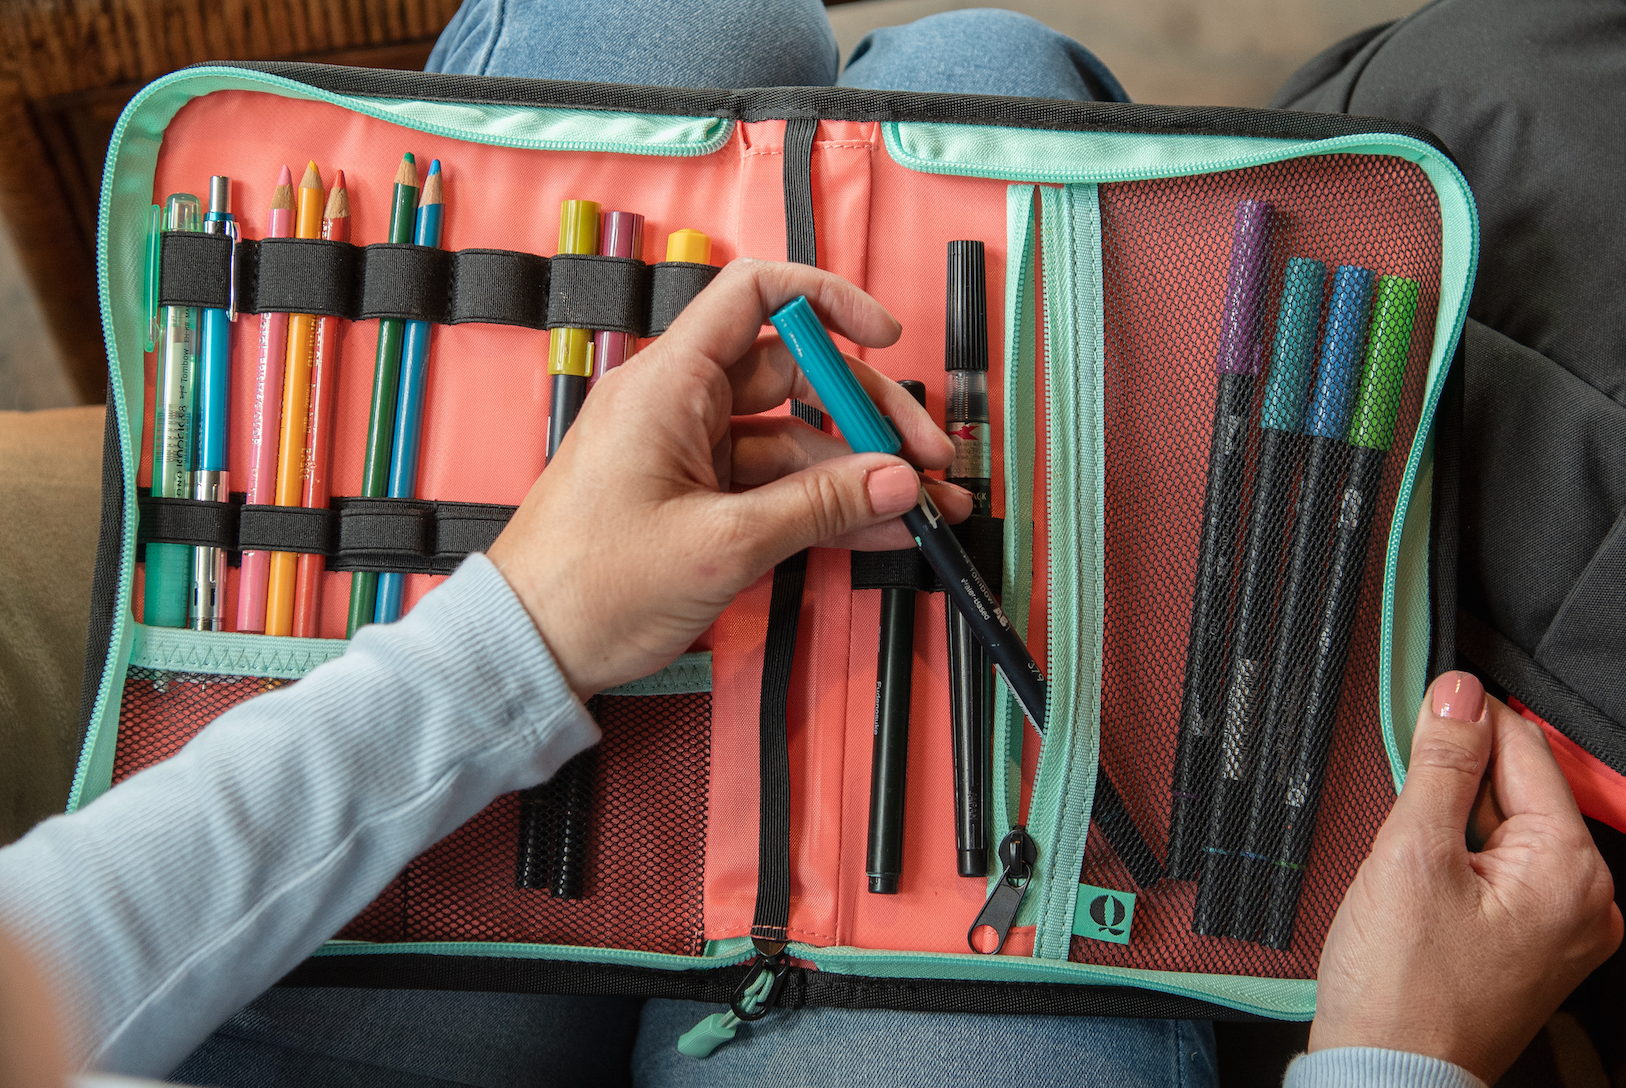
Looking for the best art supplies to keep you creating on the go? In this blog, I share my favorite art tools that I always keep in my Quell Sketchbook Carrier Case. Perfect for artists and art teachers alike, these essentials—like sketchbooks, drawing pencils, markers, and more—help break down barriers to art making and keep your creativity flowing anytime, anywhere. Discover which art supplies you should have on hand to elevate your artistic practice, whether you’re in the classroom or out in the world!
Learn more