Blog


8 Tips For Teaching Self Portrait Lessons To Elementary Students
If you're looking for a few tips and tricks when teaching self portraits, look no further! In this blog you will find 8 of my top tips to help you implement best practices into your next self portrait art lesson.
Learn more
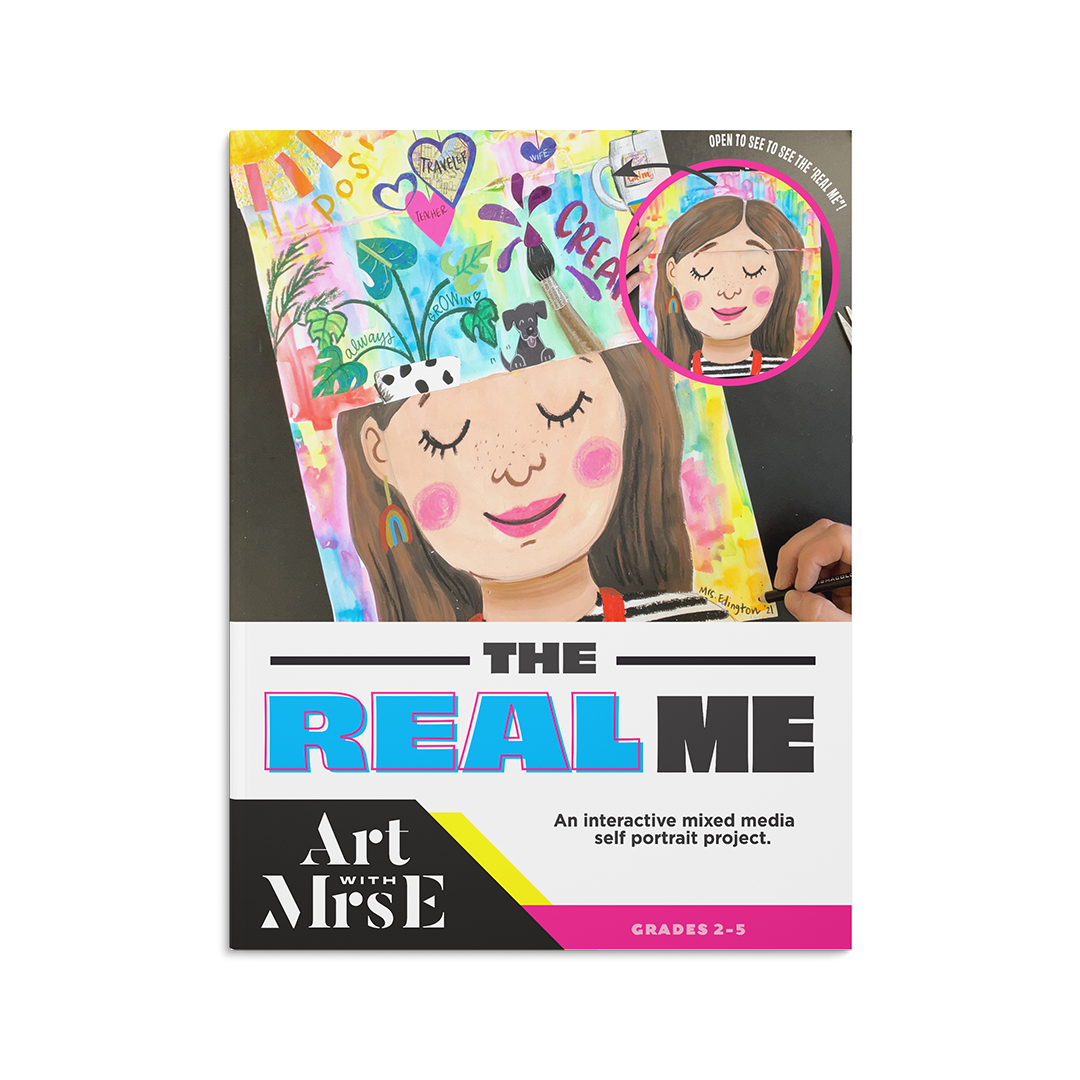
My Favorite Self Portrait Art Lesson for Kids: The Real Me Art Project
In 2008, I developed a self-portrait art lesson to help students express both their inner and outer selves, combining drawing, collage, and typography. I recently updated the project to include techniques like mixing skin tones, understanding facial proportions, and depicting diverse hair textures. This refreshed lesson not only enhances students' artistic skills but also encourages self-expression and identity exploration; find the full lesson plan on my website or TpT store.
Learn more
Folk Art Portraits: Celebrate Influential and Inspiring People
One of my favorite lessons that I do every year with my students is a Folk Art Lesson inspired by the artist Heather Galler. If you are unfamiliar with Heather's work, she has a very distinct style of bold black outlines, bright colors, and lots of lines, shapes and patterns. Her work has been an inspiration for many art projects I've done over the years with my students, but for his one I wanted to focus on her portraits. I love creating this lesson in during the months of February and March, because it gives my students the perfect opportunity to focus on the achievements of Famous African Americans for Black History Month as well as the accomplishments of influential women during Women's History Month in March. In previous years, I have also had students create portraits of people in their community (for our Mr. Roger's art show) and also of teachers and staff members. It's just such a fun lesson that can be adapted in many different ways. I usually do this lesson with 3rd grade and up. To start the lesson off, we have a big talk about inspiring people who have influenced us in some way, and why. Often times, I have my students research and write about this person in their sketchbooks so that they can gather their thoughts which will help when it comes time to create their portrait . Once they have done some reflecting, then I have my students pull up a photo of the person on their iPads and make sure they save it to reference. The next thing I do is I give each students a white board and dry erase marker to practice their portrait using my reference sheets from my full lesson. (*TIP* a few years ago I went to Lowes and got a large sheet of dry erase board and had them cut it down into 8 x 10 rectangles for my classroom. It has been SO amazing to have a class set of white boards available at all times!) The reason I have my students practice on a white board instead of sketching their whole portrait in pencil is because we will be using a bingo dauber with ink (Cassie Stephen's hack) to draw the portraits- and because the tip on that is rather large, I do no want to set my students up for failure by drawing all these small details that can't be achieved with the bingo dauber. Ok back to the lesson: During my demonstration, I show my students how to focus on drawing simplified lines and shapes to represent the physical characteristics of the person they are drawing. I teach them to focus on using the correct type of line to show the appropriate texture, and focus on the features of the person's face that make them unique. Here are a few of my examples drawing Justice Ruth Bader Ginsberg, Amanda Gorman, and Bisa Butler. Once students have drawn a rough draft of their influential person on their board, I instruct them to take a photo of their work with their ipads. I teach them to level their iPad directly above their art, take their photo and them show them how to crop it. This step is important because the chances of my kiddos being able to draw their draft and then draw their final project in the same class is slim. This way they have documentation of their rough draft on their white board before they have to erase it at the end of class. From there, students work to recreate their portrait on large 12 x 18 paper. For the FULL Folk Art Portrait Lesson, you can head to my website, or my Teachers Pay Teachers store. In the lesson you will have access to all of the drawing guides/ idea sheets that students can use to assist their drawings, as well as several different ways to finish these portraits off. I hope your students enjoy this lesson as much as mine do! If you create this lesson with your kiddos, be sure to tag me on Instagram (@artwithmrs.e) so that I can see and re-share their amazing work! Have fun!
Learn more
Simple Portrait Back-to-School Bulletin Board
Need an Easy Back-to-School Bulletin Board Idea?Looking for a fun and meaningful way to fill your empty bulletin boards at the start of the school year? This creative self-portrait display was inspired by my own students—and made using my Simple Self-Portrait Drawing Guide! With just bulletin board paper, India ink, and a little imagination, I created life-sized illustrations to frame student artwork and build community right from day one. This project is low-prep, high-impact, and guaranteed to spark smiles!
Learn more